Overview
This document explains how to establish a supplier payment process. This program enables you to create and manage payment runs for processing payments to suppliers. The program allows you to create and run multiple payment runs at once. Each payment run is assigned a unique payment run number and is created for a single bank, currency, and payment type. As a result, no single payment run can include payments from multiple banks, currencies, or payment types.
Process
The AP Payment Cycle Maintenance program manages the entire supplier payment cycle enabling you to:
- Print AP release schedule
- Navigate to Payment Cycle Maintenance program
- Select payment method (manual check or system check)
- Select bank, payment type, and payment reference
- Capture payment information
- Release invoices for payment
- Print released payment report (optional)
- Execute payment run
- Print checks and remittances
- Run CB integration and print payment register
Payment Cycle Maintenance
The steps below will show how to complete a payment cycle for manual checks, system checks, and voided checks.
Menu Path:
Accounts Payable > Payment Processing > Payment Cycle Maintenance
System Checks
The following method is used to pay supplier invoices using system checks.
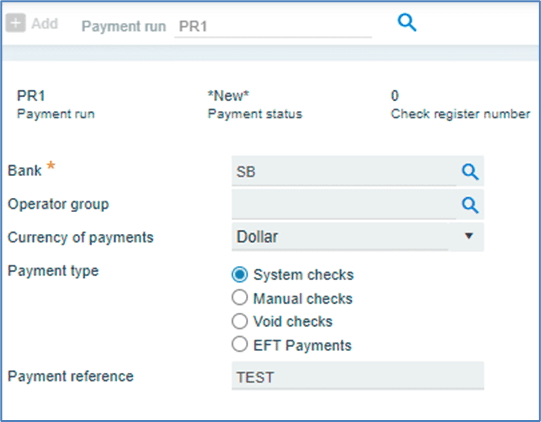
- The payment Run number must be entered if the numbering method is set to manual; if not, it will auto-populate as the default.
- Enter a valid Bank; This field cannot be altered after the payment run has been saved.
- Enter Operator Group (optional) – This field specifies which operators are authorized to continue the payment run; if left blank payment runs are unrestricted.
- Enter the payment currency, the system defaults to bank’s designated currency.
- Select the Payment type; the system defaults to System Checks.
- Enter the Payment reference (optional).
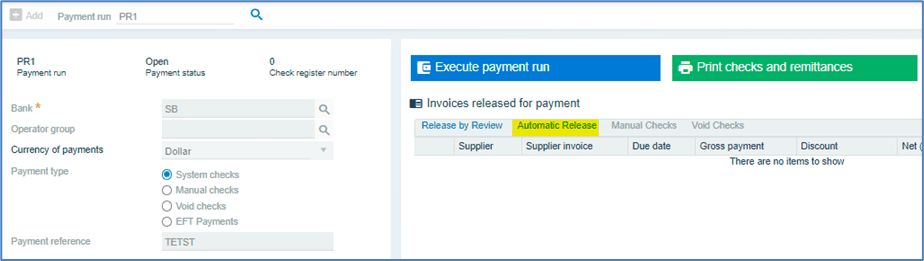
System checks feature two invoice review fields: Release by Review and Automatic Release.
If Automatic Release option is selected, invoices are paid based on the invoice date or due date.
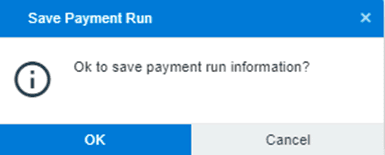
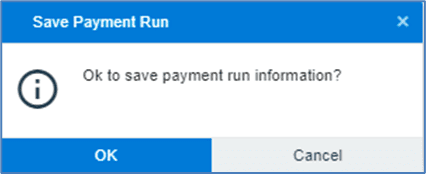
Click OK to Save Payment Run option.
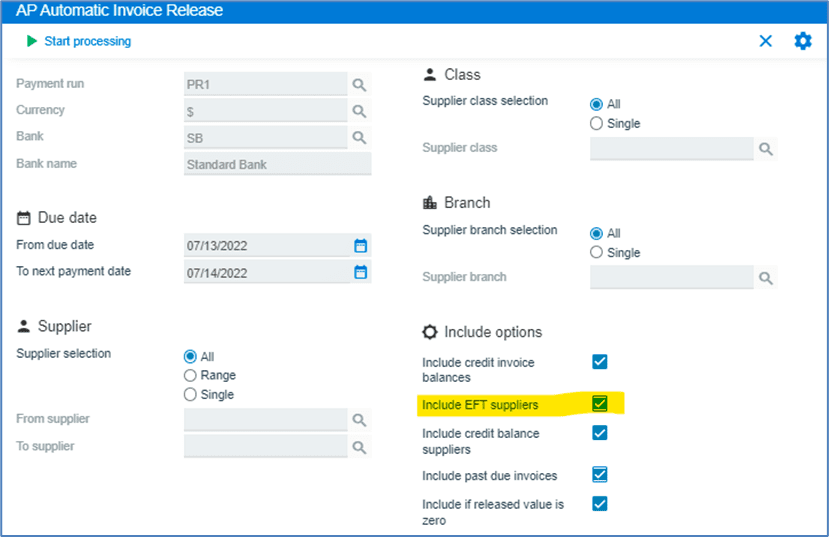
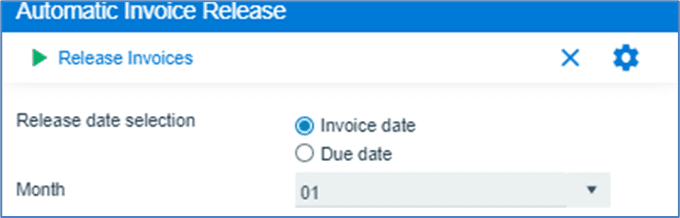
The AP Automatic Invoice Release window displays Payment Run details, as shown below.
- Enter Due Date – Payment is made on invoices with due dates within the specified month.
- For the Supplier, Class, and Branch fields, select your preferred options.
- Choose Include EFT Suppliers in the Include Options section, if required.
Click Start Processing, then OK to release invoices. (All selected invoices will be displayed).

Click on the Execute Payment Run option.
The Accounts Payable Execute Payment Run window is displayed.
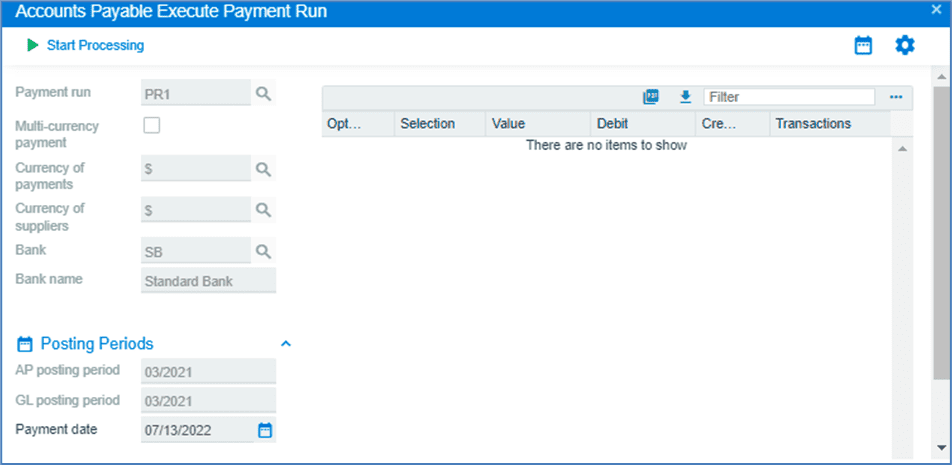
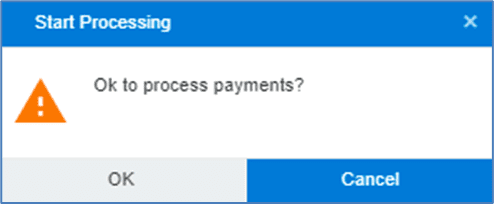
Click Start Processing, then OK to process payments.
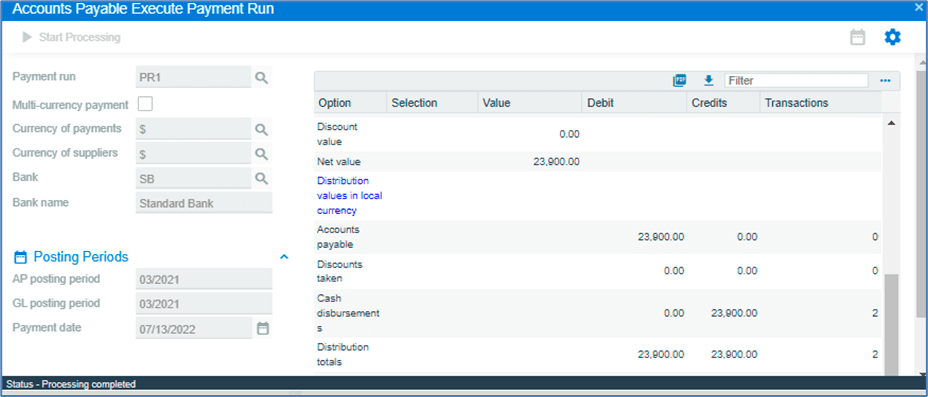
The details verifying the posting of the transactions are displayed below.
To update the cash book, print checks, remittances and print the payment register.
Click the save button.
Check queries will reflect the Payment Run once it is completed.

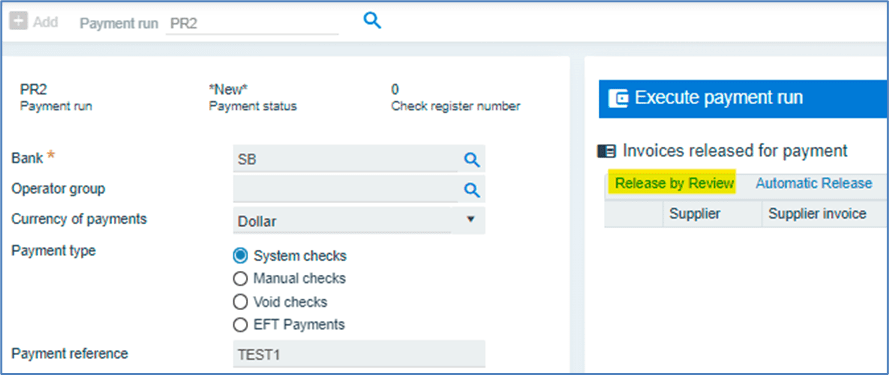
- Enter the Payment Run number, then press tab.
- Enter the Bank code.
- Select System Checks as the Payment Type.
- Enter the Payment Reference.
- Click on Release by Review option.
Click OK to save Payment Run details.
The Accounts Payable Release Invoices by Review window will be displayed.
- Enter the supplier to whom the payment will be released, then press tab.
- Enter the From Due Date.
- Enter the Next Payment Date.
- Select Start Review.
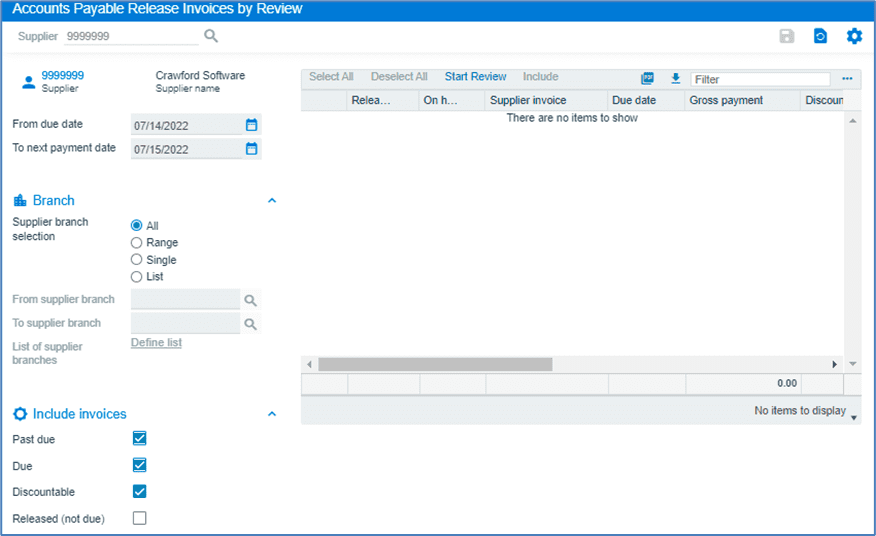
The Payable Release Invoices by Review window displays invoices that meet the selected criteria.
- Select the Released option next to the invoice, to make payment.
- Click the Save button, then close window.

- Select Execute Payment Run.
- Print checks and Remittances.
- Print Payment Register.
Manual Checks
The steps below explain how to create a payment entry for manual checks to pay supplier invoices.
- Enter Payment Run Number if the numbering method is set to Manual, if it is set to Automatic, it will auto-populate.
- Enter a valid Bank
- Enter the Operator Group (optional)
- Enter the Currency of Payments. The bank-specified value is the default for this field.
- Select Manual Checks as the Payment Type.
- Enter the Payment Reference (optional)
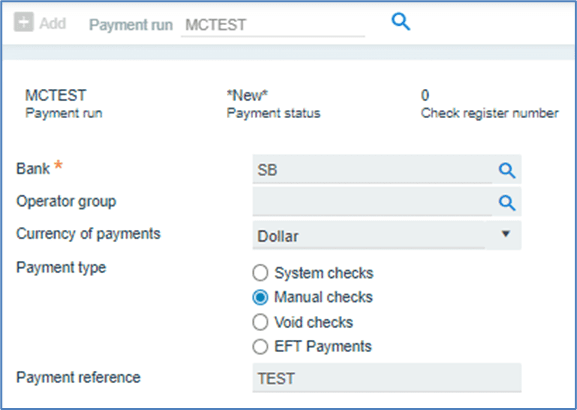
Select Manual checks.

Click, Ok to save Payment Run.
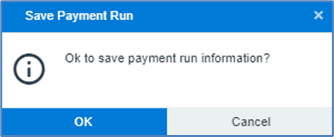
Accounts Payable Manual Check Payment window will be displayed.
- Enter the Supplier code or search through the magnifier, then press Tab.
- Enter the Check date, Check number and the Check amount.
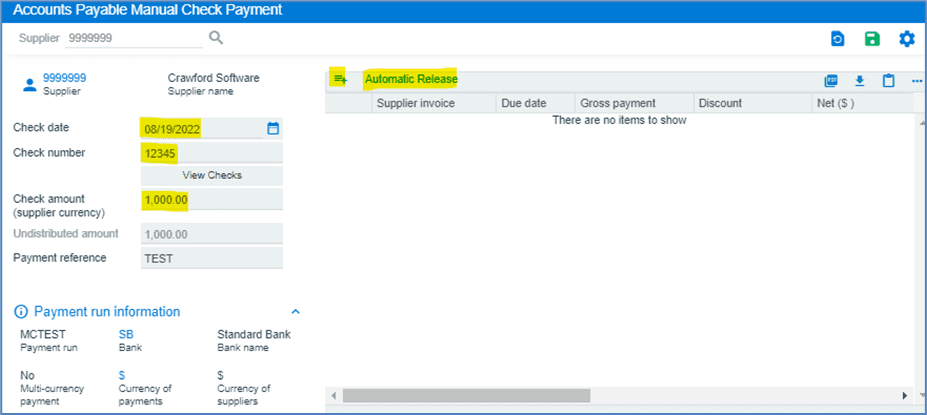
Click

to release the invoices by invoice date or due date and month.
Click the

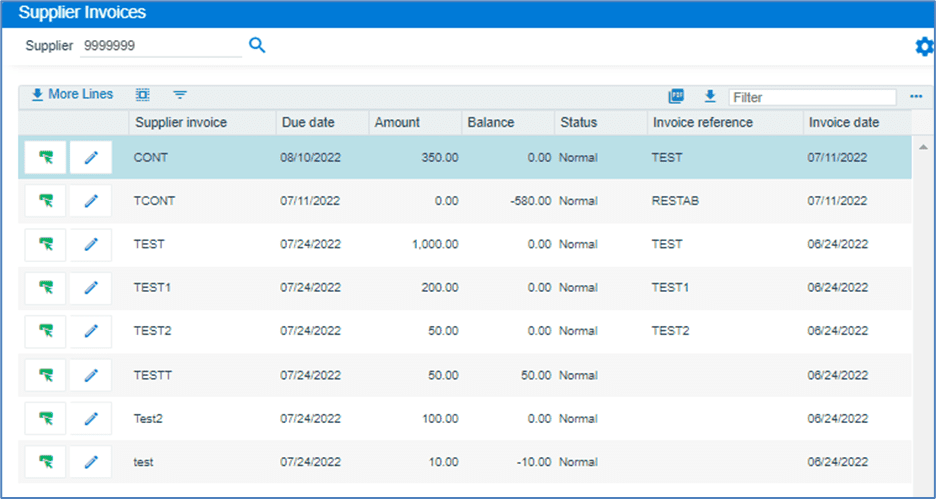
to add the invoices manually.
Enter invoice number, or use magnifier tool to view list of invoices that are owed to supplier.

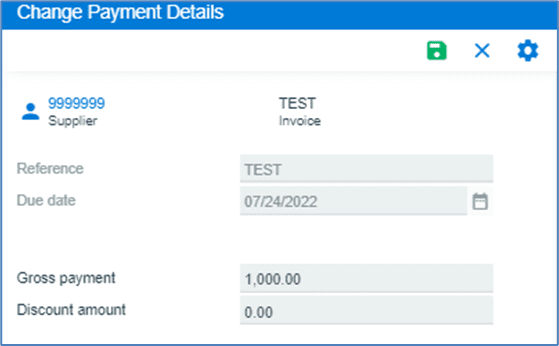
Select the invoice and click on

change, and enter the gross payment, then save.
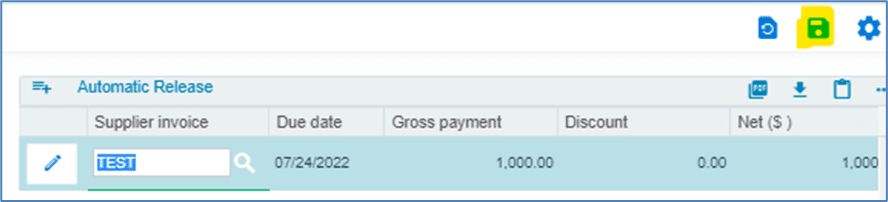
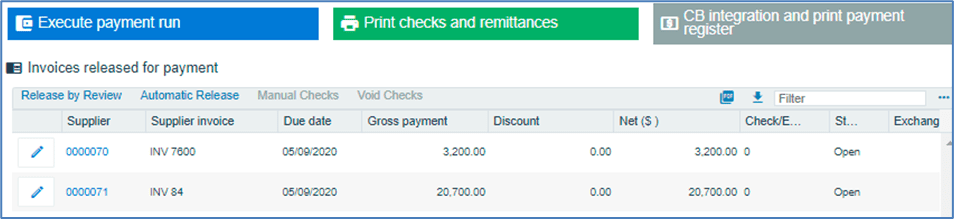
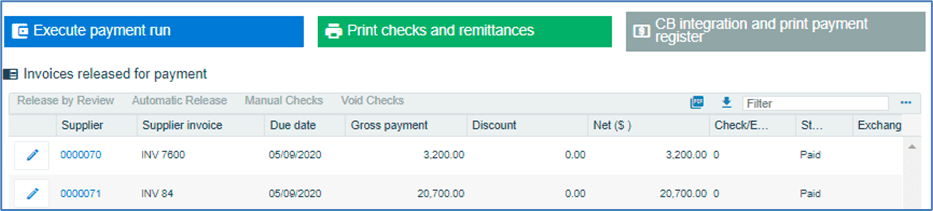
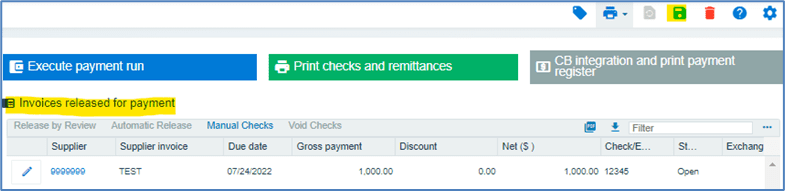
The selected invoices will display under the Invoices Released for Payment section.
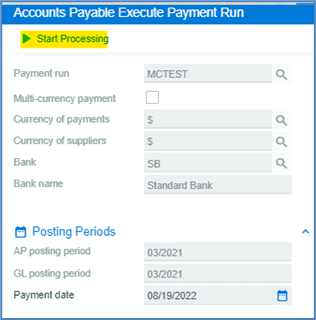
Next, select the Execute Payment Run.
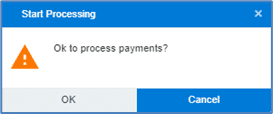
Click on Start Processing.
Click, Ok to process payments.
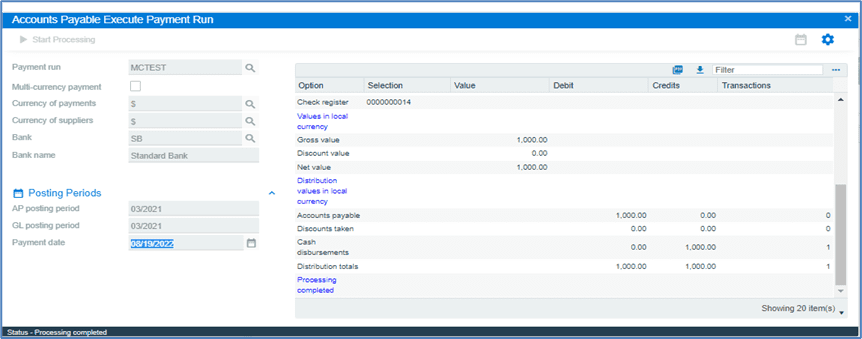
Details of the transaction will be displayed.
Void Checks
The steps below explain how to void a check that is paid to a supplier.
- Enter the Payment run number.
- Enter a valid Bank.
- Enter the Operator Group (optional).
- Enter the Currency of Payments. By default, the currency specified by the bank is used.
- Choose Void Checks as the Payment Type.
- Enter the Payment Reference (optional).
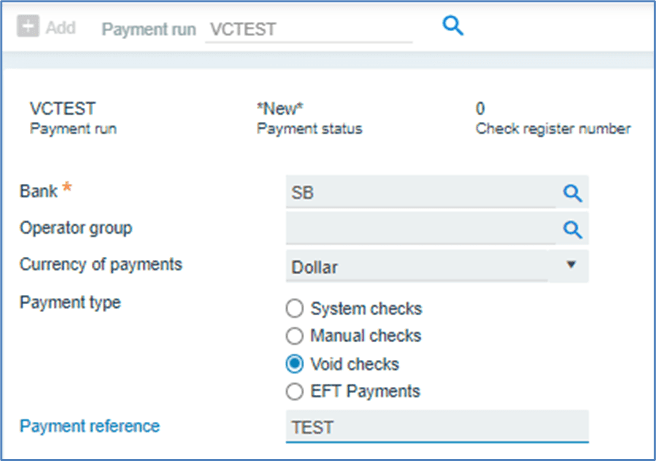
Select Void Checks.
Click Ok to save Payment Run.

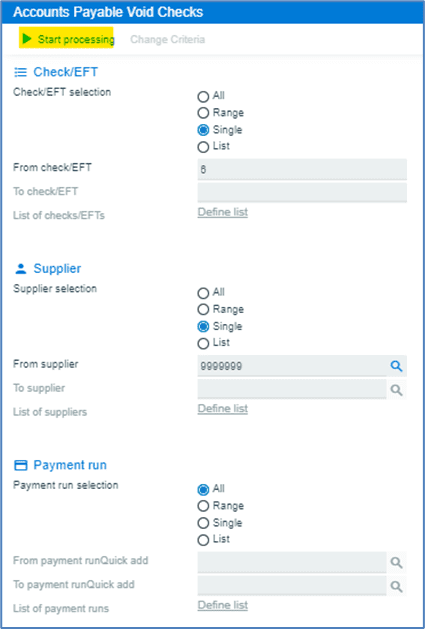
Enter check number, Supplier, and Payment run to include in the review, click Start Processing.
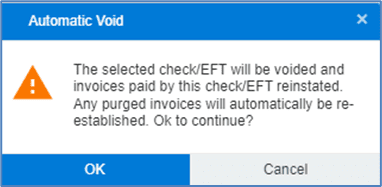
Data is displayed once selected. Click on Auto Void.

Click OK to Automatic Void, then close window.
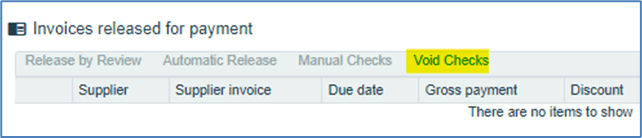
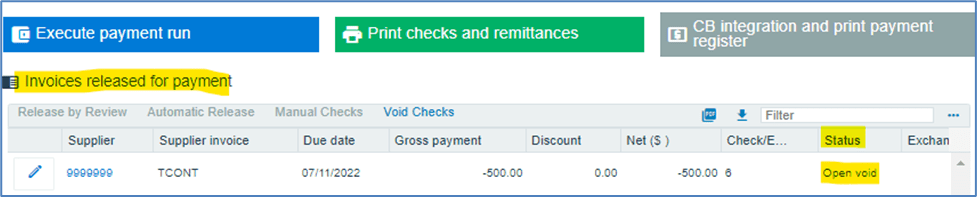
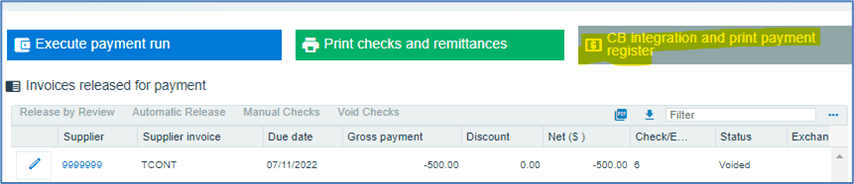
The selected invoice will be displayed in the Invoices Released for Payment section with the status Open Void; then click Execute Payment Run.
Select, Start Processing.
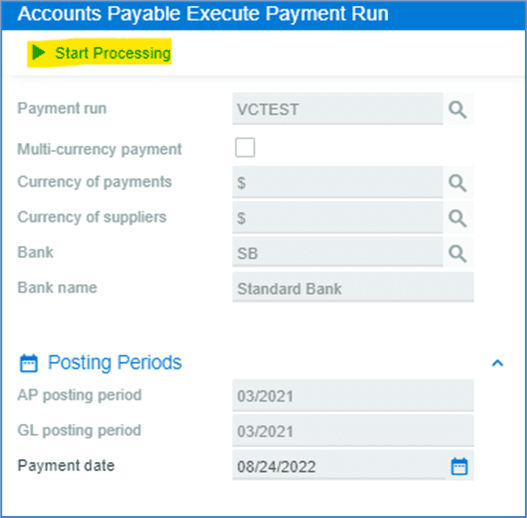
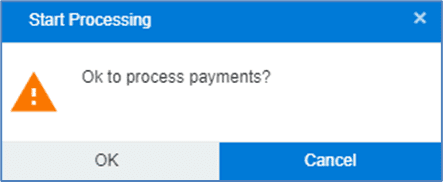
Click, OK to process payments.
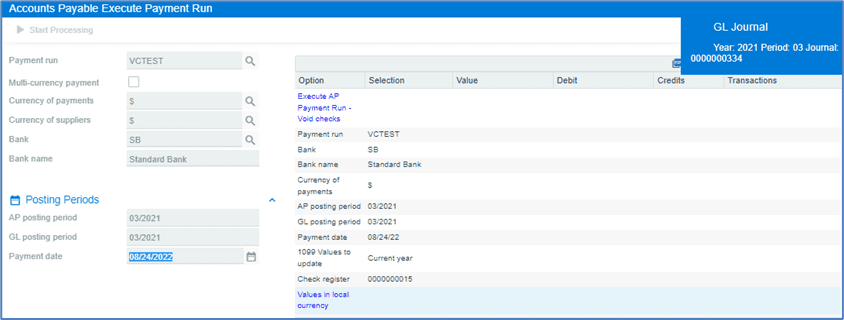
Void Details will be displayed, along with the GL Journal created for this entry.
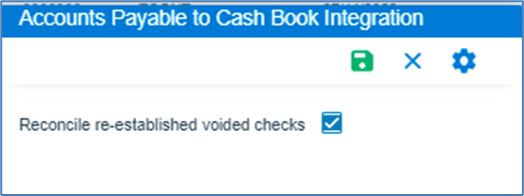
Select CB Integration and Print Payment Register to post the transaction to the Cash Book module and then print the Payment Register.
Click the Save button.

Once the process is complete, the AP Payment register will be printed, as shown below.
