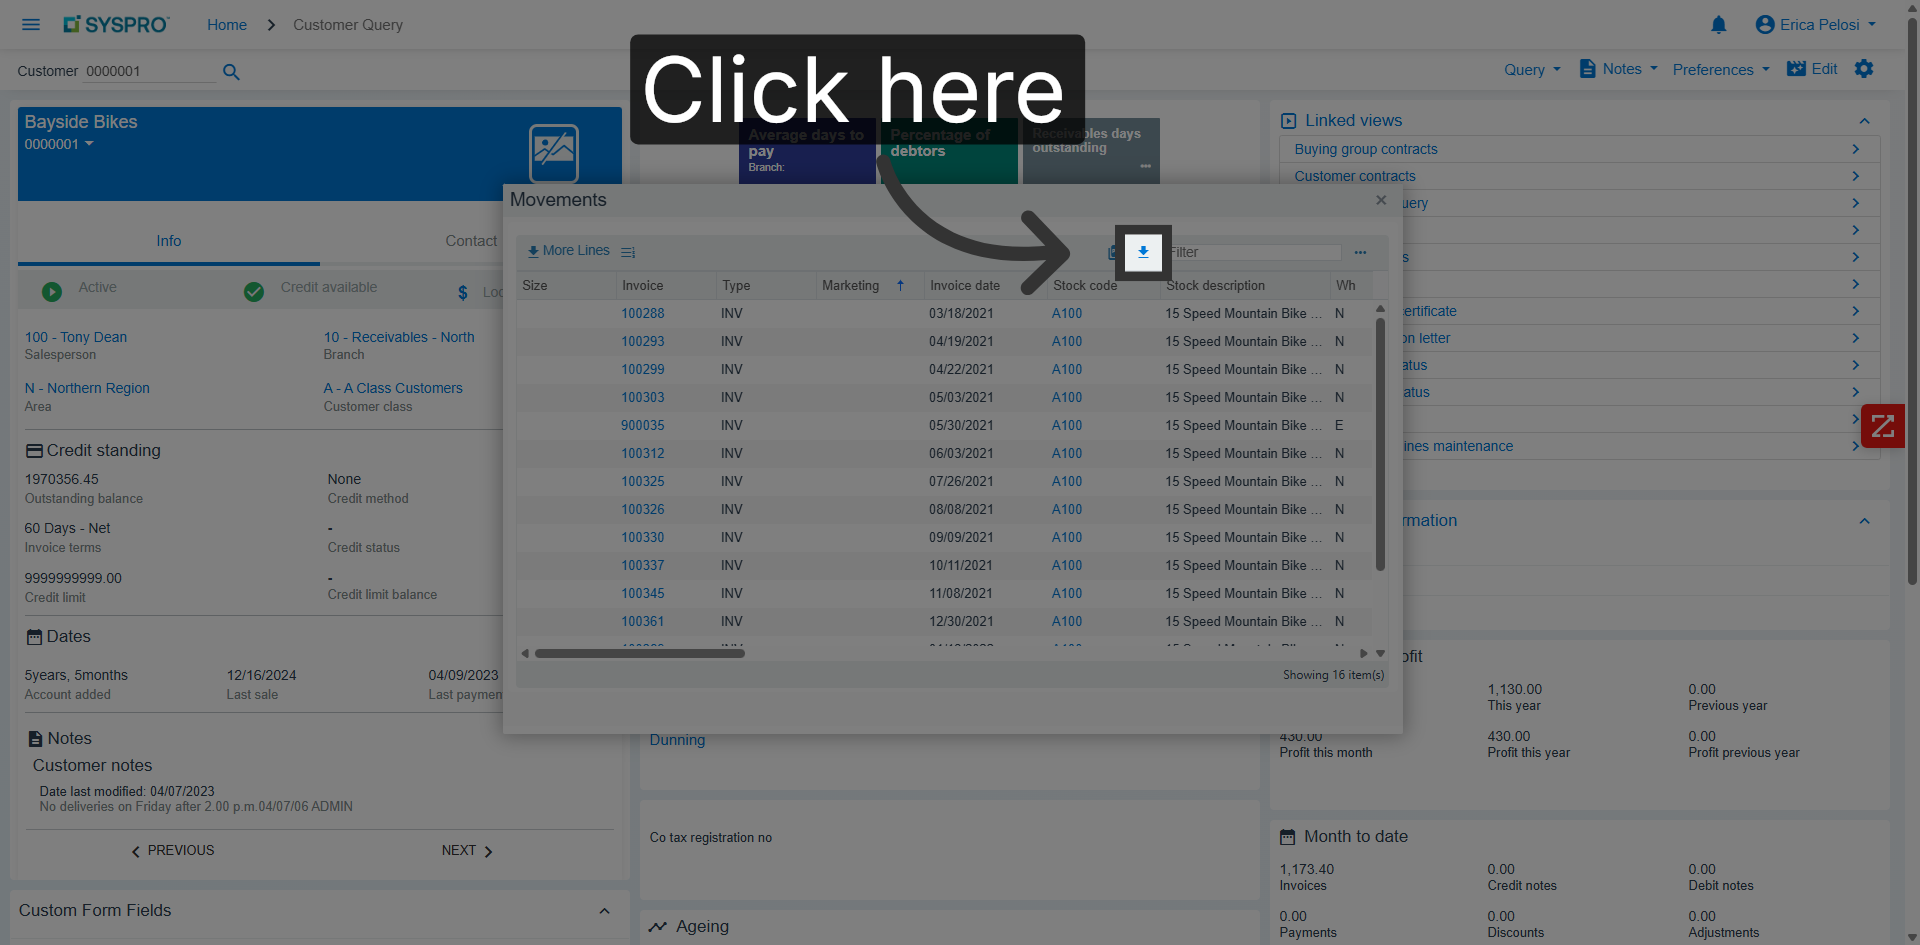
This tutorial demonstrates how to customize grids within SYSPRO Avanti. You will learn to customize a grid today.
Go to 10.88.78.245
01
Introduction
Video content
02
Open Sign In Menu
Enter your login credentials to begin accessing your SYSPRO Avanti account.
03
Confirm Sign In
Click the Sign in button to proceed with logging into SYSPRO Avanti.
04
Access Home Menu
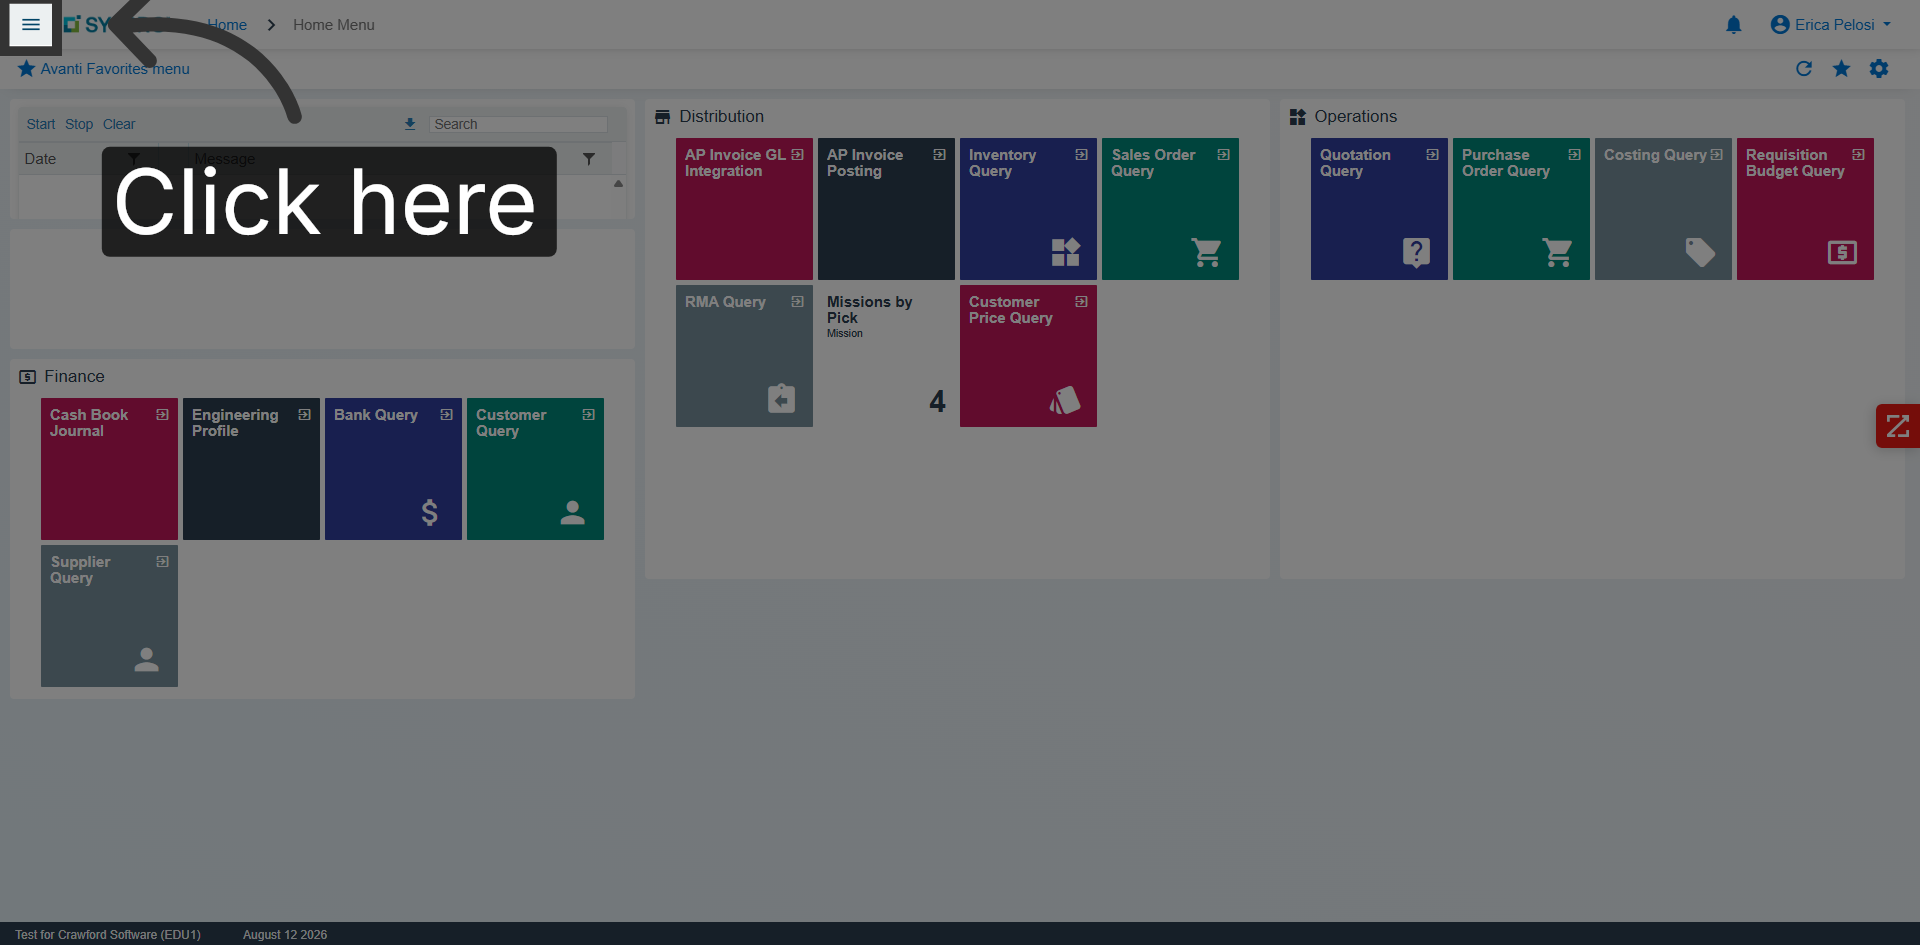
Click the hamburger menu to navigate to the Menu in SYSPRO Avanti.
05
Open Program Search
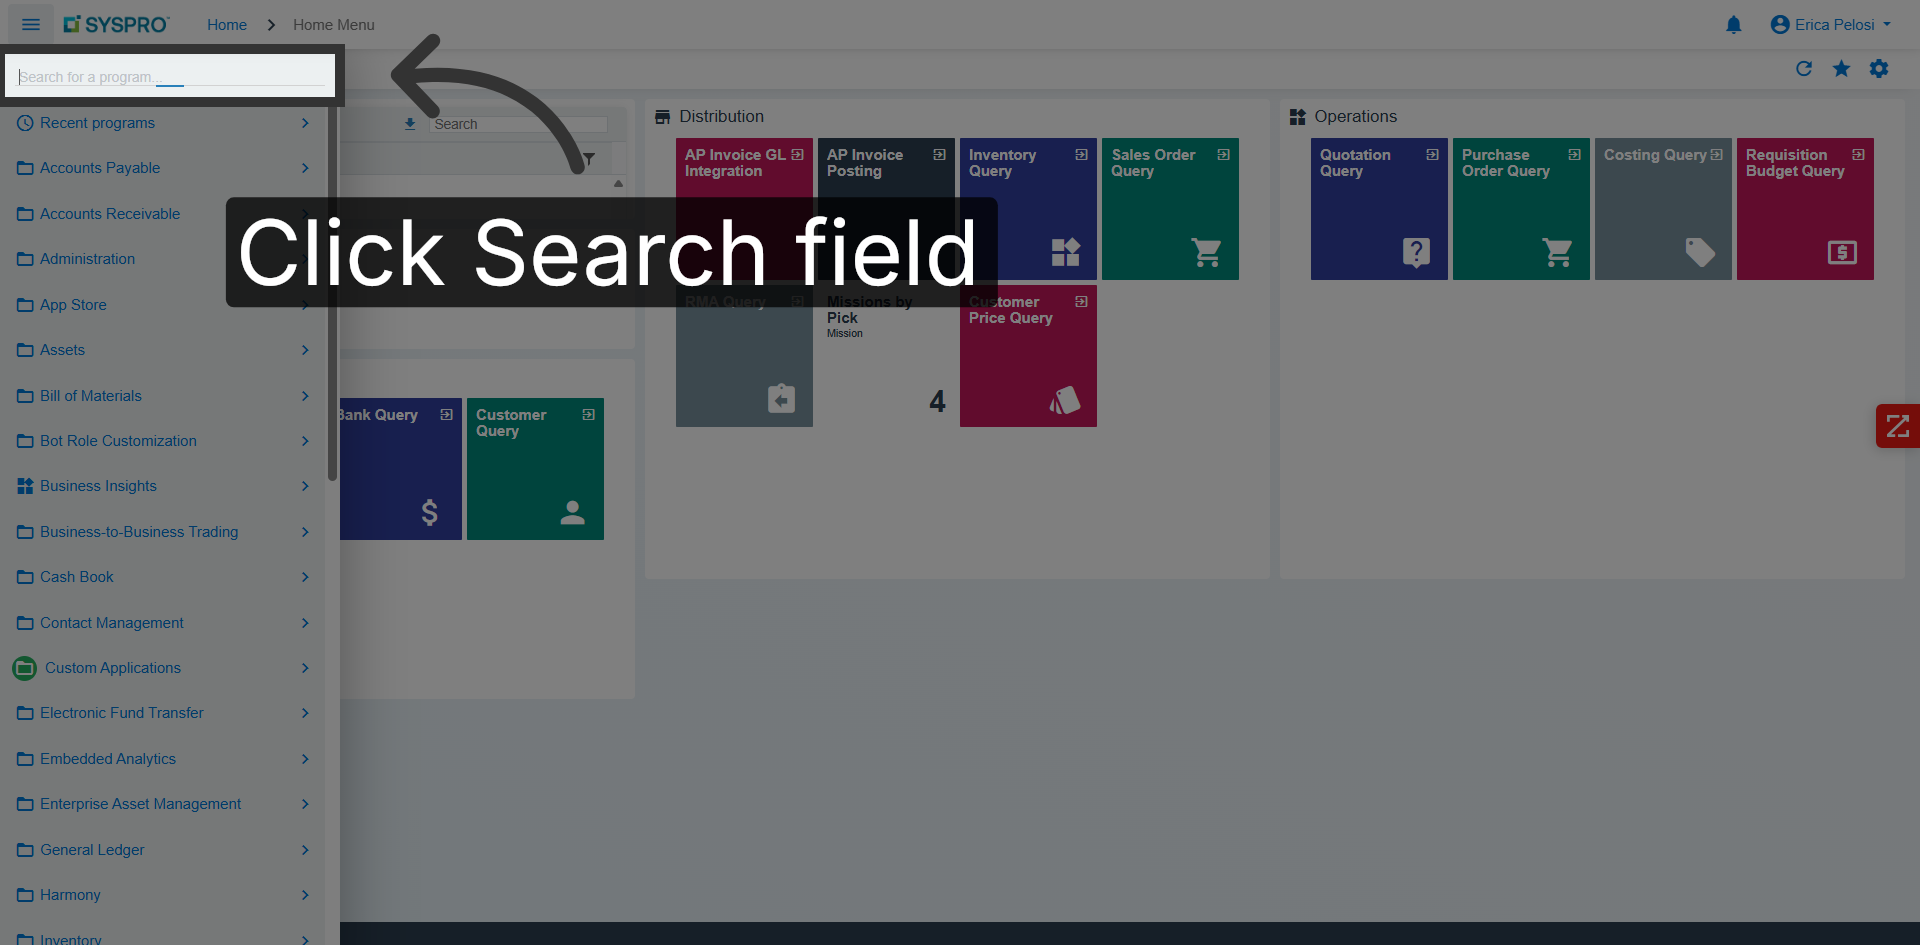
Click the Search for a program field to locate specific modules within SYSPRO Avanti.
06
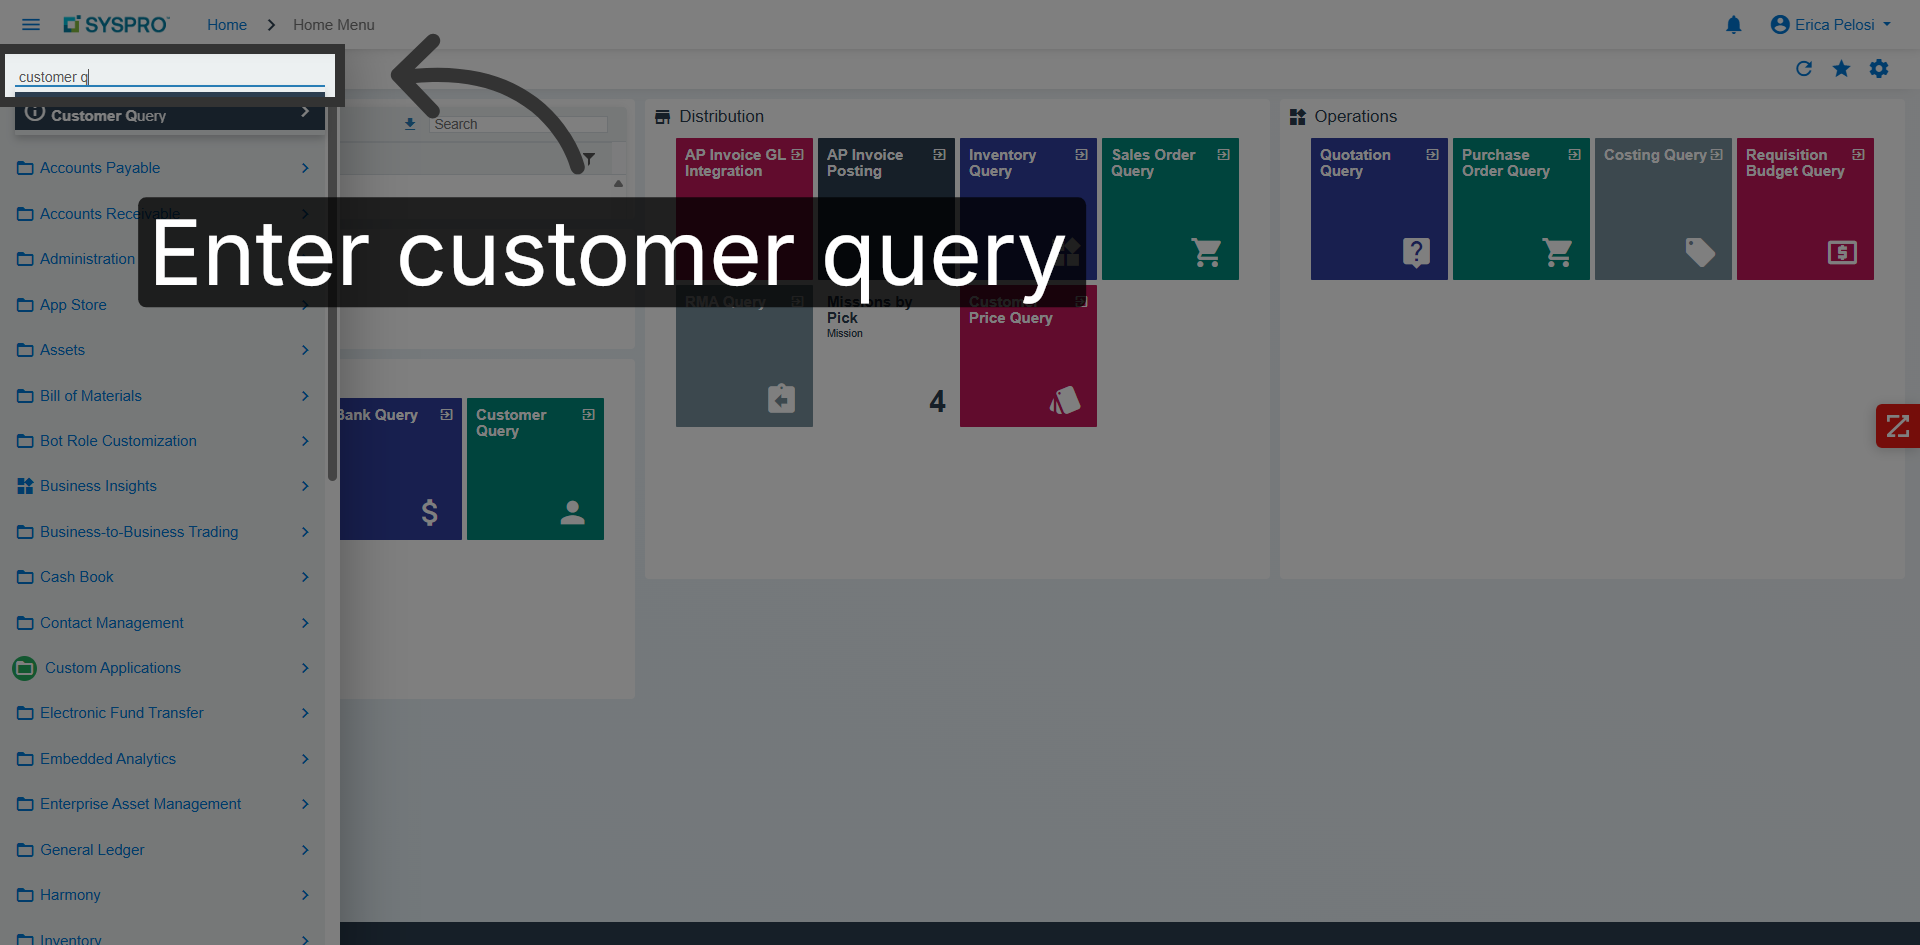
Enter Customer Query
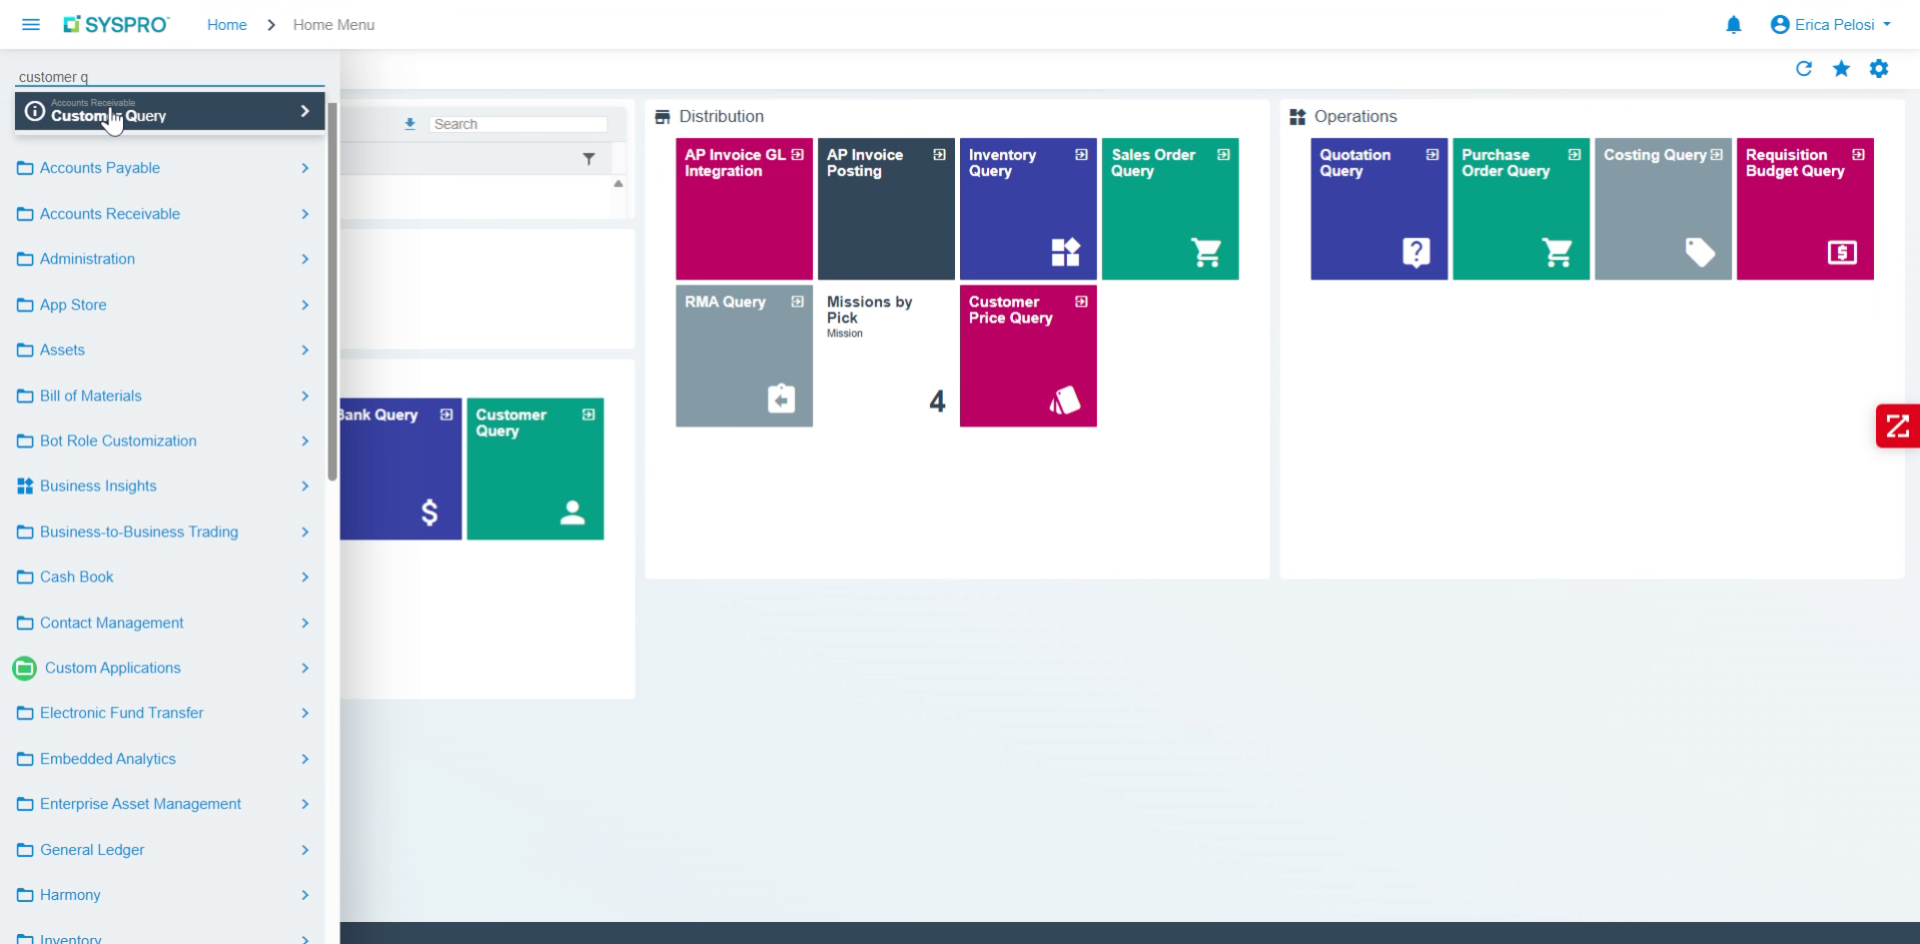
We will use Customer Query today to customize a grid.
07
Pause
Video content
08
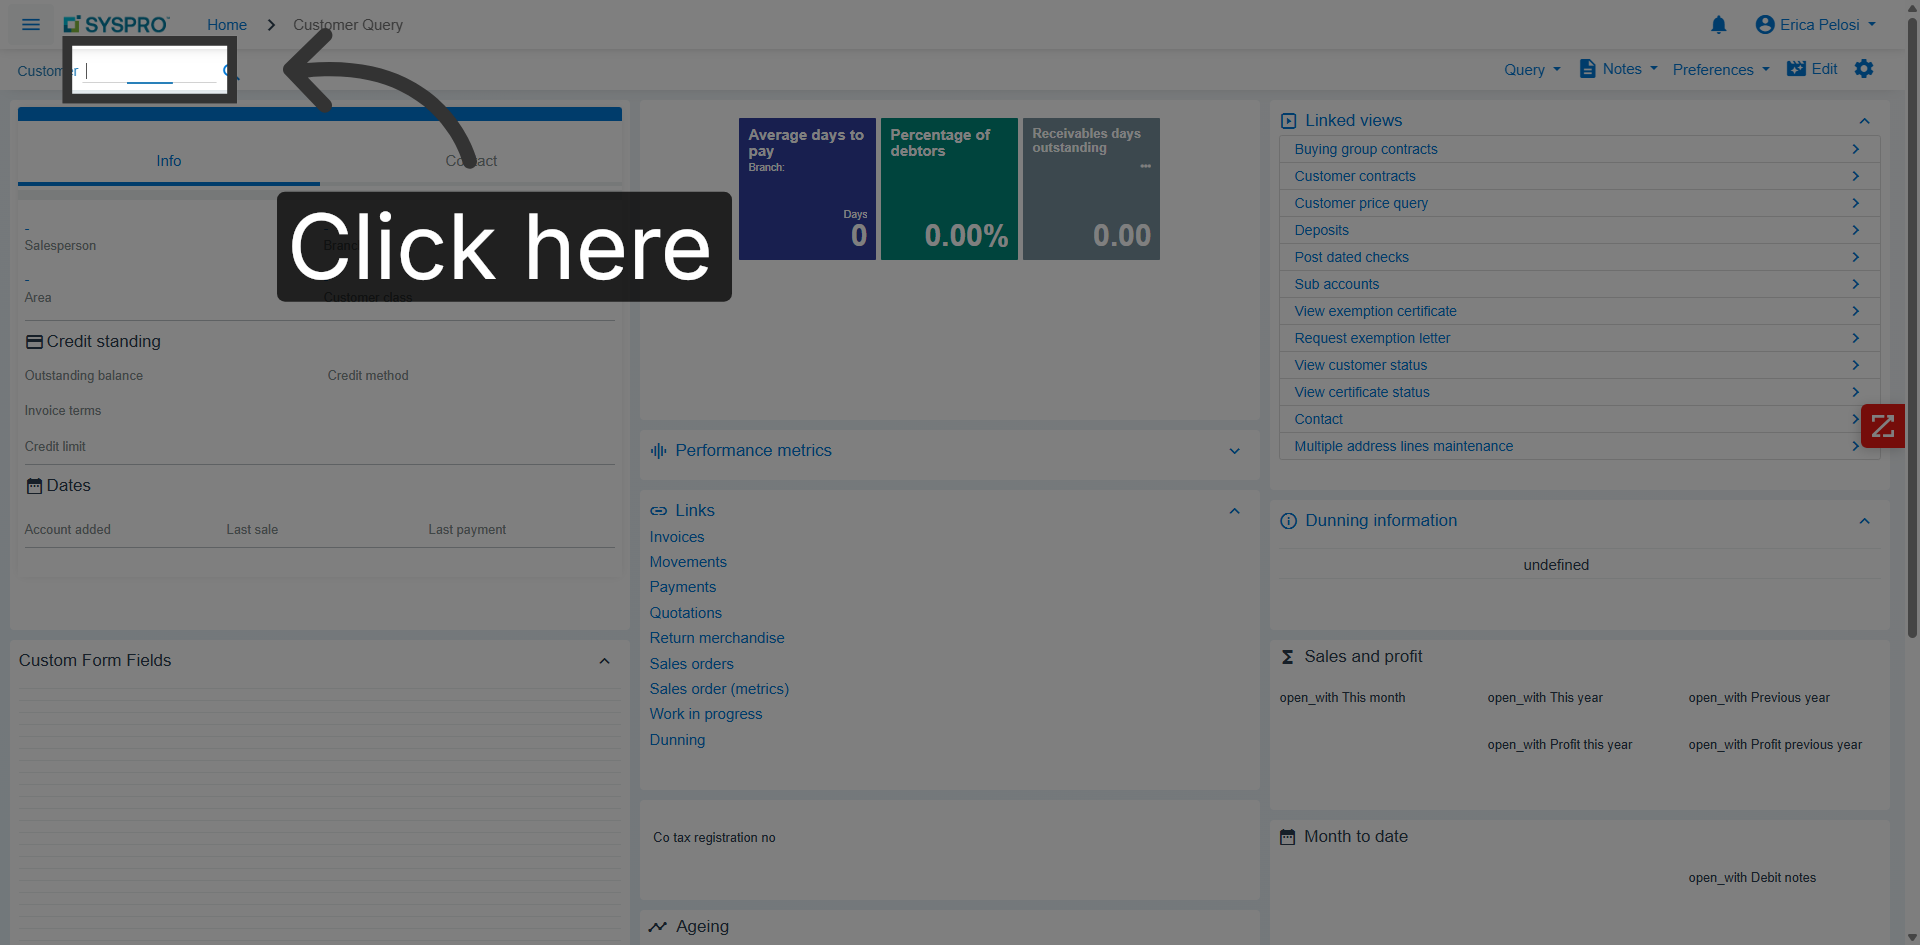
Navigate to Customer Query
Click the specified area to open the Customer Query section in SYSPRO Avanti.
09
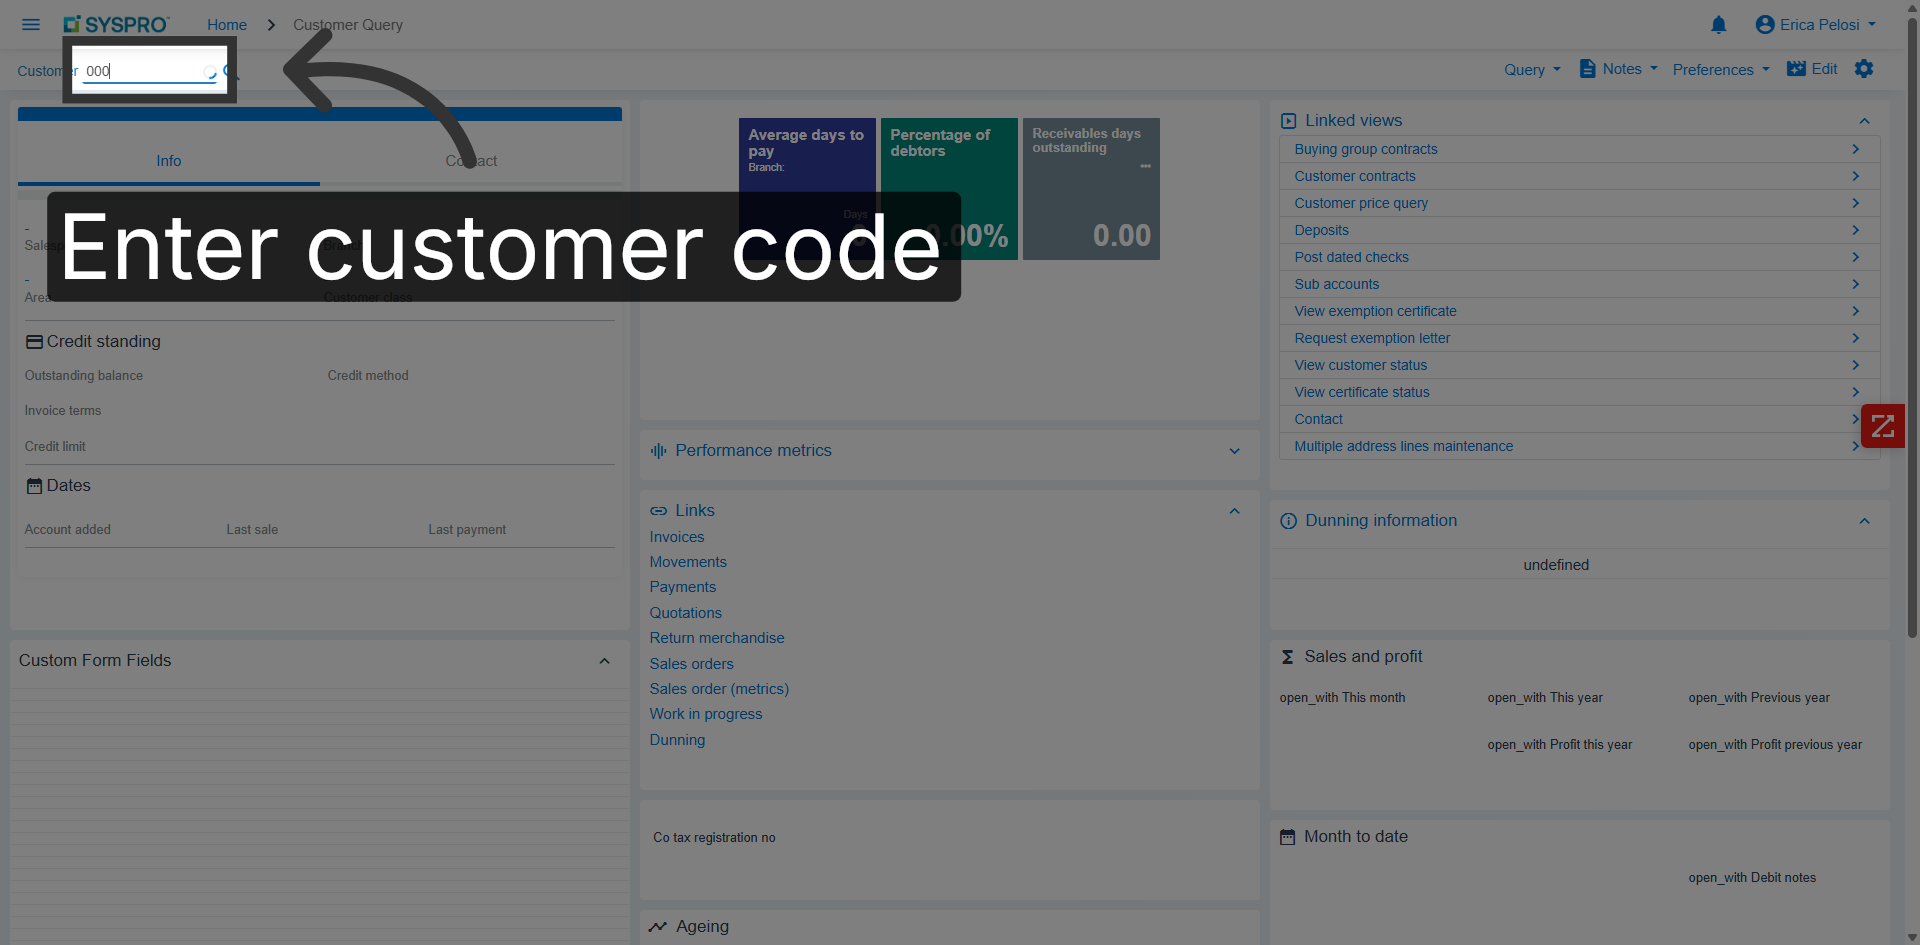
Enter Customer Code
Enter your customer code to filter customer records in the query.
10
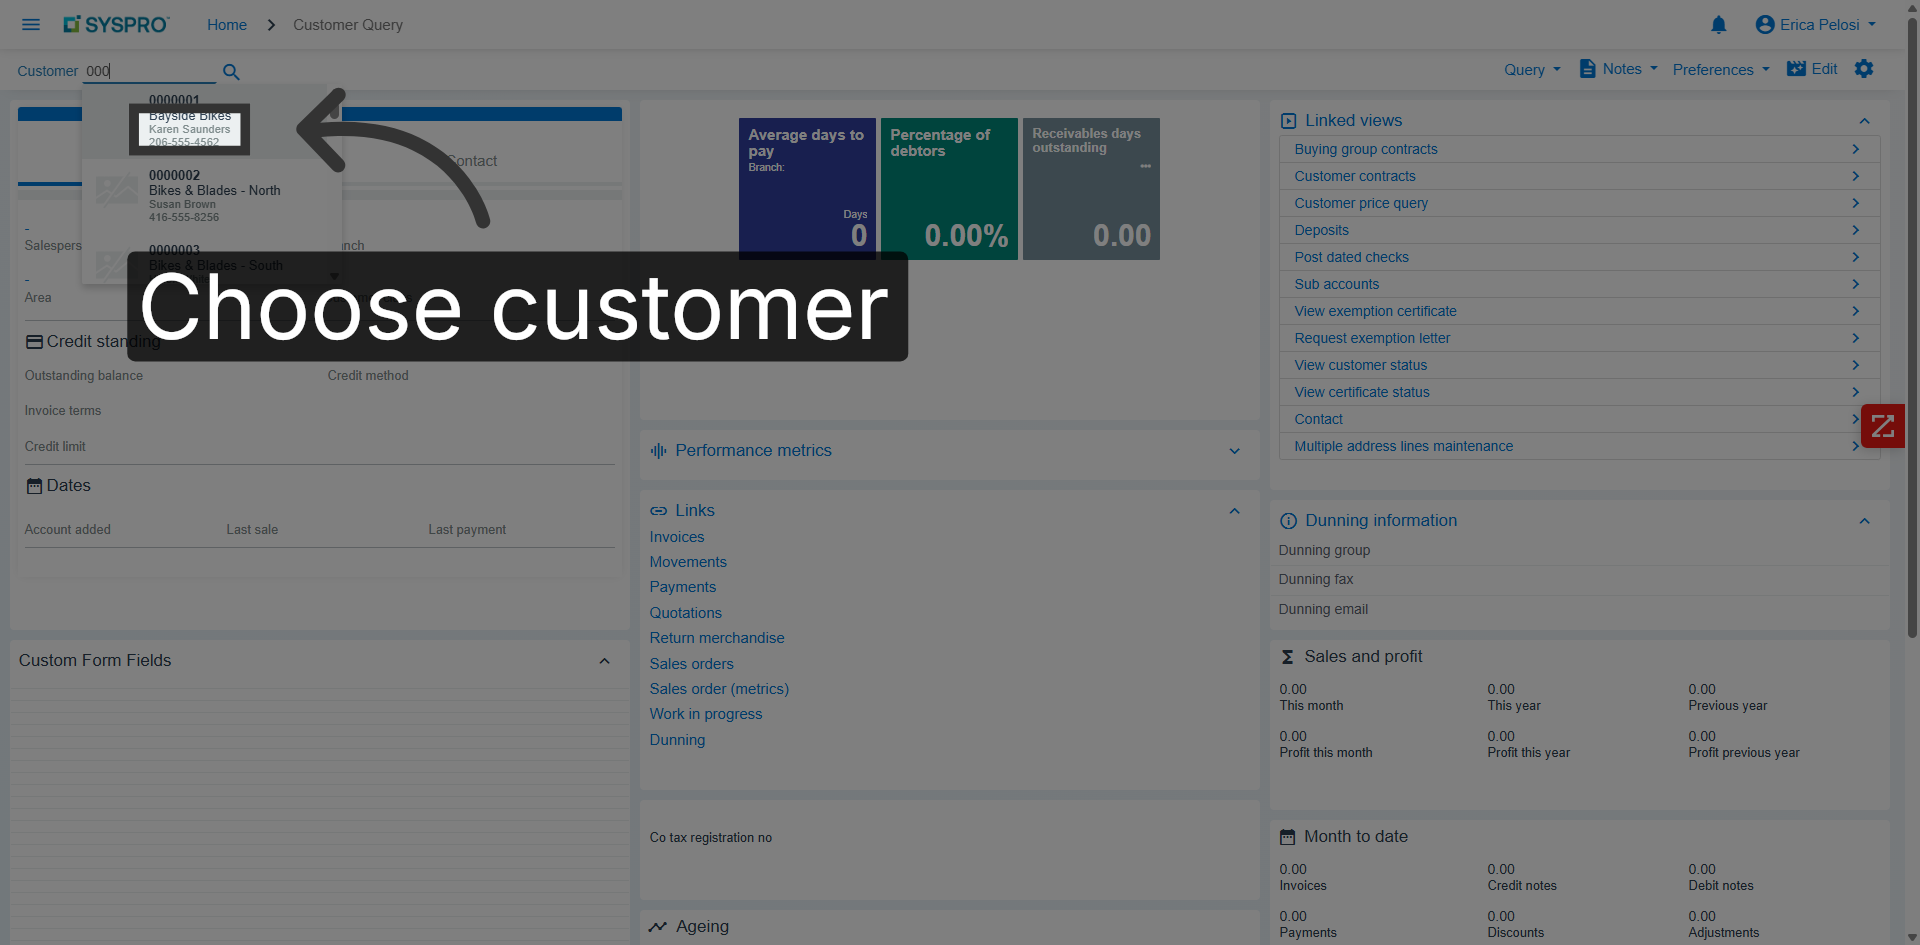
Choose Customer
Select your customer from the list to view detailed information.
11
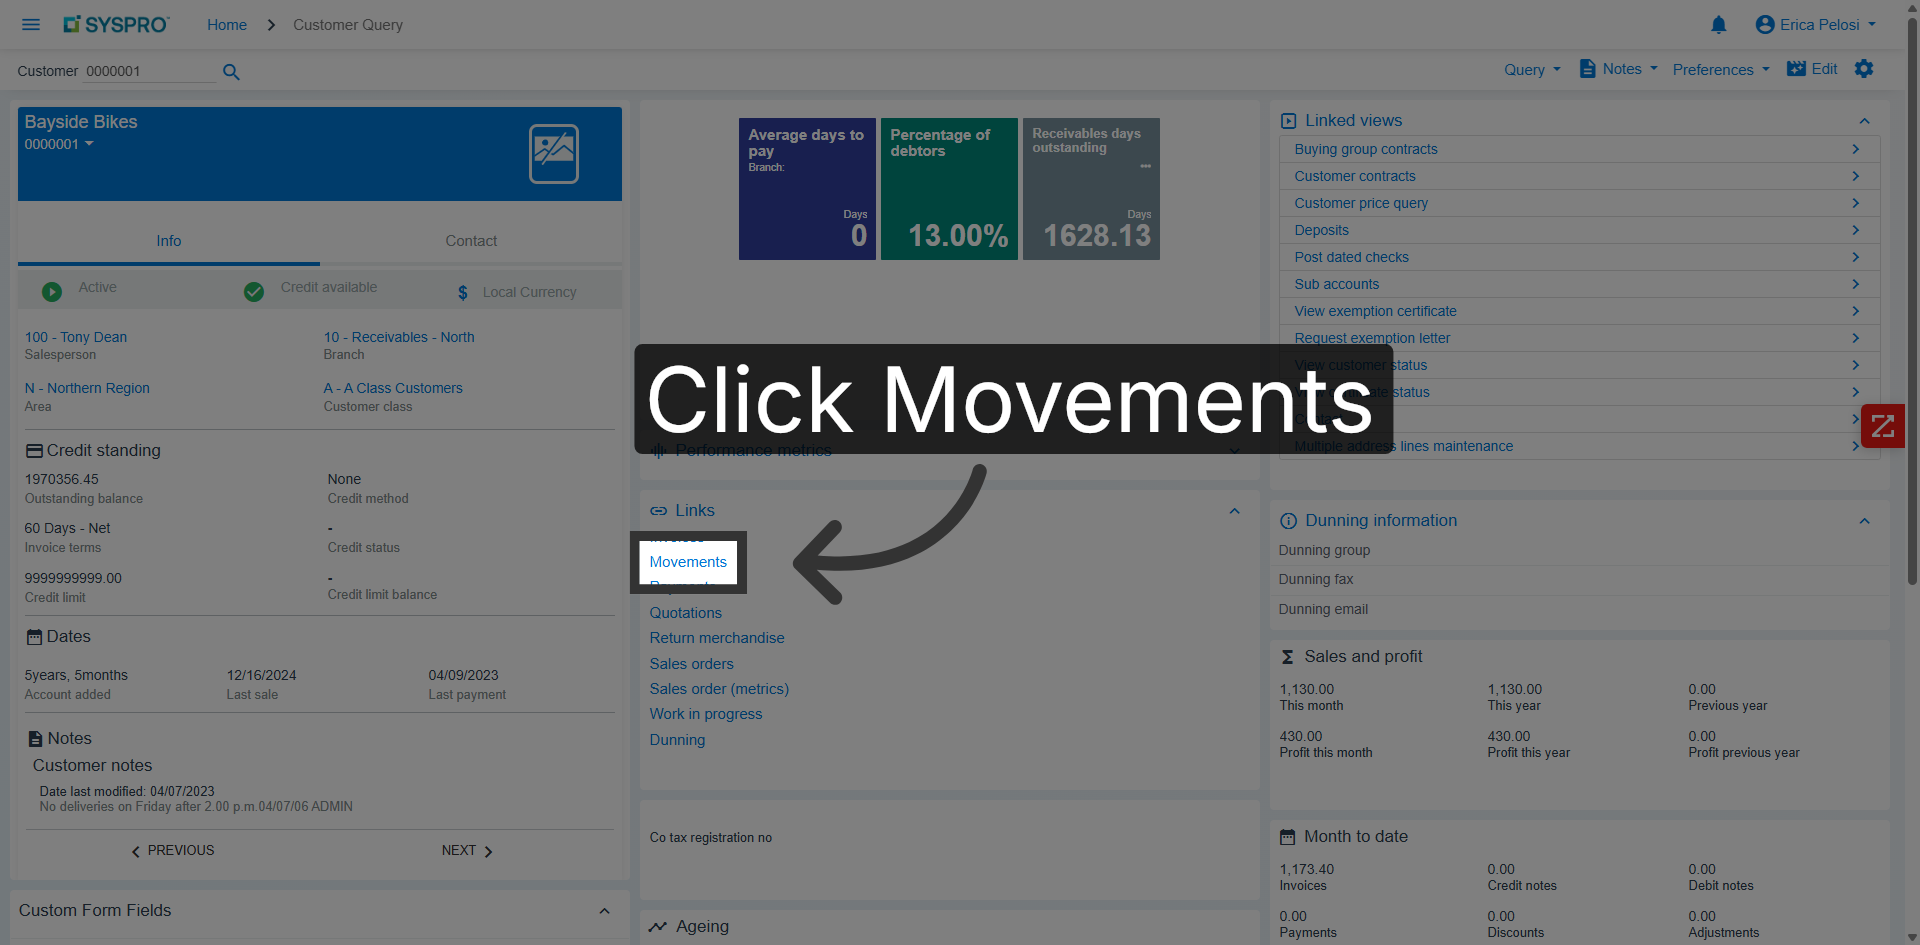
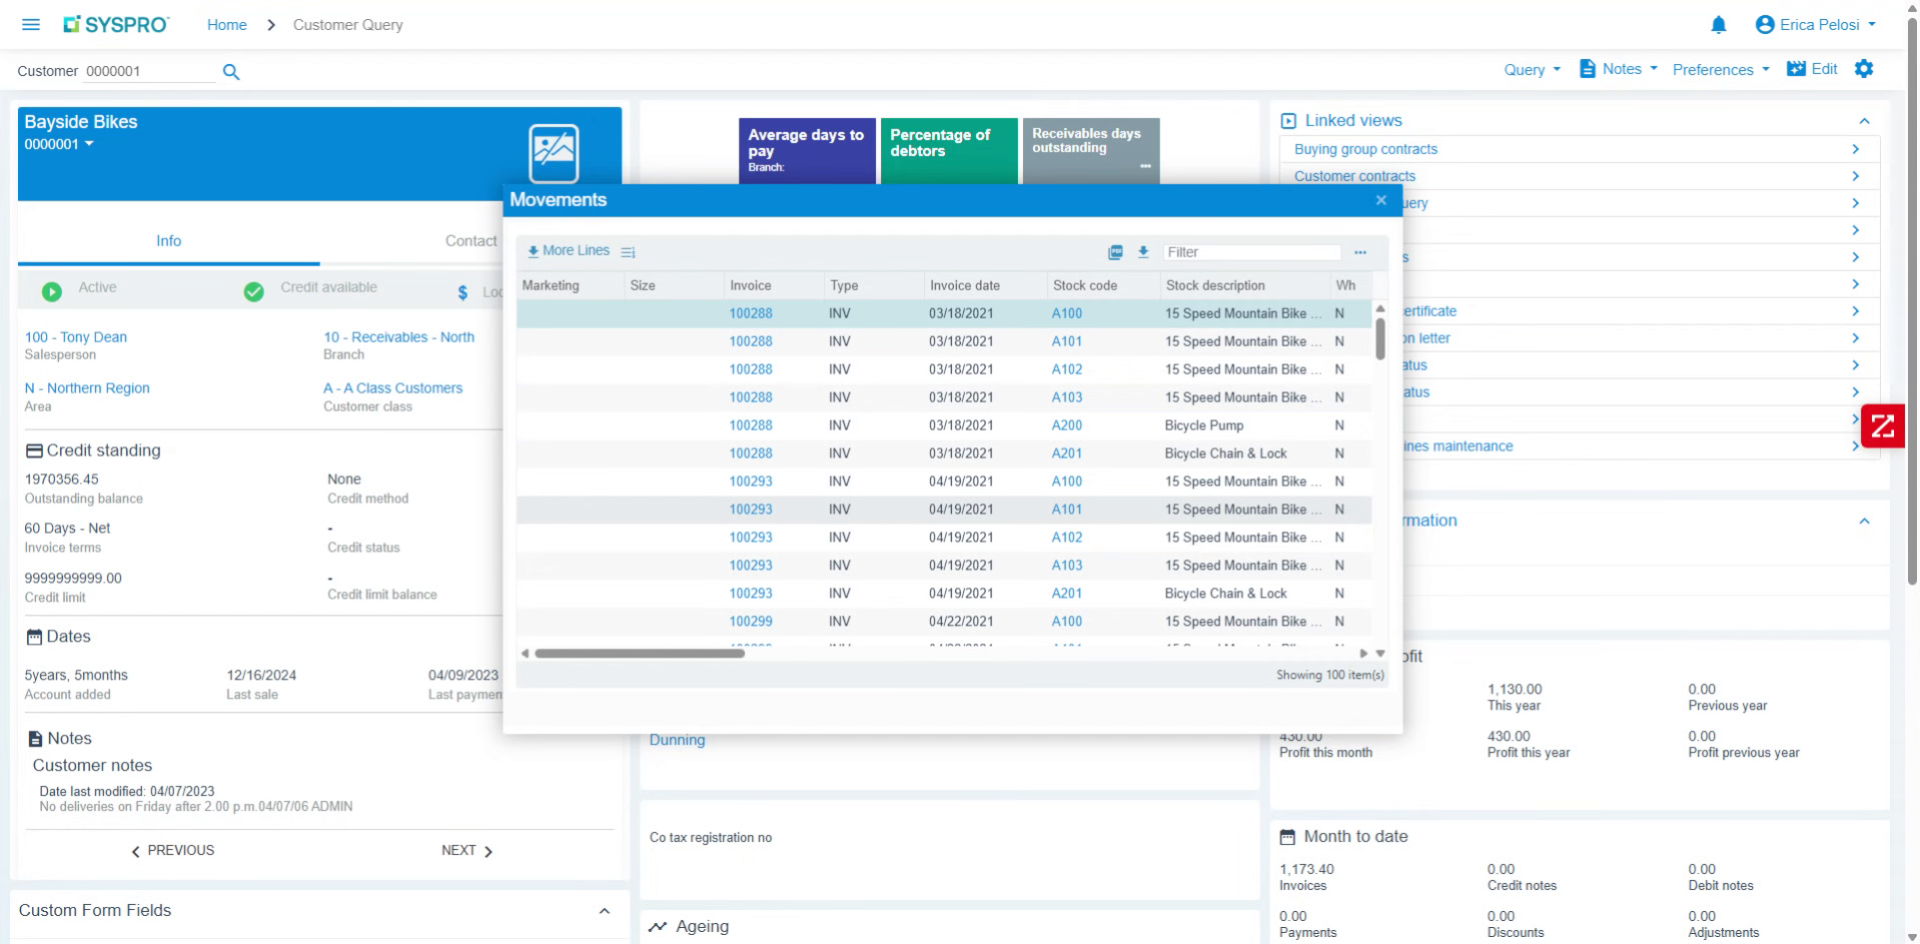
Open Movements Tab
Selec the Movements tab to review transaction history for the selected customer.
12
Pause
Video content
13
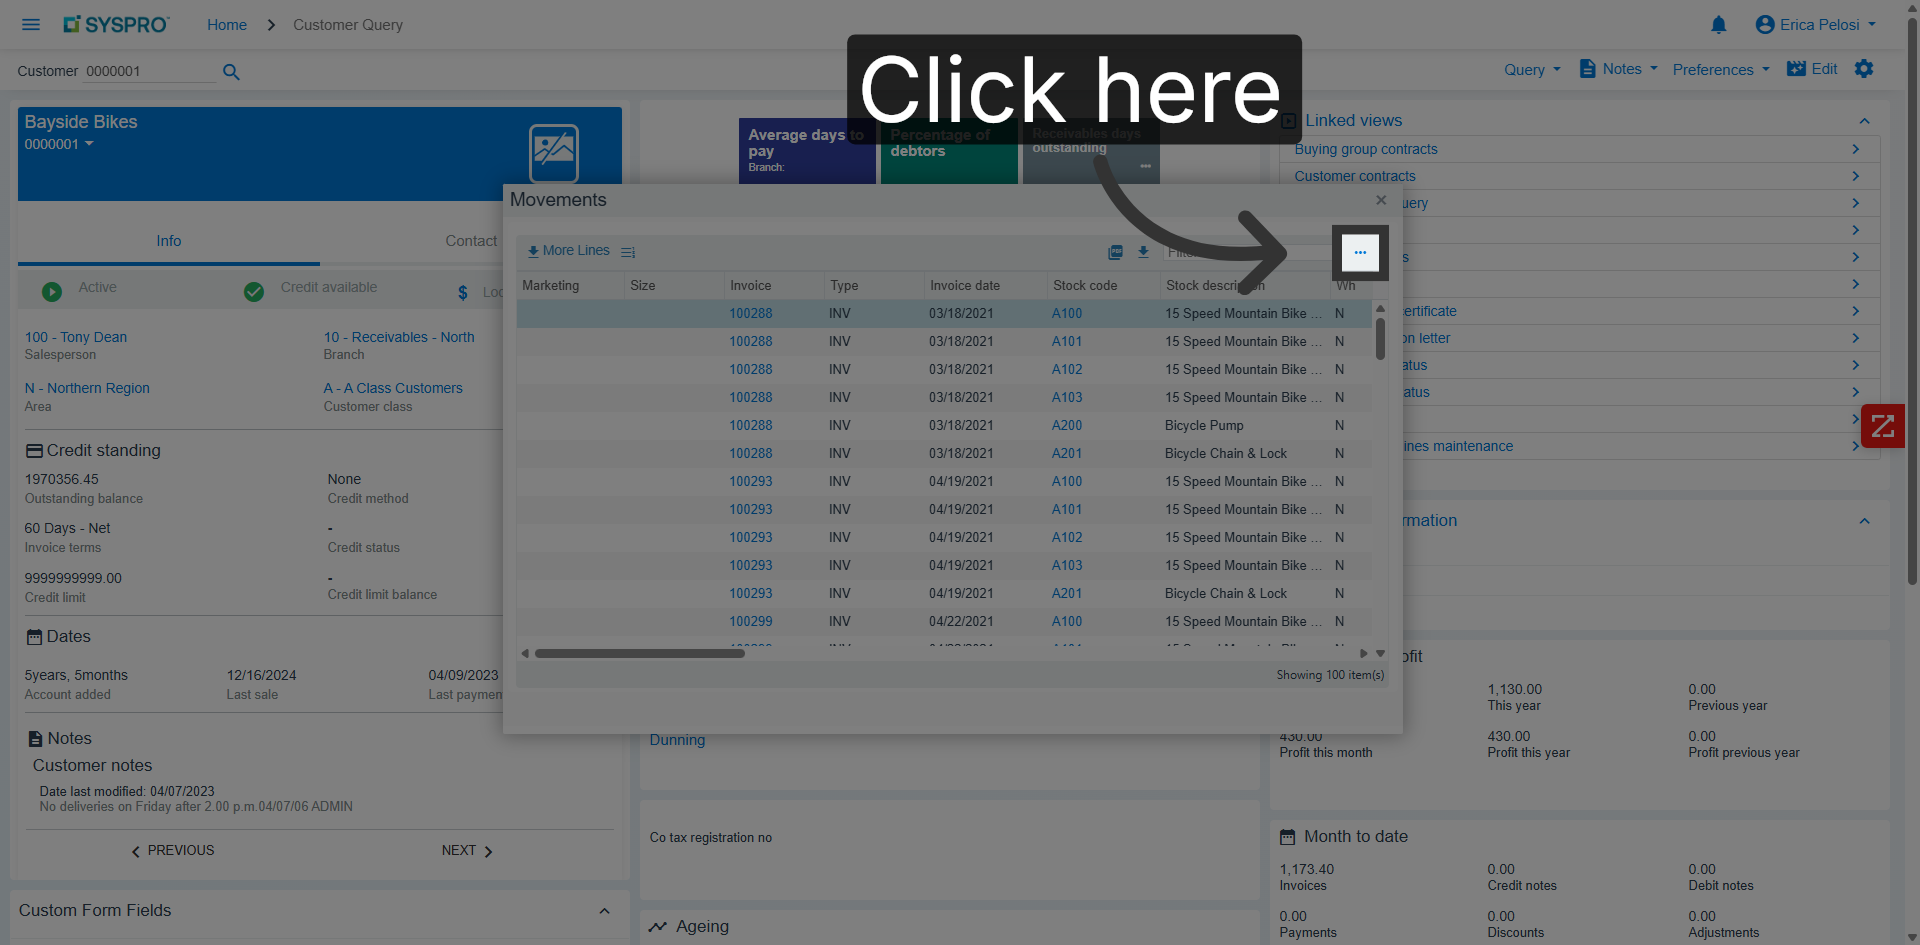
Access Additional Options
Click the indicated area to reveal more options in the Customer Query interface.
14
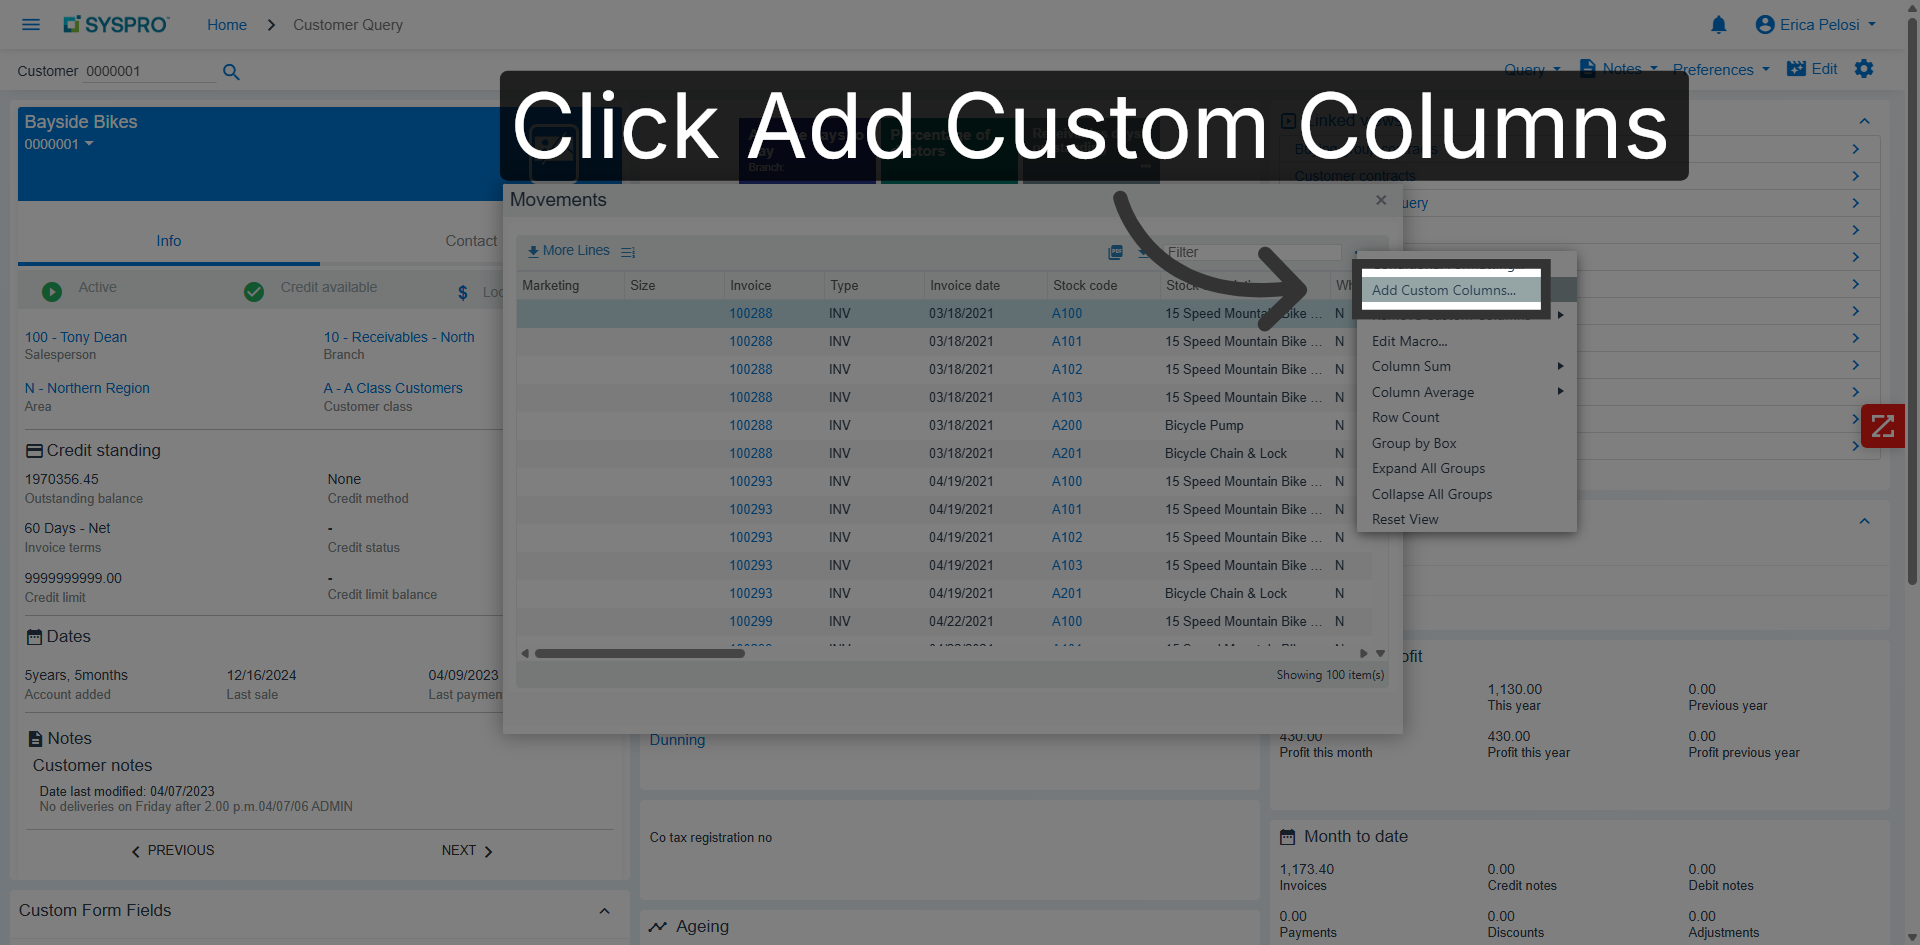
Add Custom Columns
Click Add Custom Columns to customize the data displayed in your query results.
15
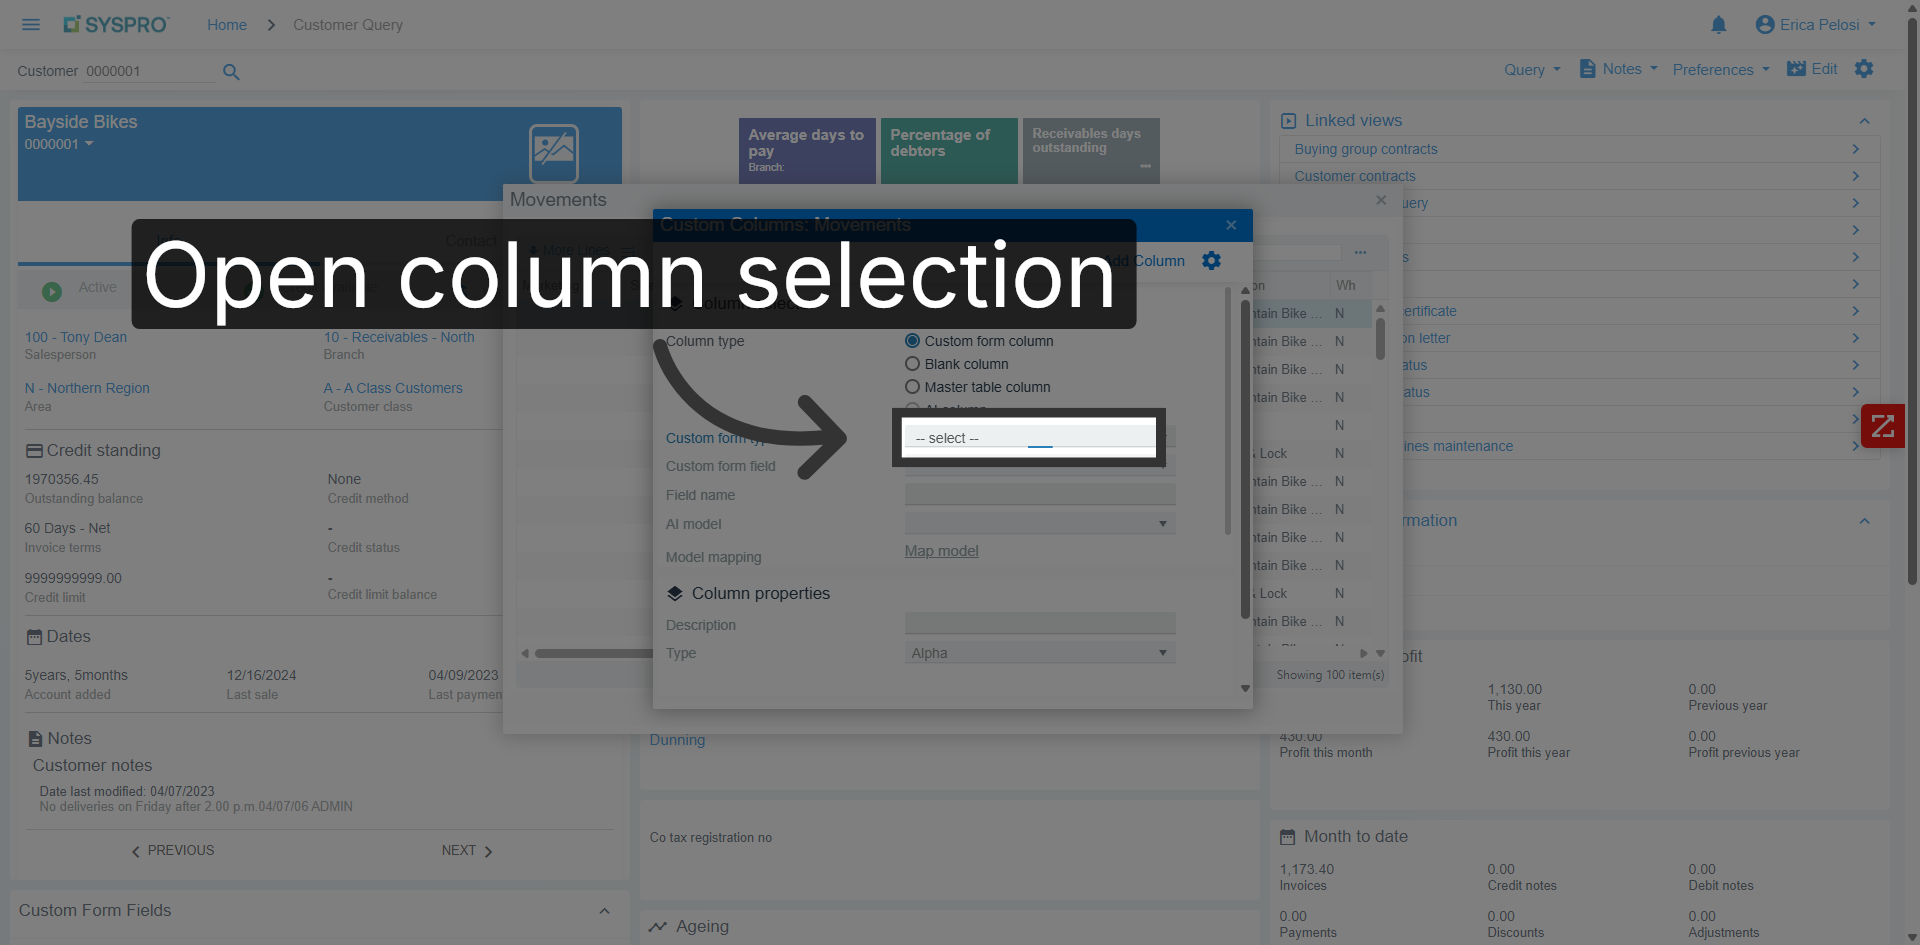
Open Column Selection
Click the selection dropdown to choose columns to add to your query view.
16
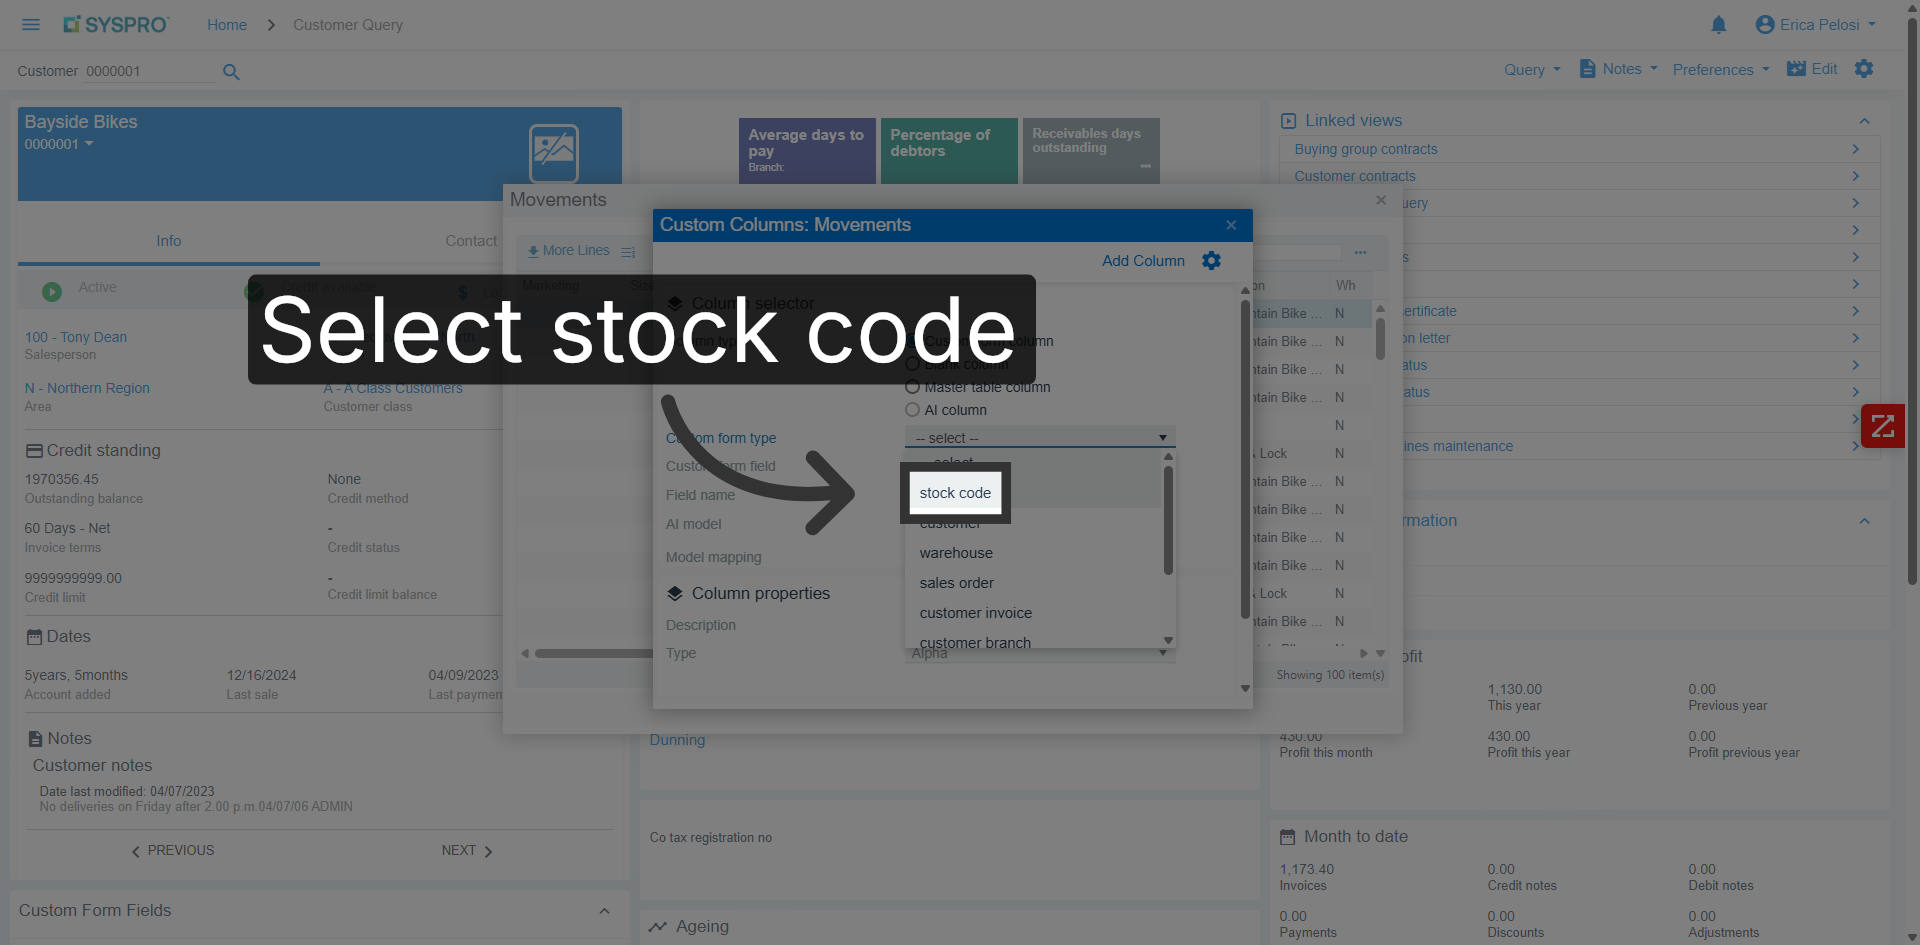
Select Stock Code Column
Select the stock code column to include product identifiers in your query results.
17
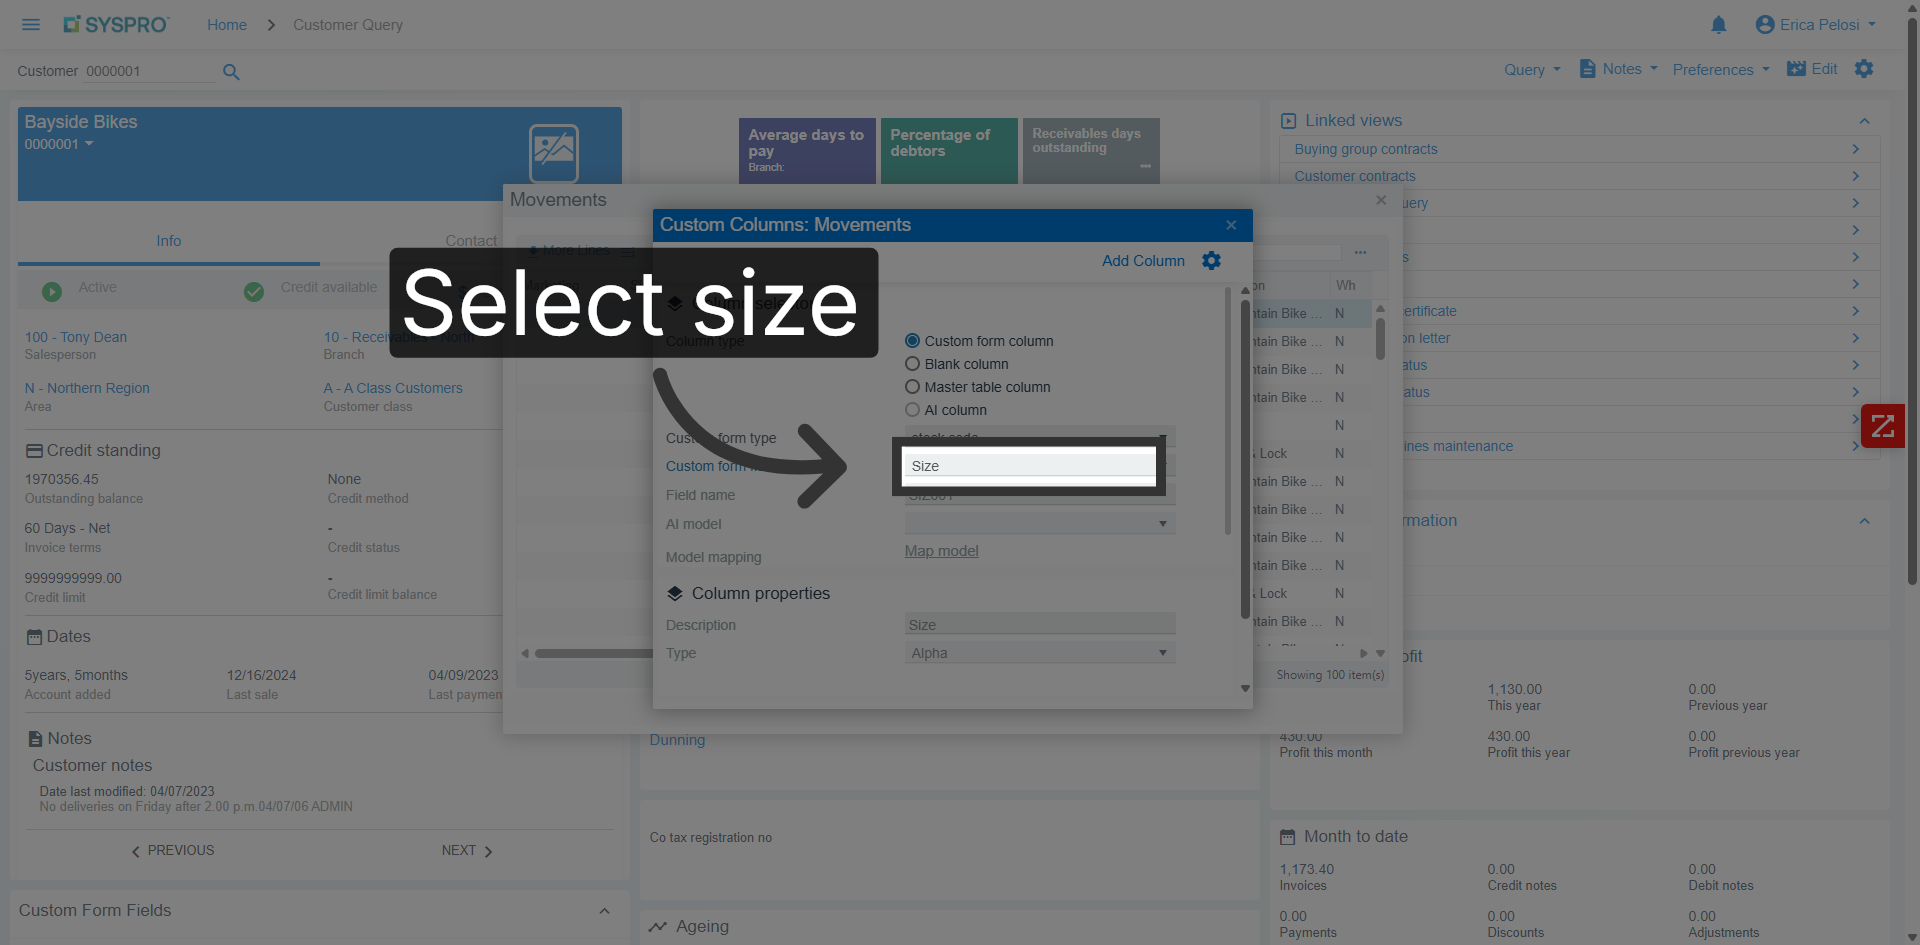
Select Size Column
Select the size column to display product size information in the query.
18
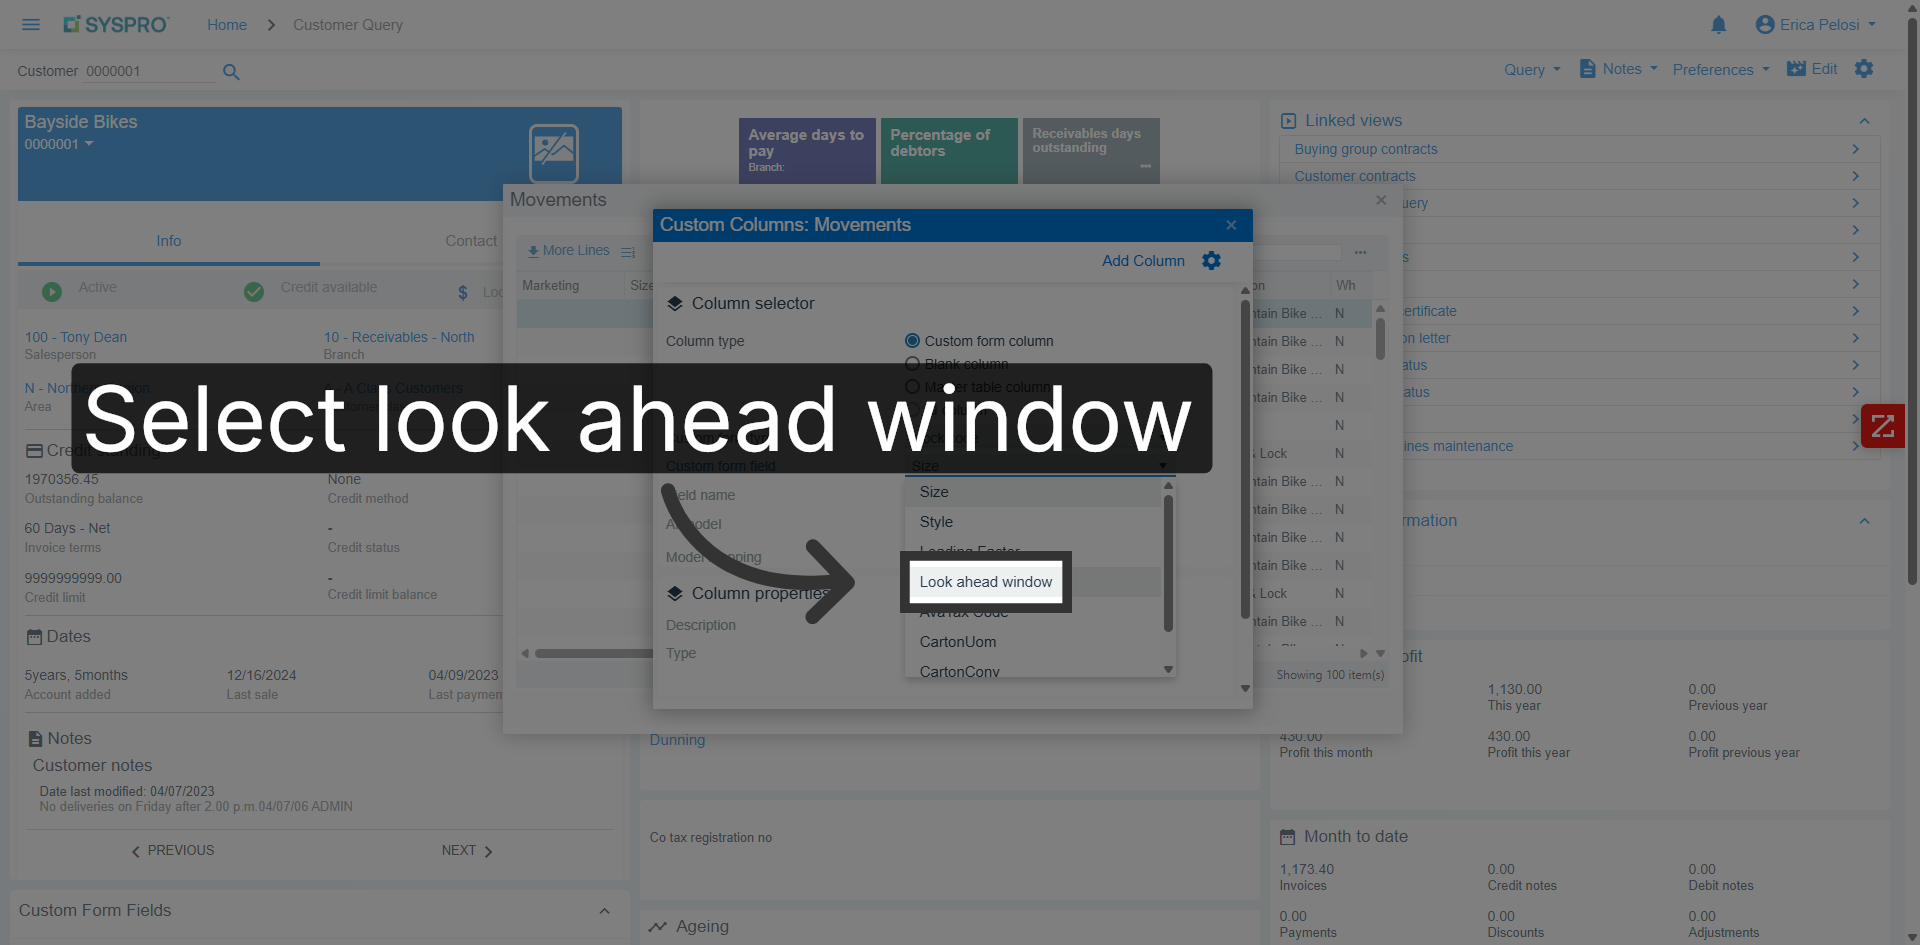
Select Look Ahead Window
Click the Look ahead window option to adjust the data range for your query.
19
Pause
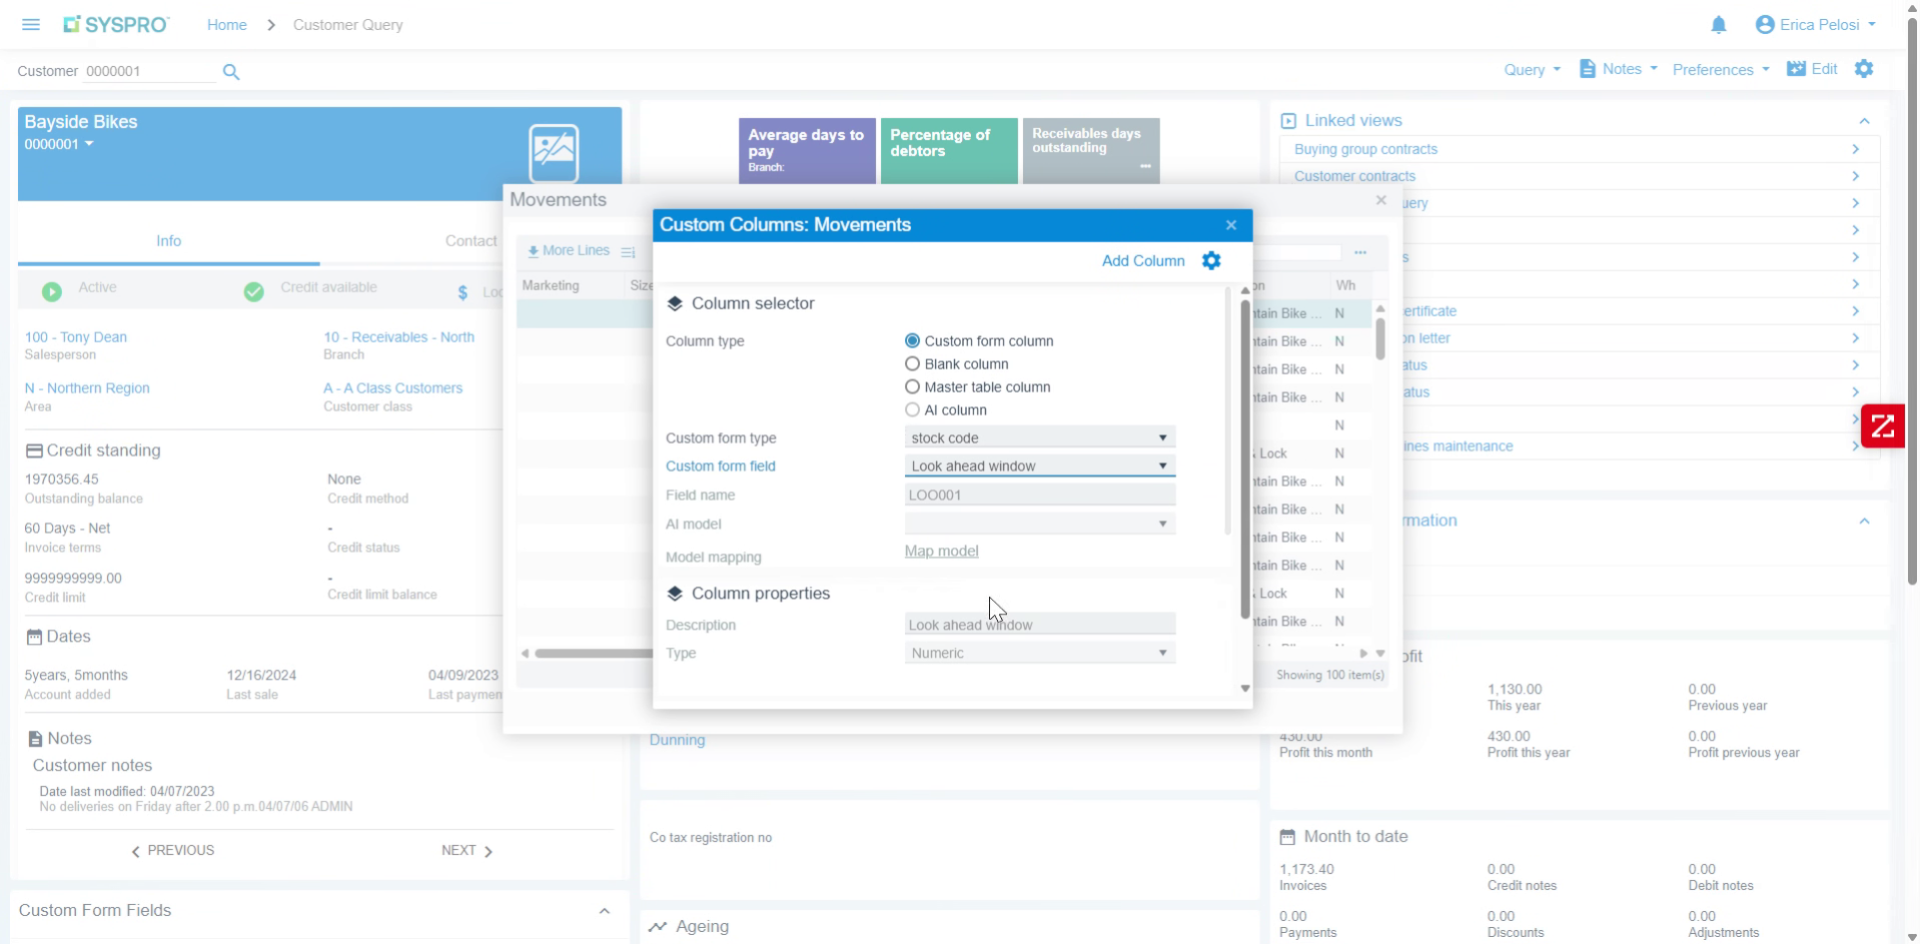
Click add column and you can see that your custom column has been added.
Video content
20
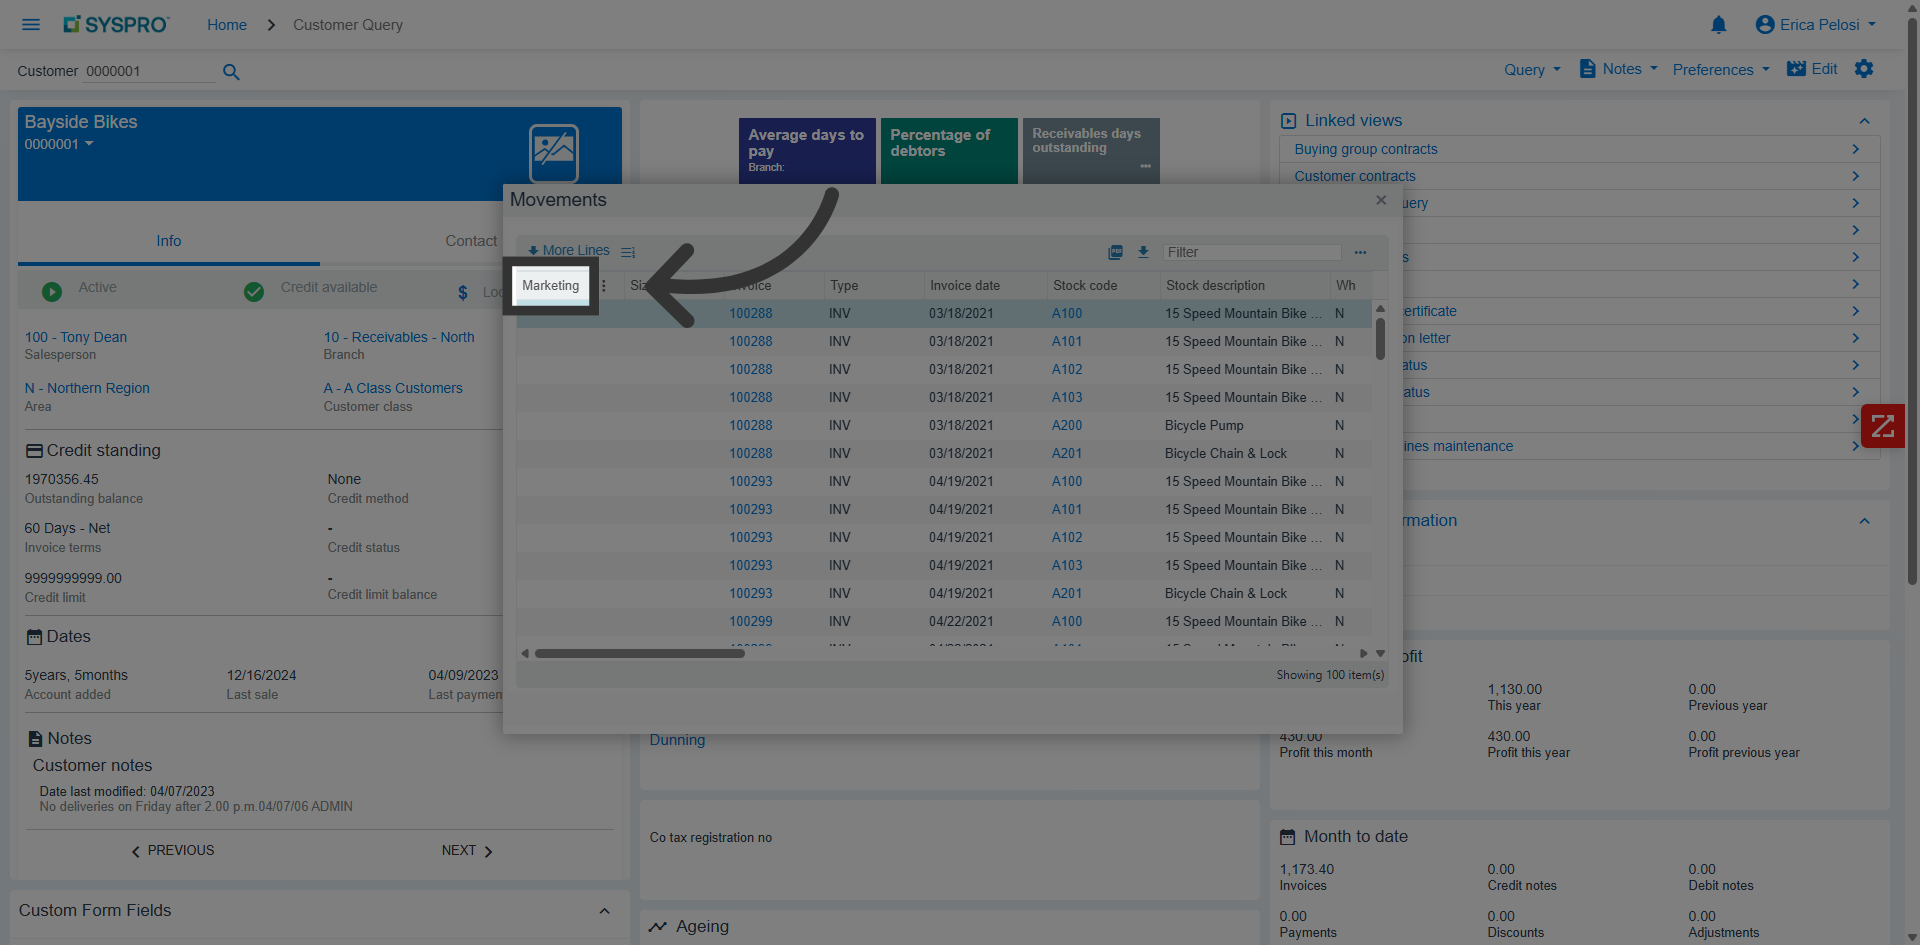
Open Marketing Tab
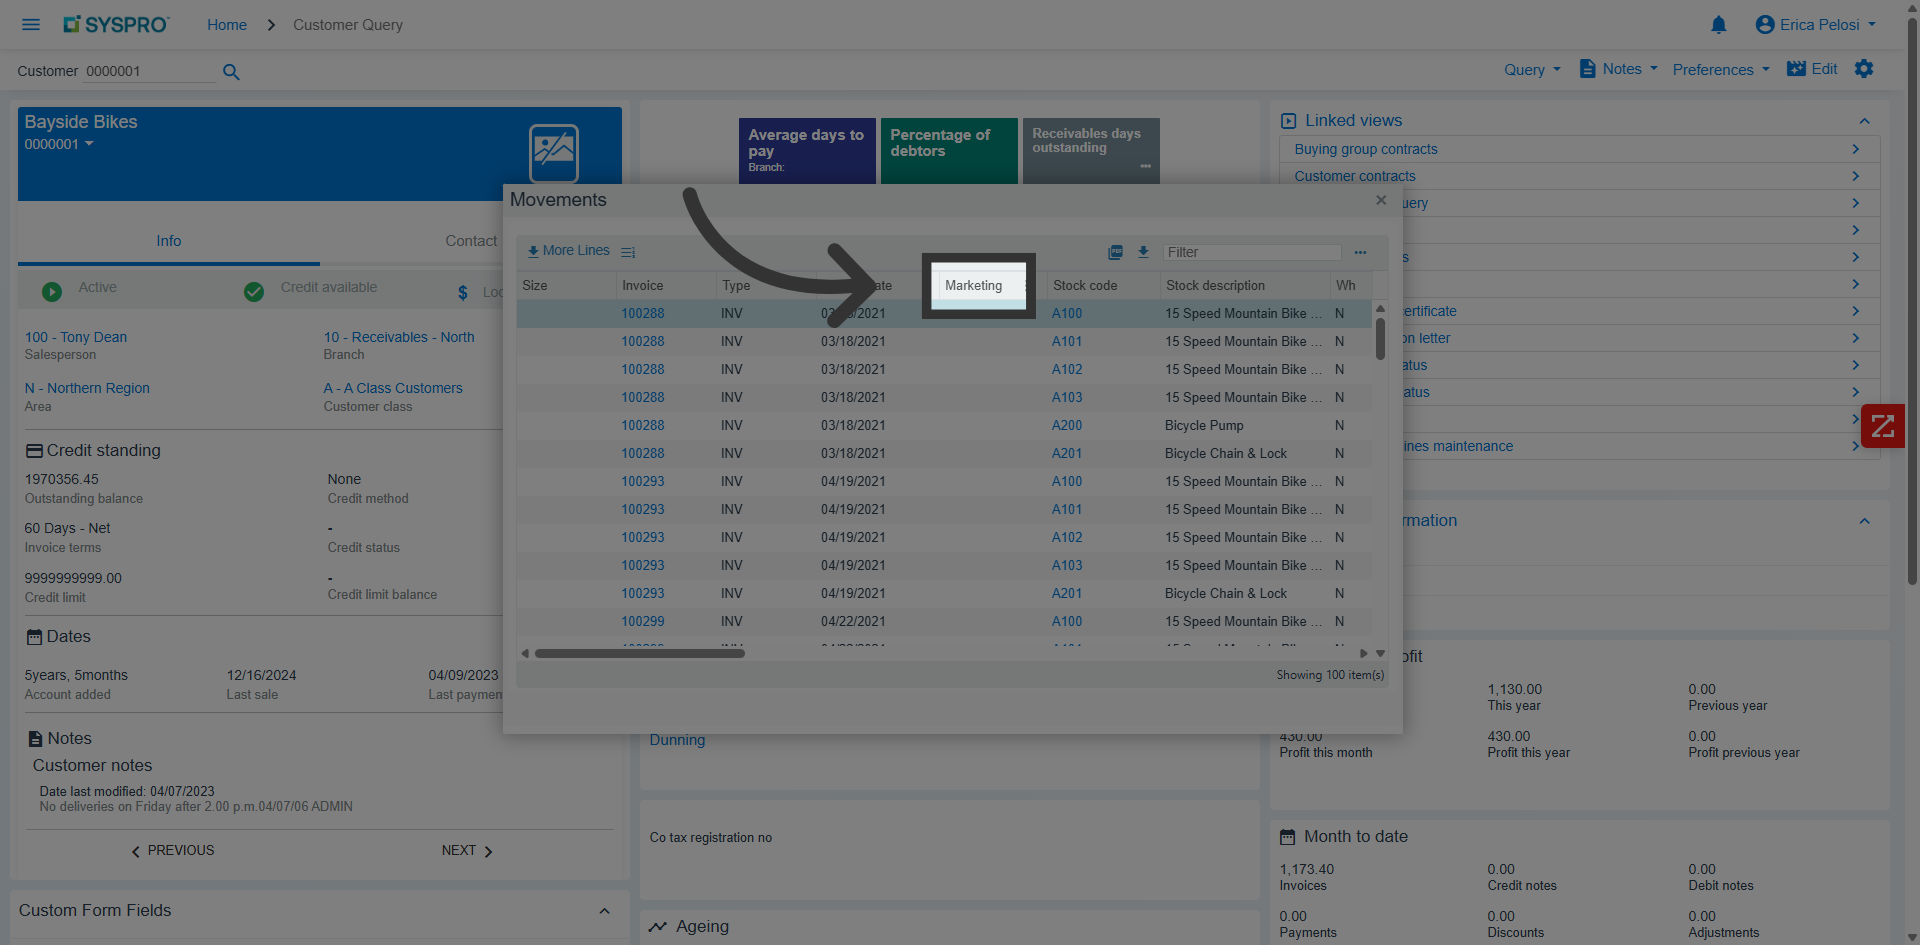
You can rearrange columns by a simple drag and drop
21
Reopen Marketing Tab
22
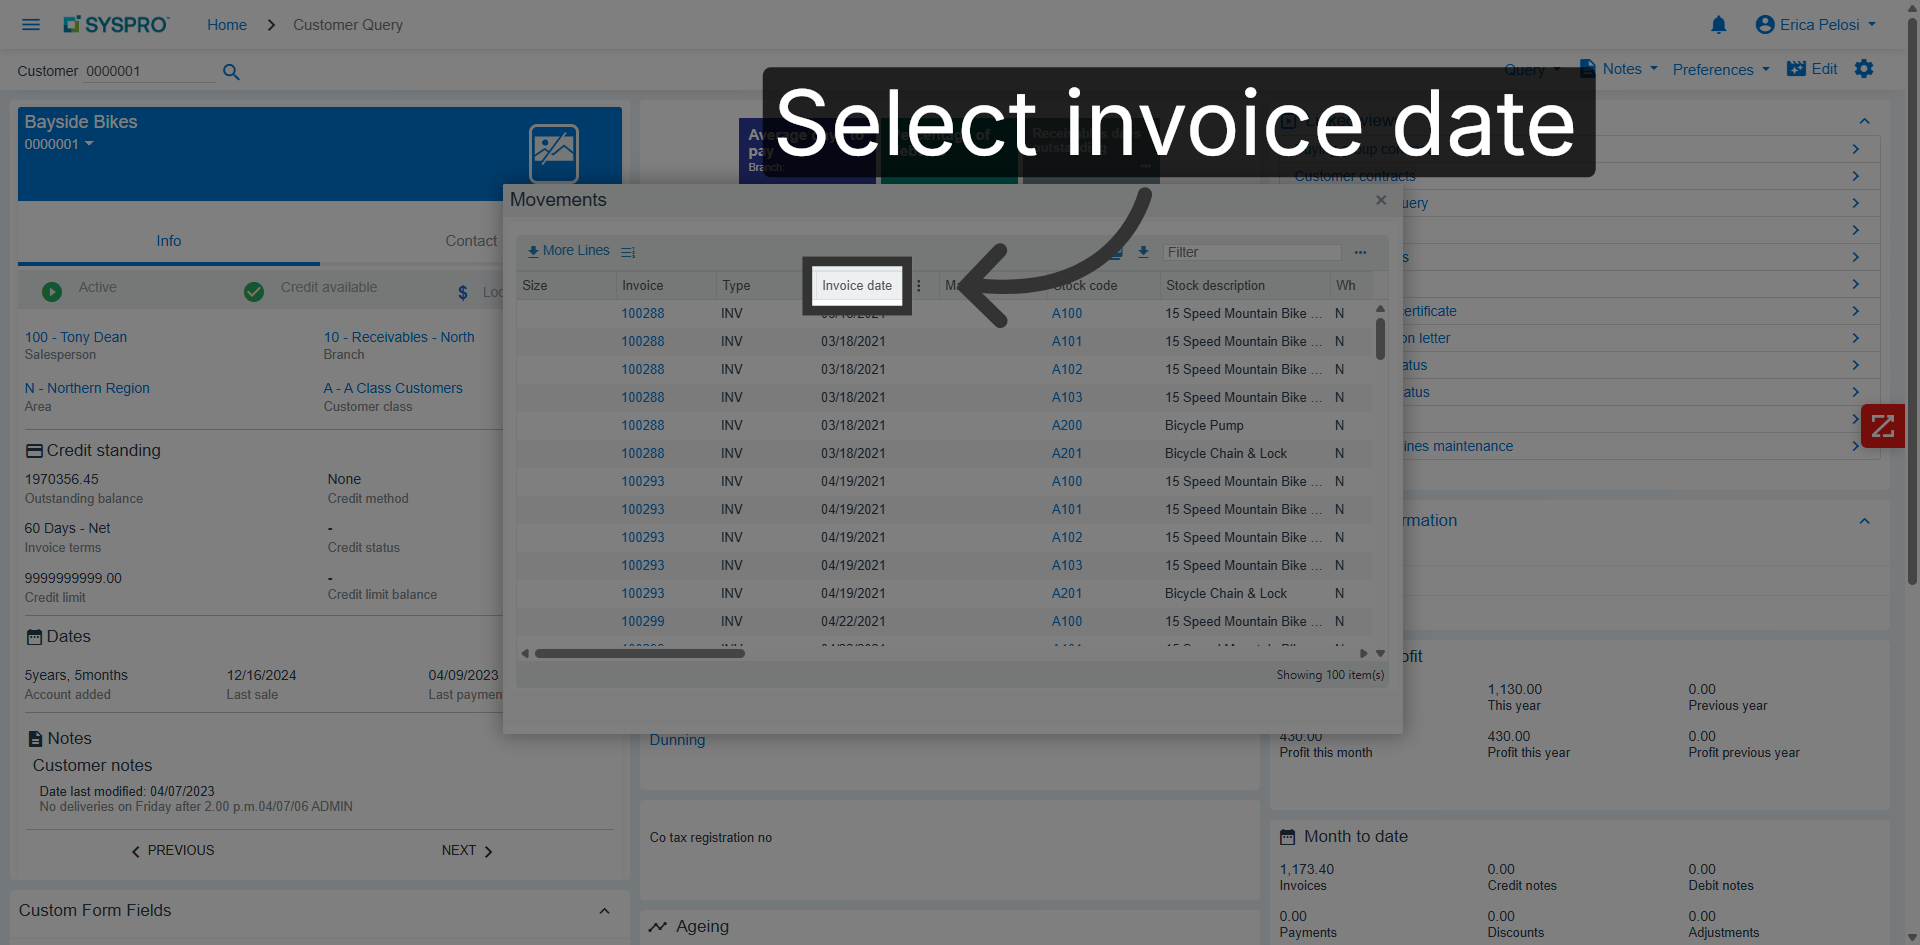
Select Invoice Date
Click the Invoice date field to filter transactions by date.
23
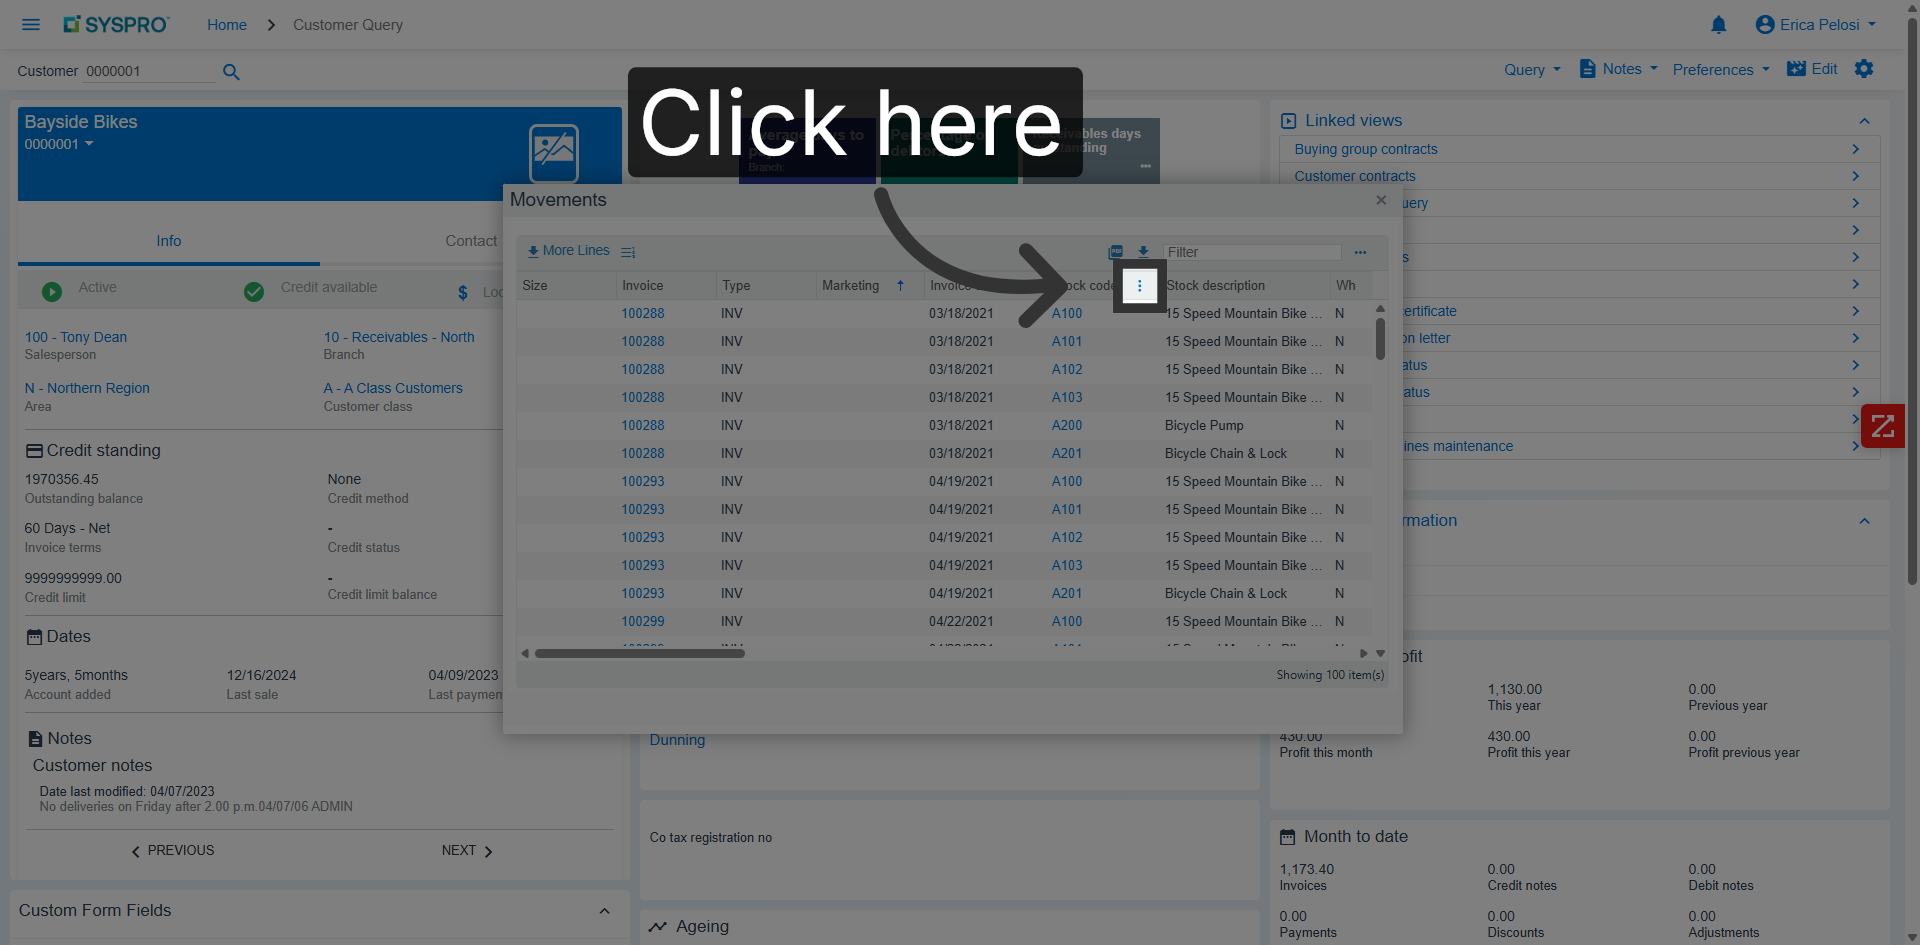
Access Filter Options
Click the three dot to open filter options for refining your query.
24
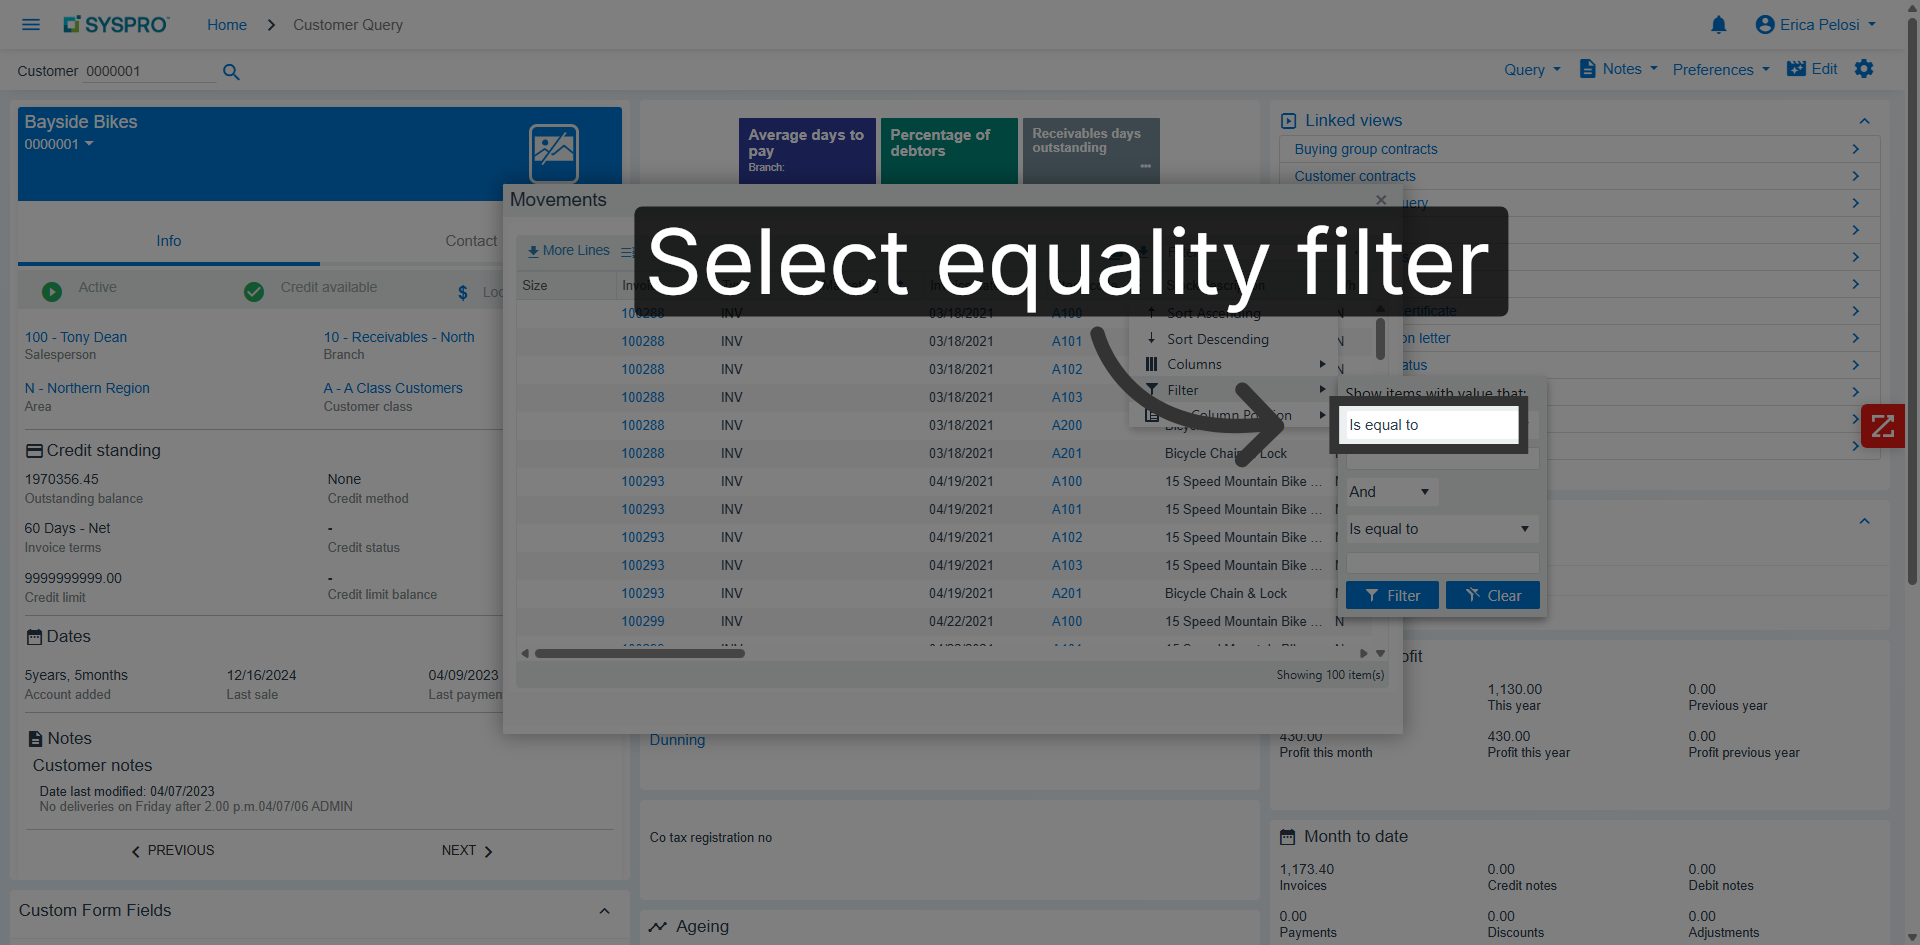
Choose Equality Filter
Click Is equal to to set the filter condition for your query.
25
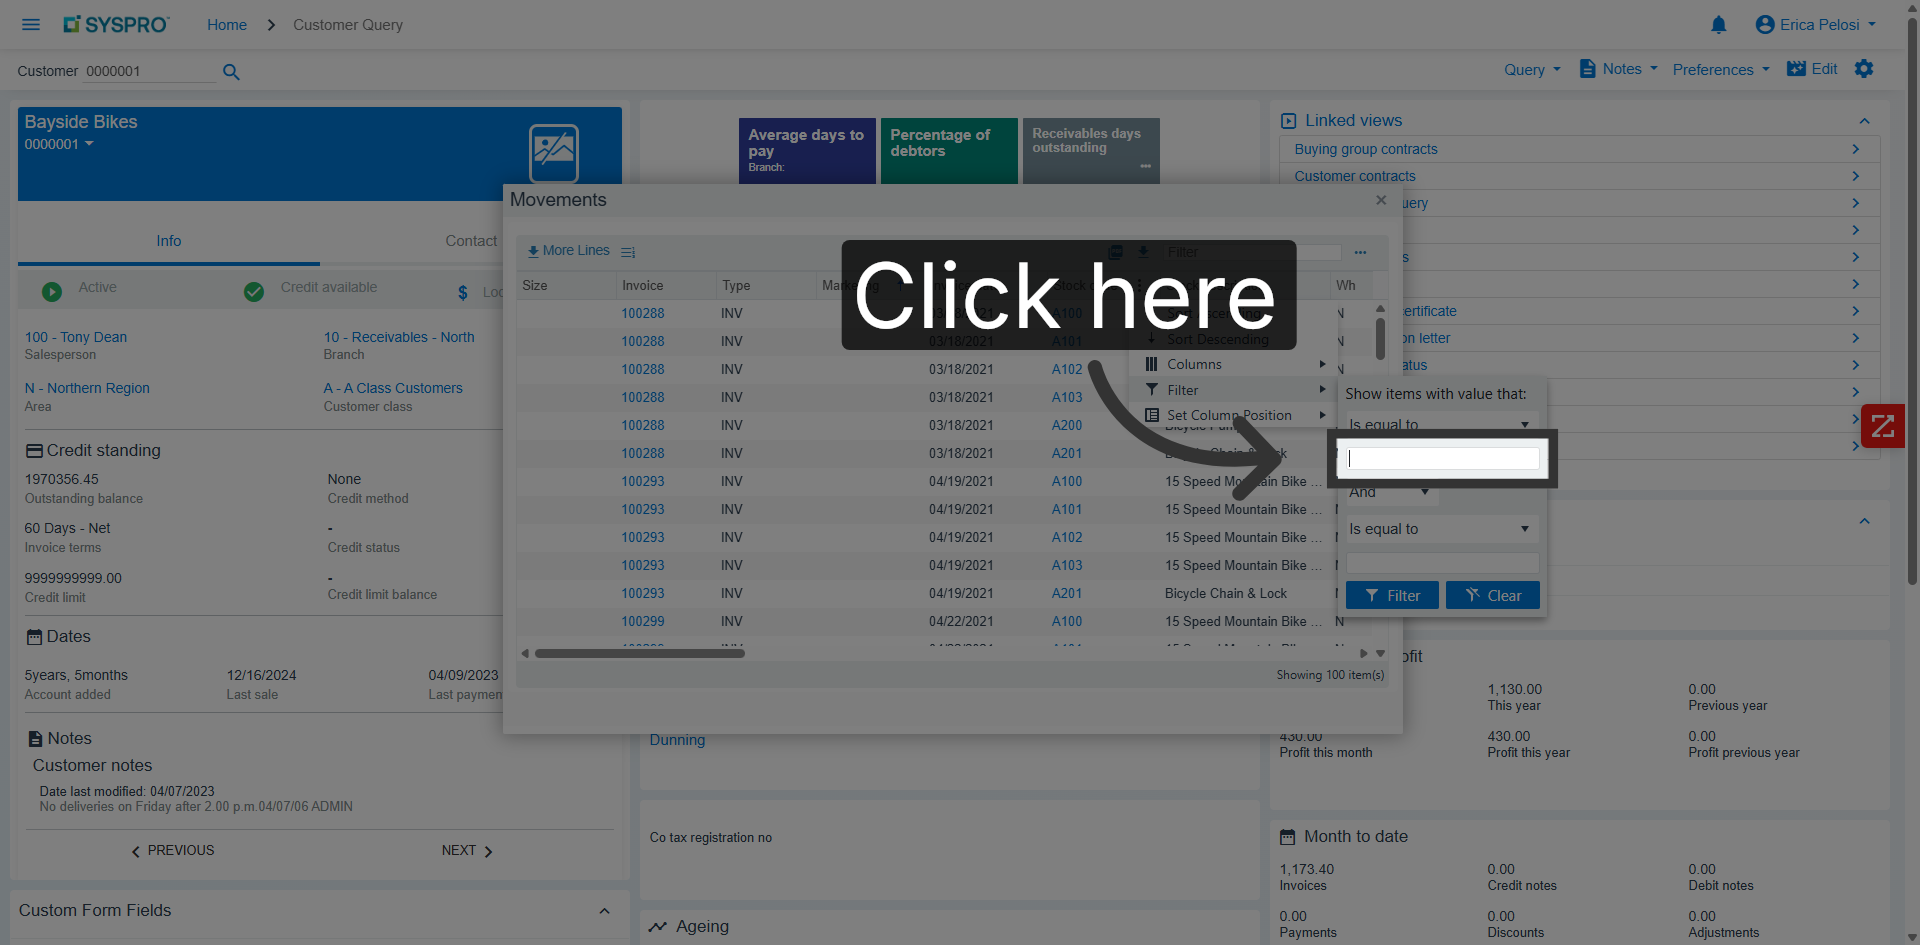
Open Filter Input
Click the indicated area to enter filter criteria.
26
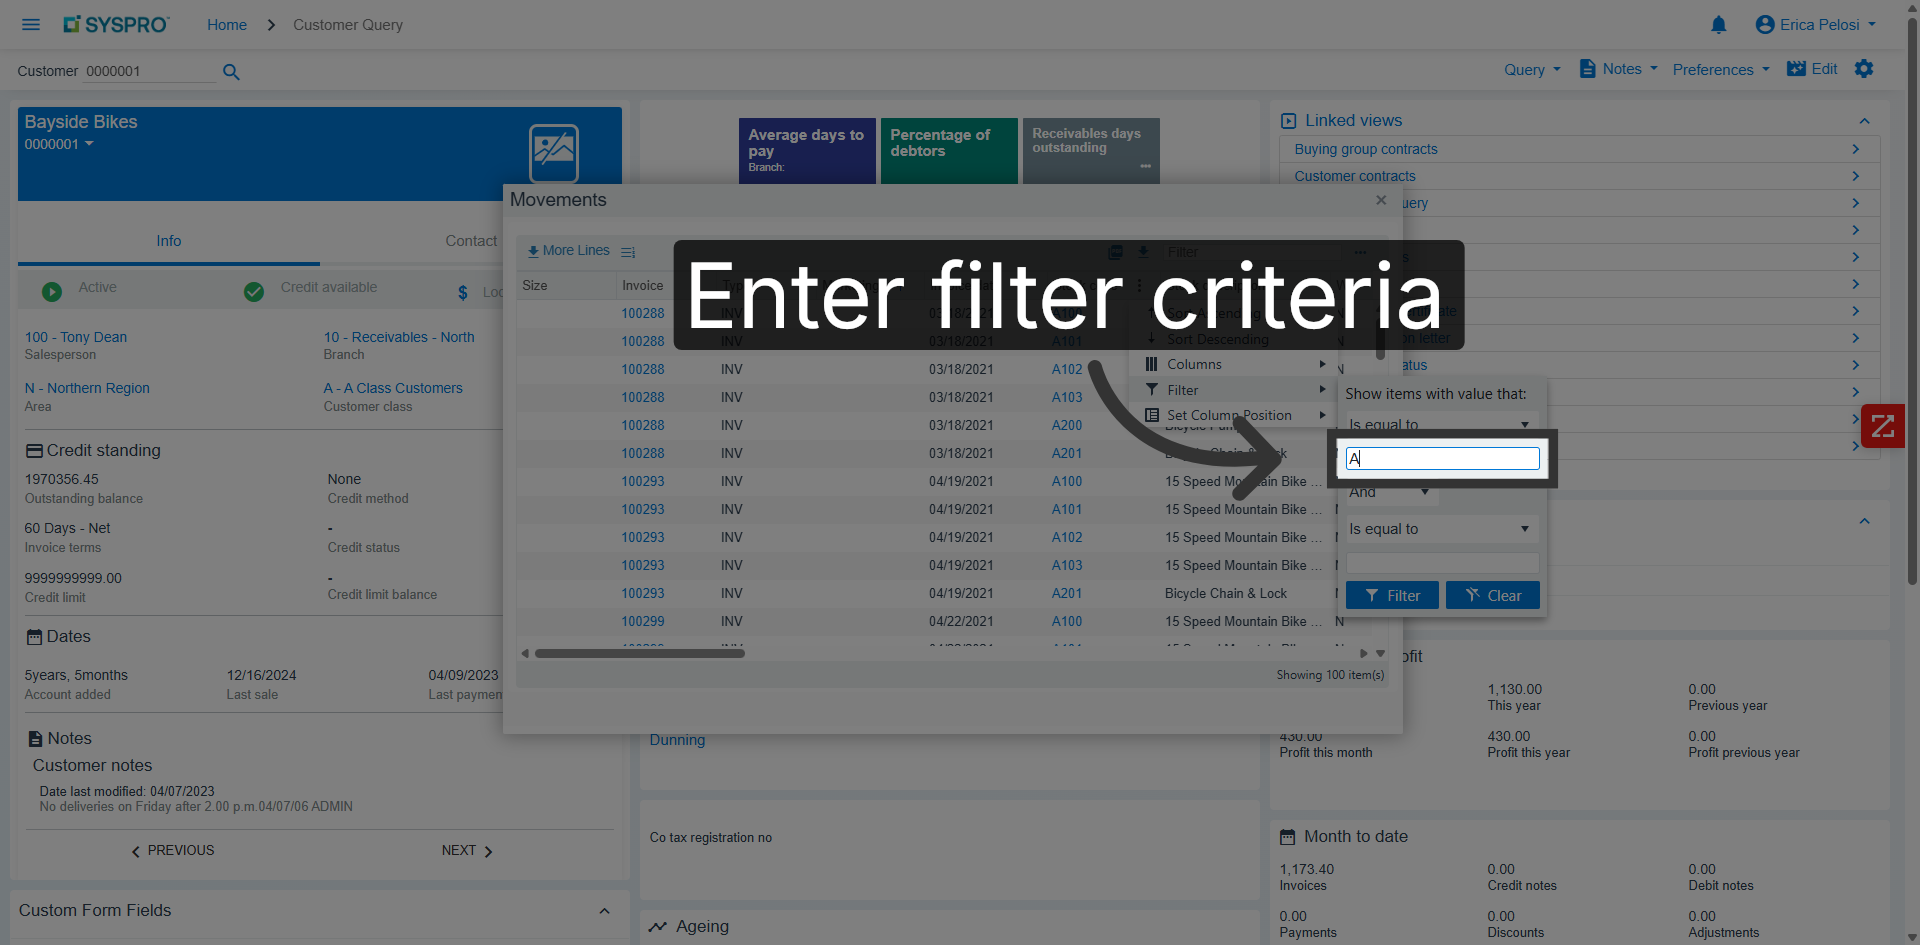
Enter Filter Criteria
Enter your filter criteria to narrow down query results.
27
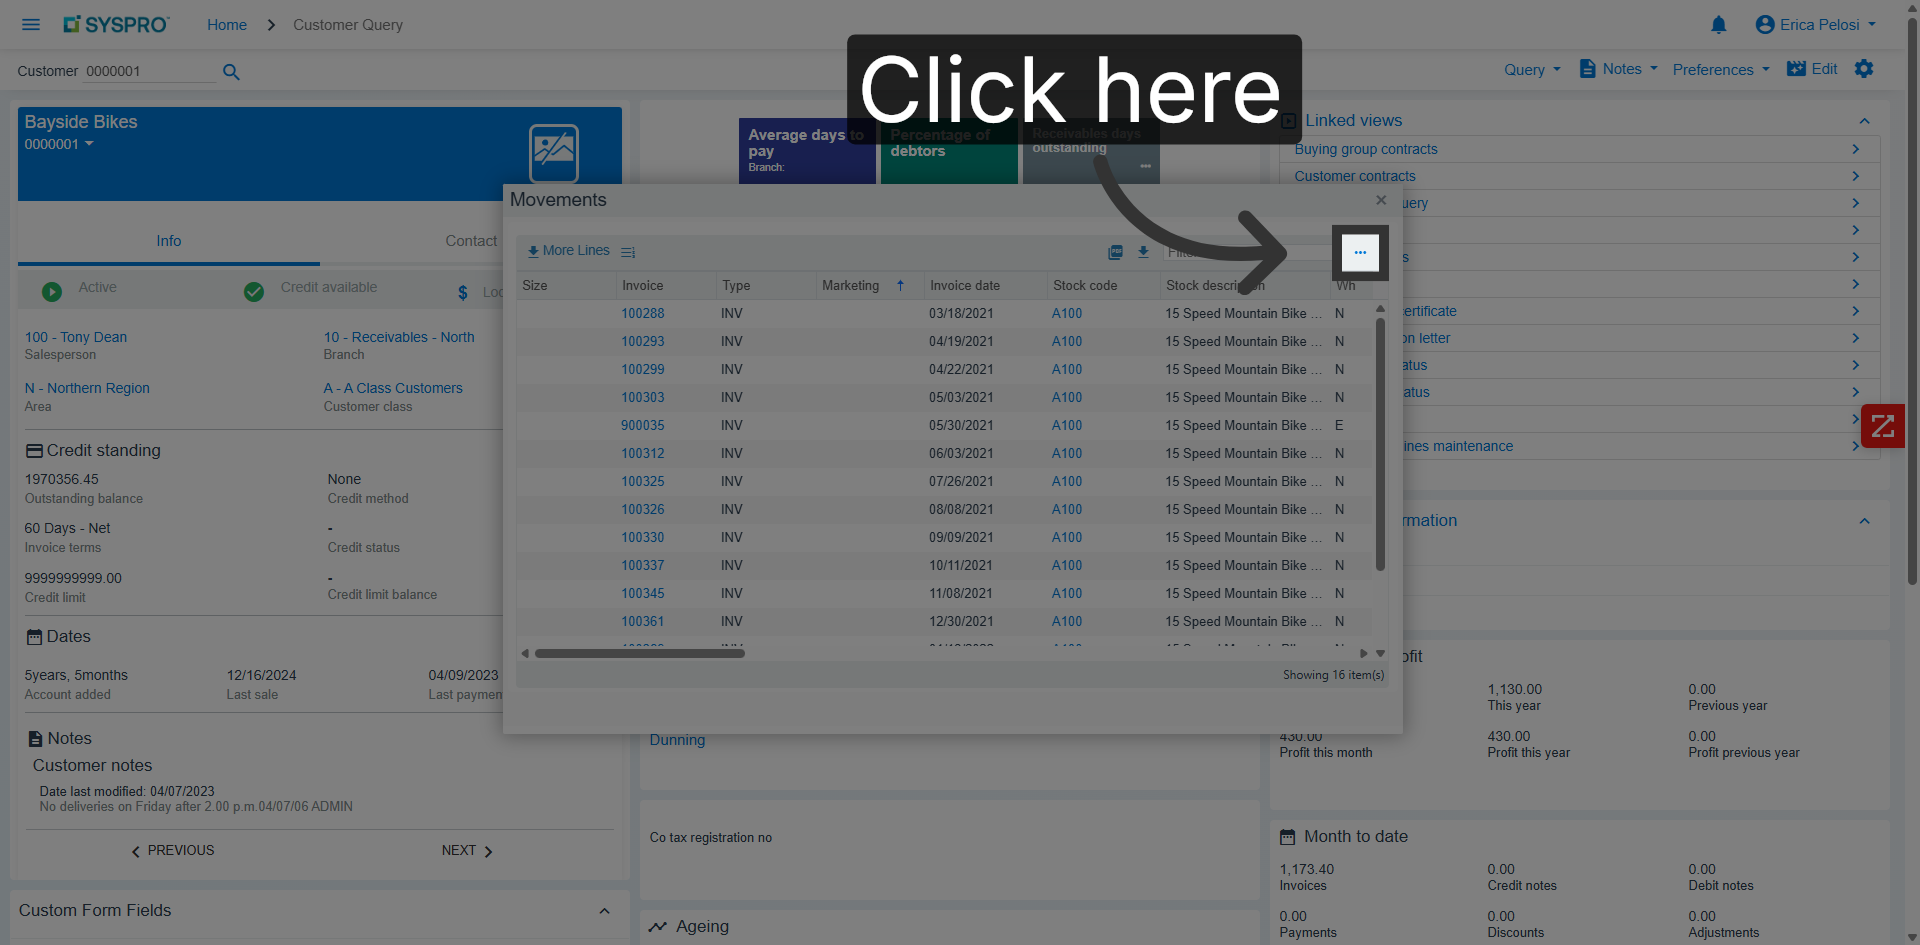
Click to Proceed
Click the three dots again to advance in the query interface.
28
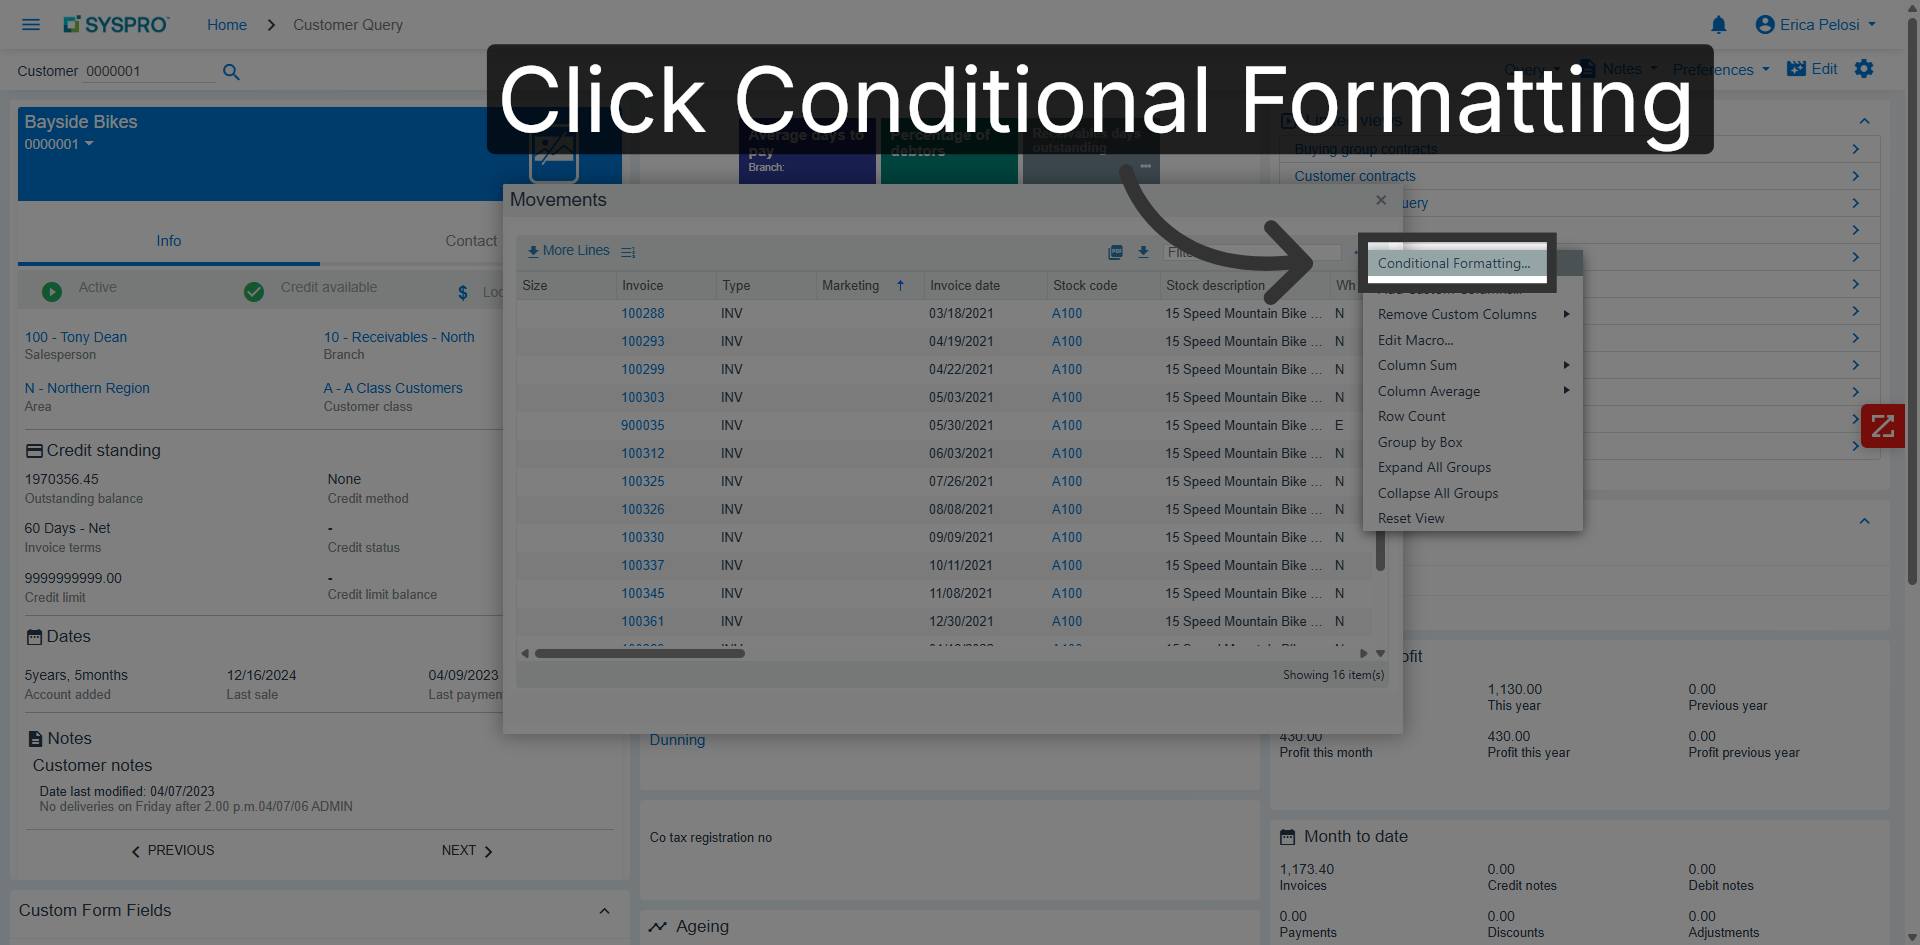
Open Conditional Formatting
Click Conditional Formatting to customize how data is visually displayed.
29
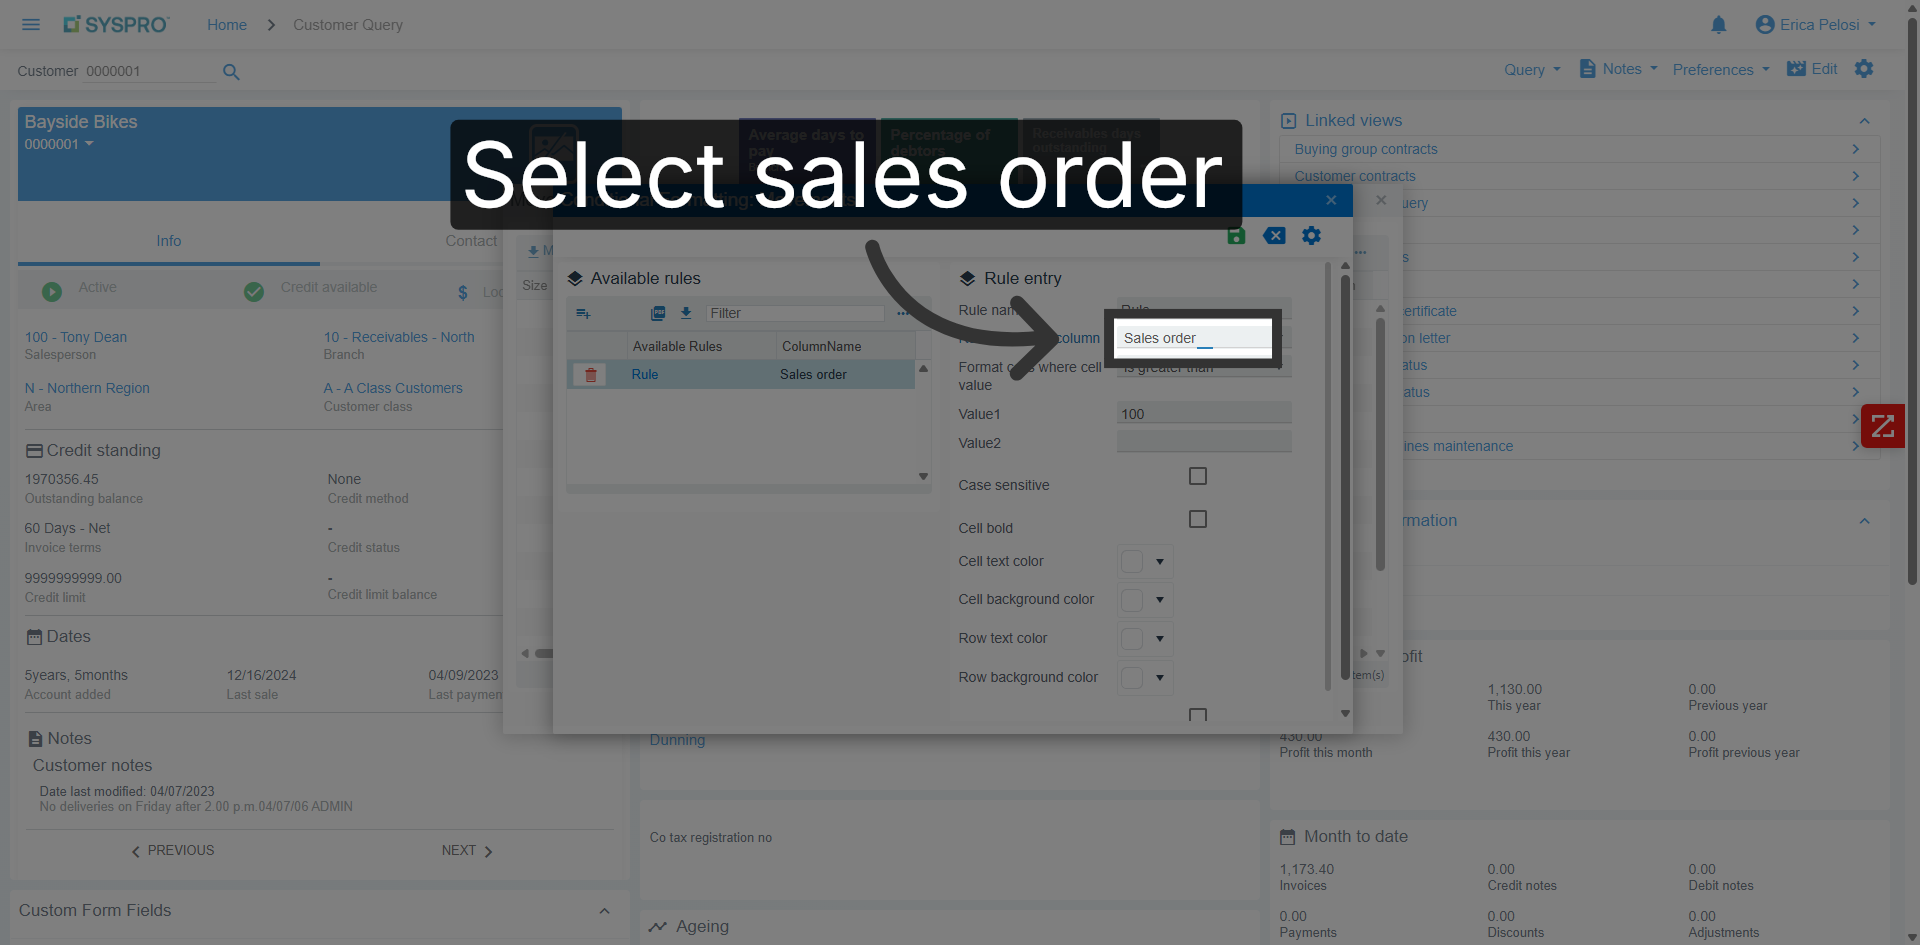
Select Sales Order Column
Click the Sales order column to include order details in your query.
30
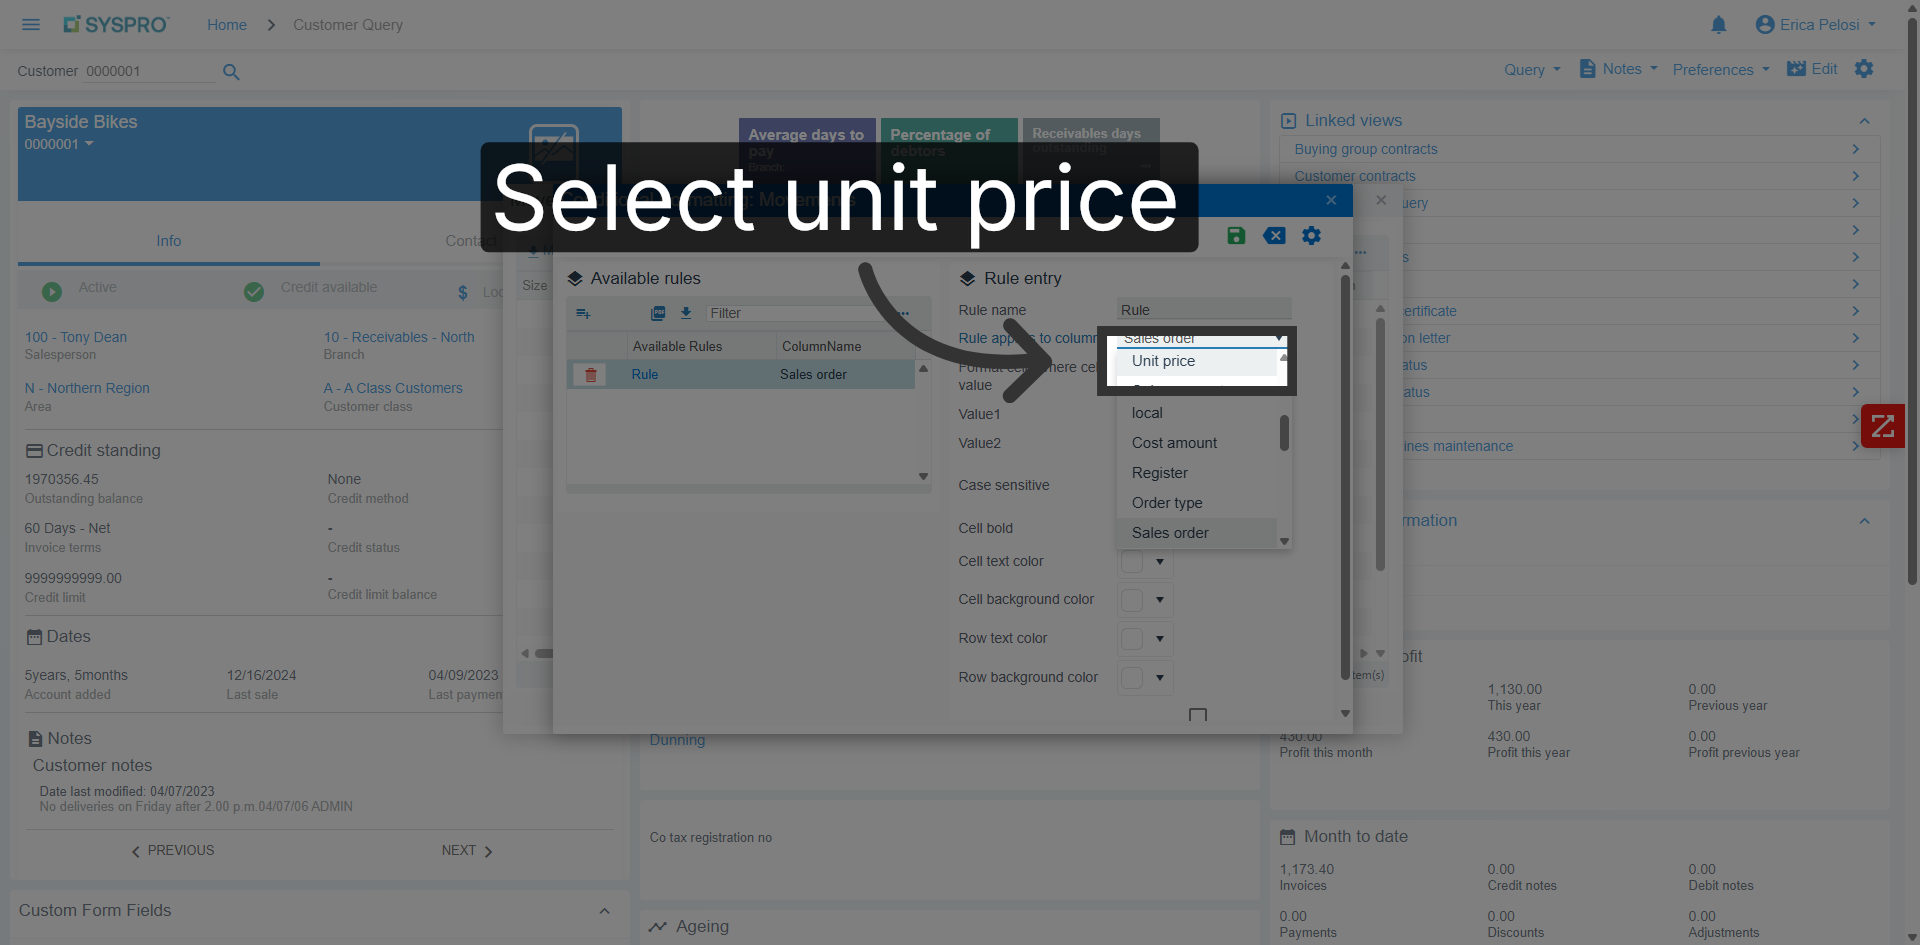
Select Unit Price Column
Click the Unit price column to display pricing information in the query results.
31
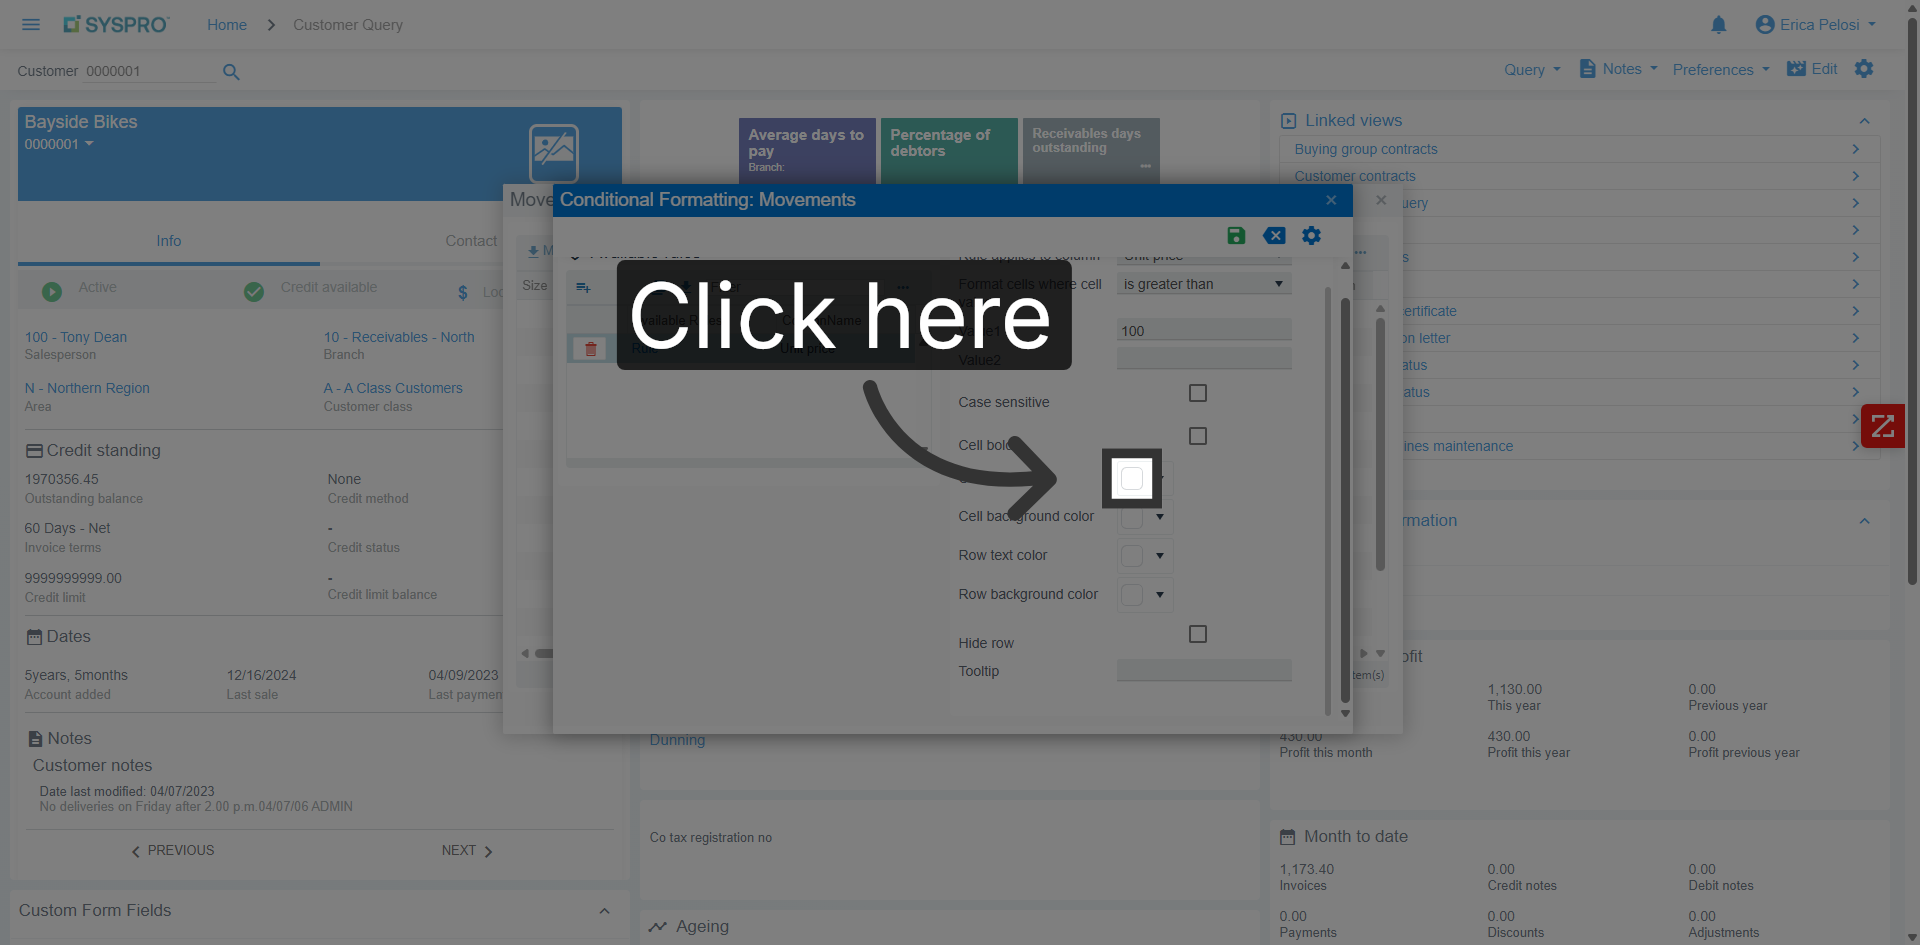
Click to Continue
Click the indicated area to proceed with formatting options.
32
Click to Confirm
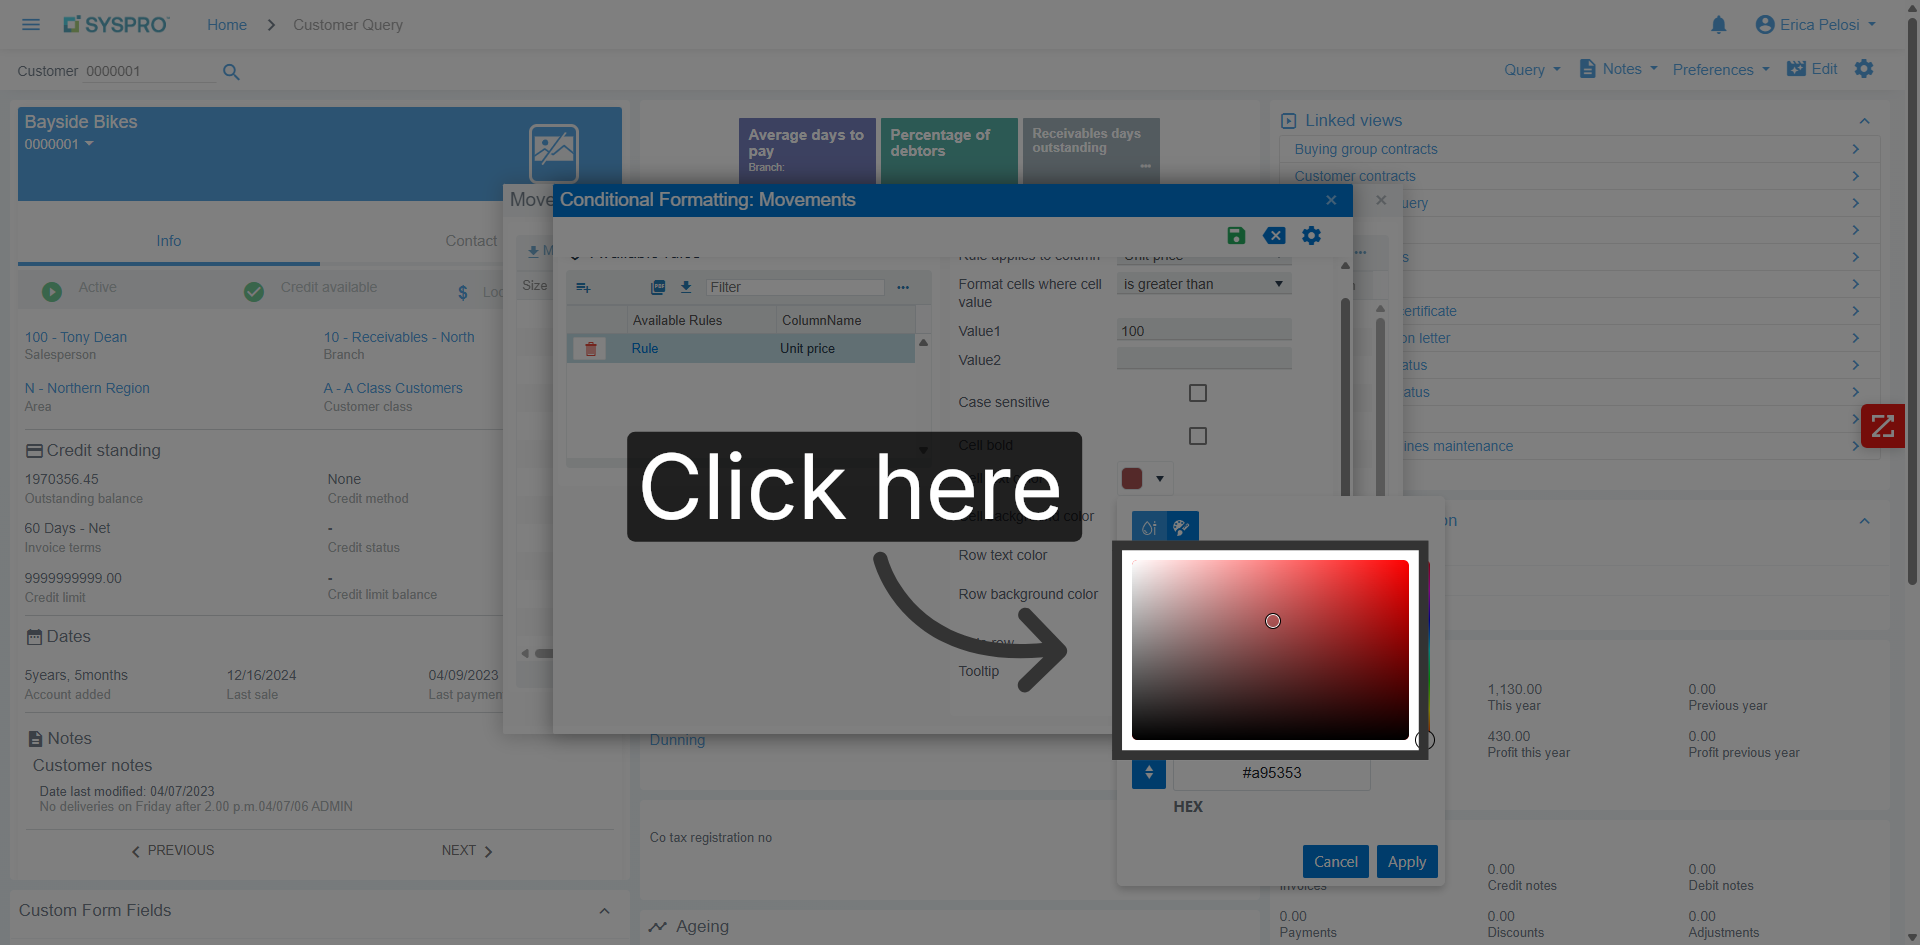
You can customize column colors to easily find your data.
33
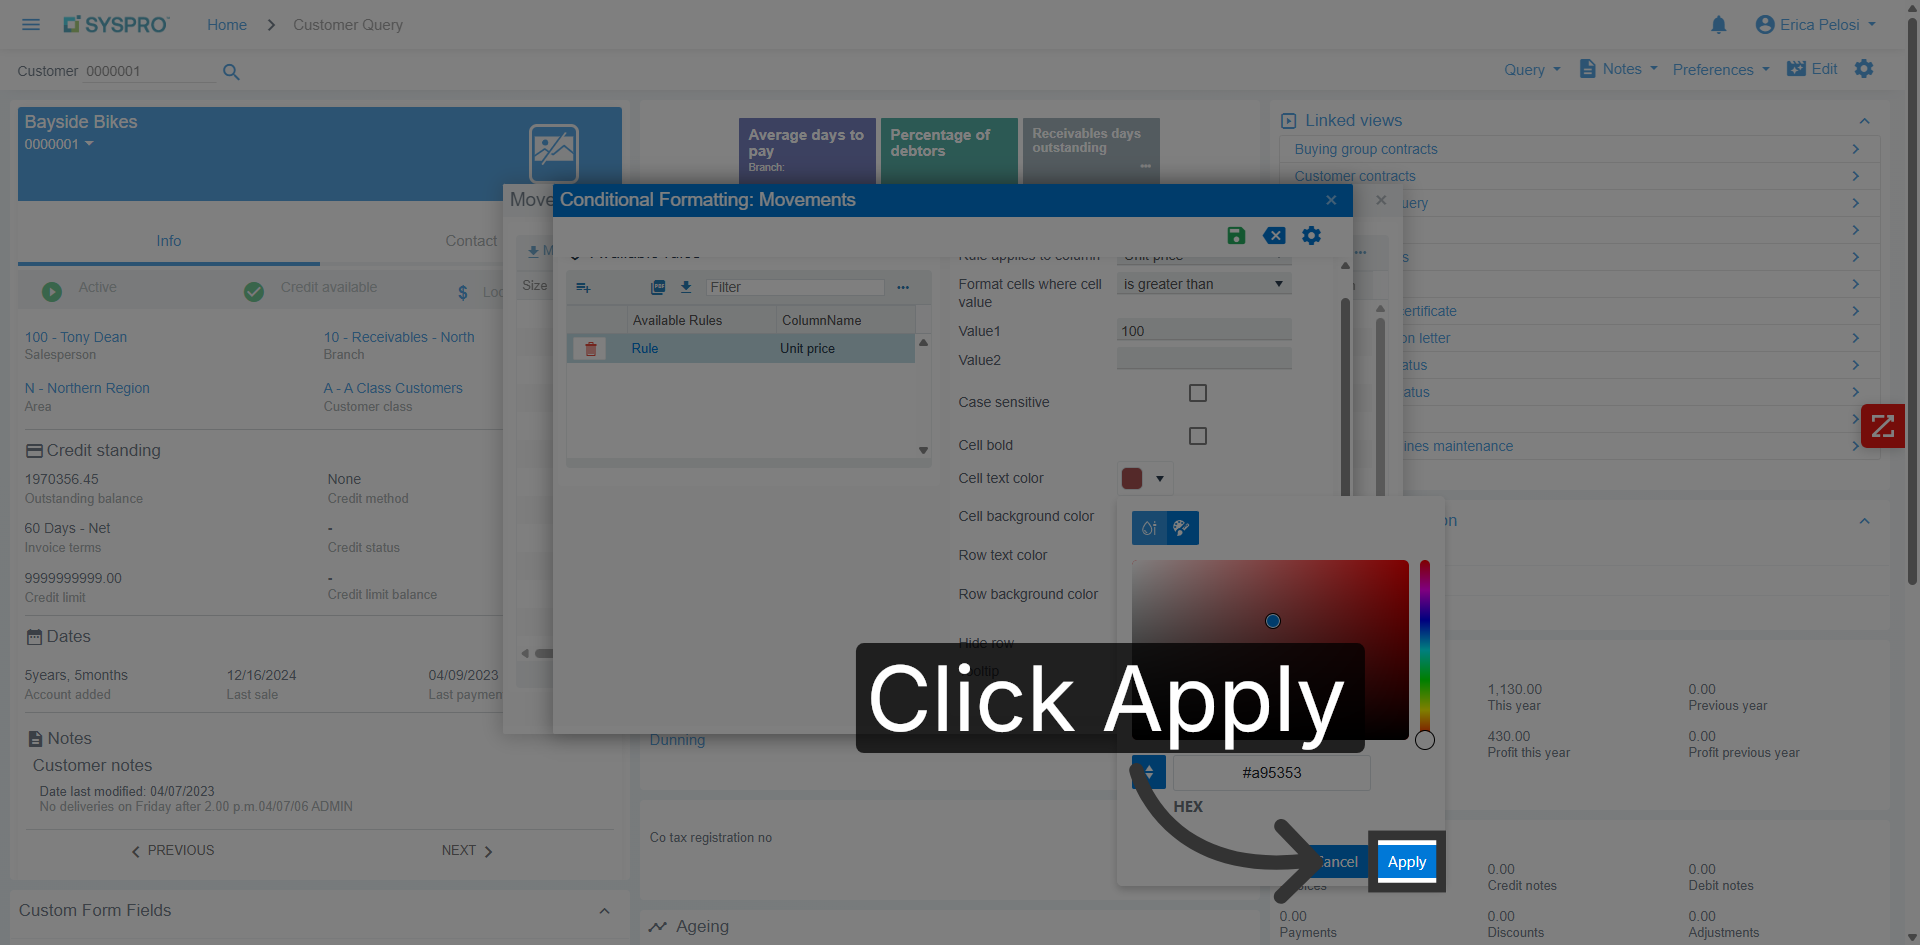
Apply Changes
Click Apply to save and implement your formatting changes.
34
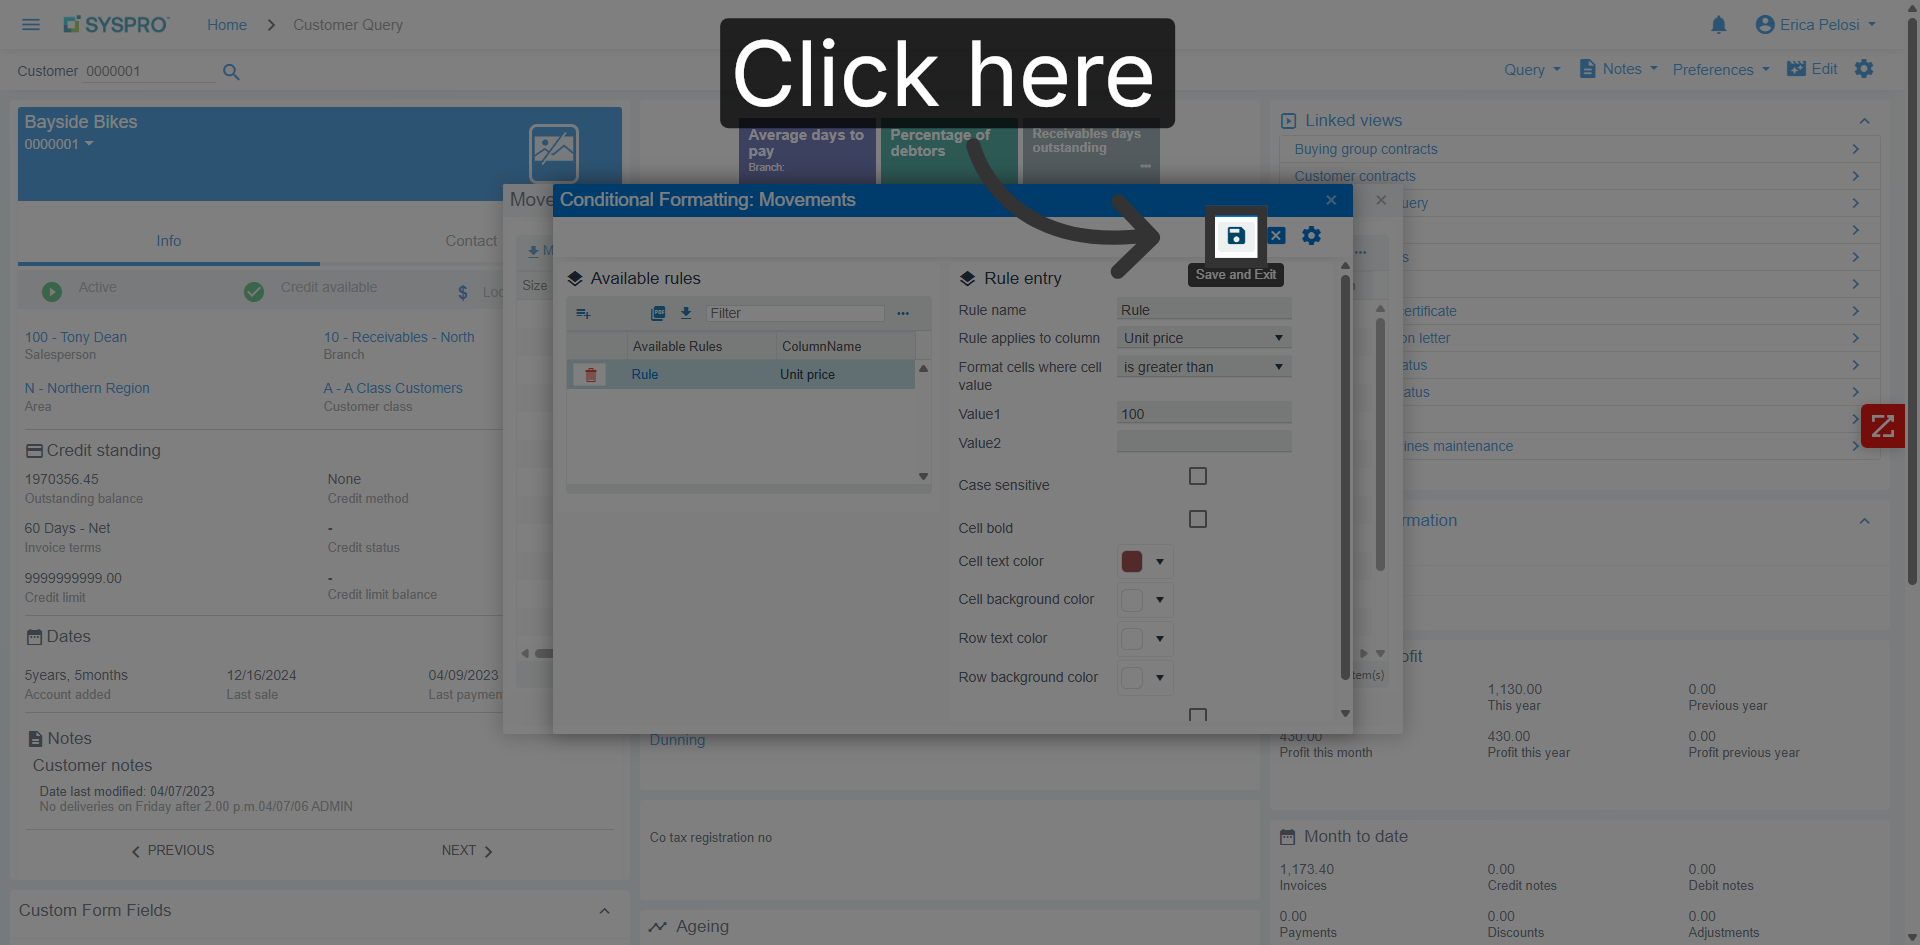
Click to Proceed
Click the save button to save your changes.
35
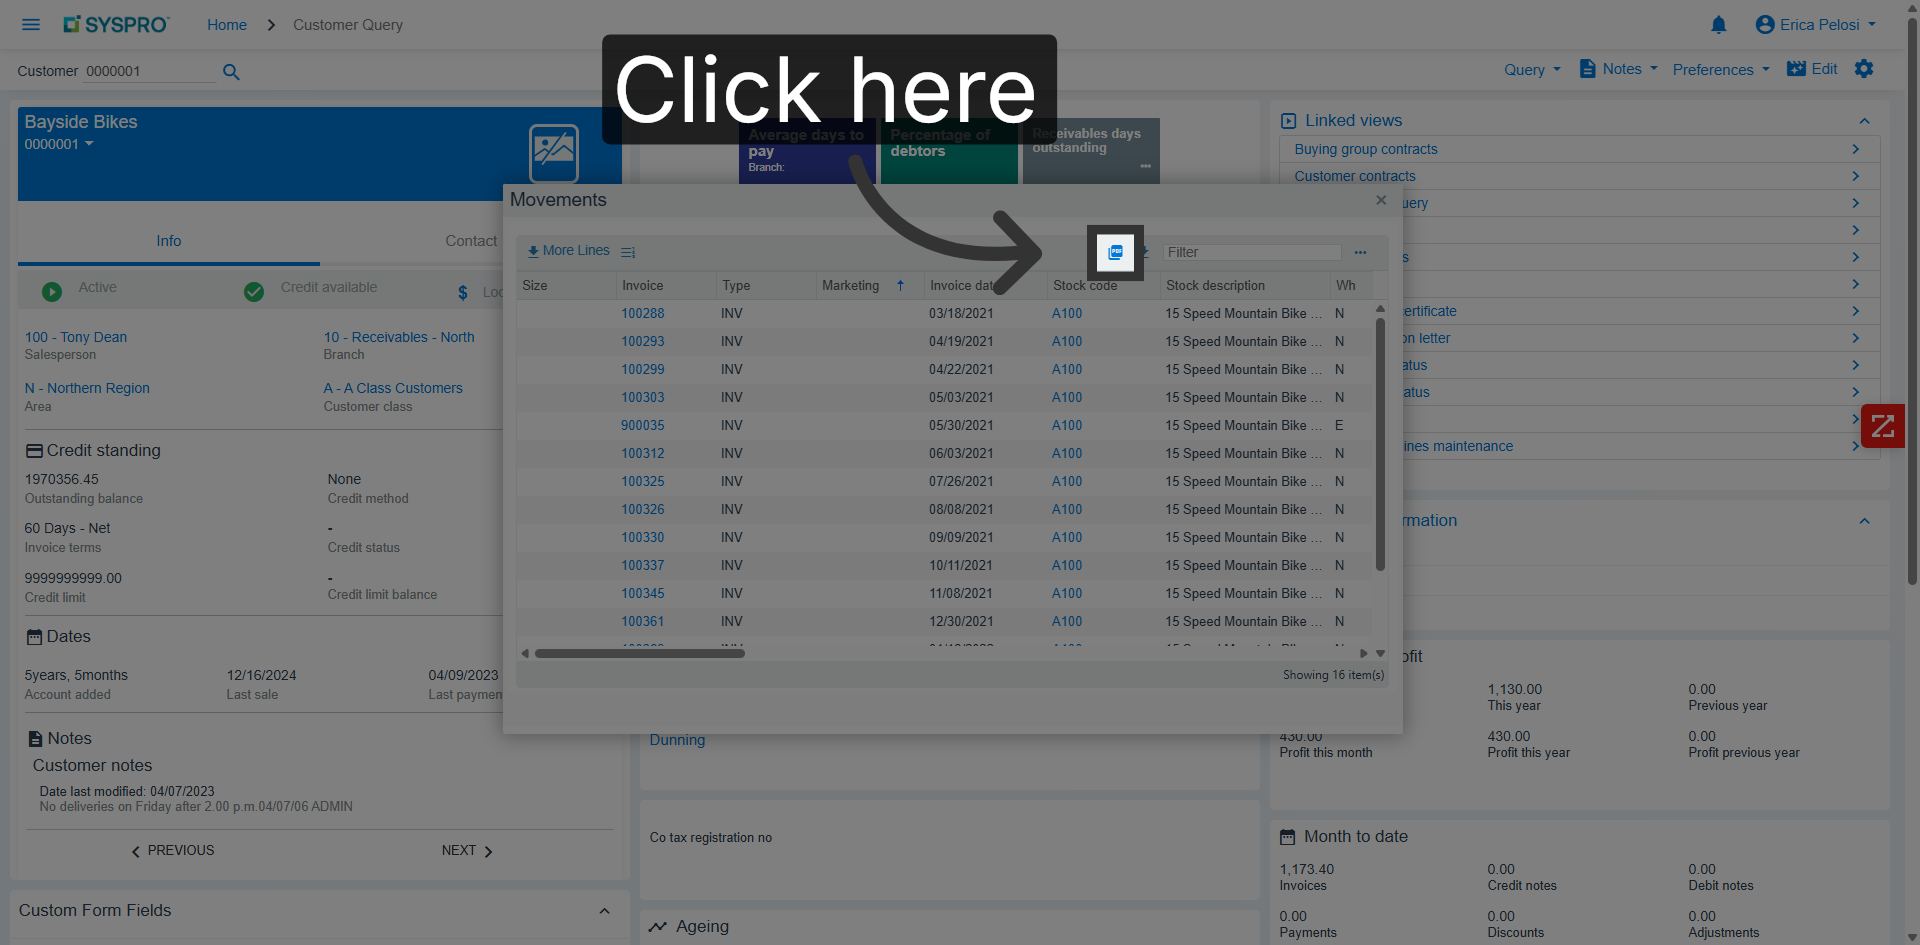
Click to Continue
You can export your data to PDF
36
Click to Finalize
Or you can export to a CSV file.