
You will learn how to navigate the Home page and access key features within the Epicor ERP system.
01
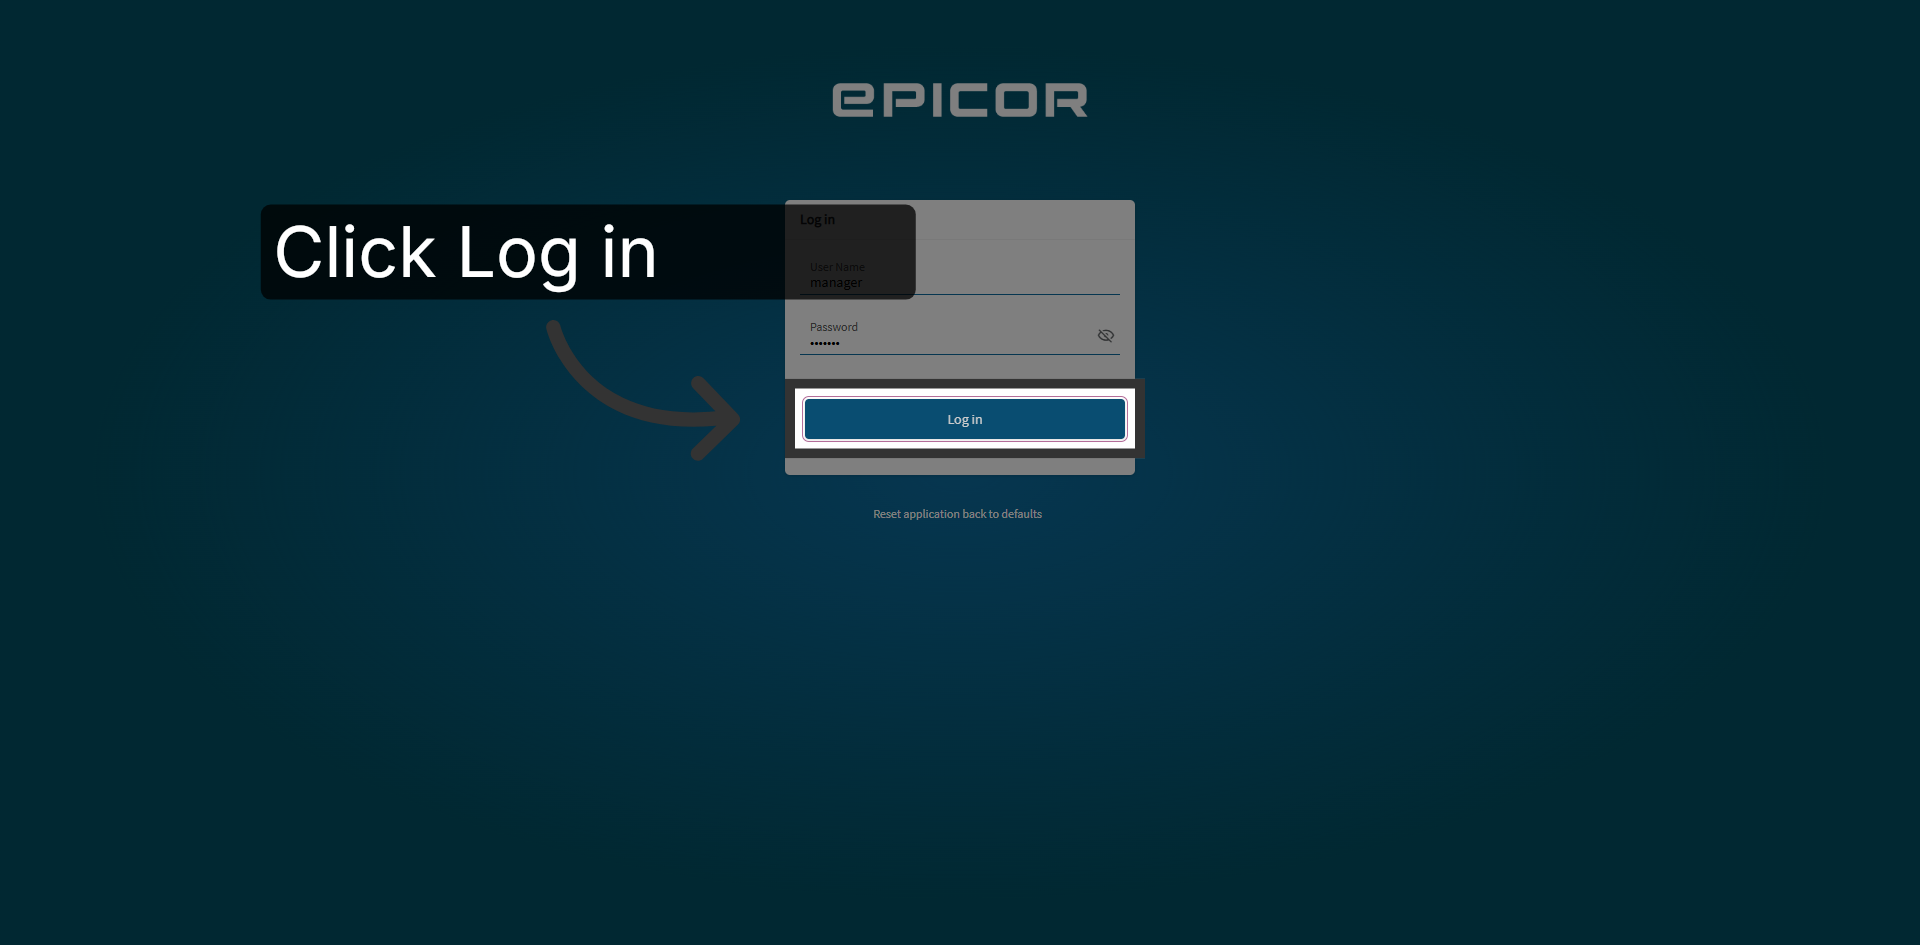
Log In To Home Page
Click the Log in button on the Home page to access your account and begin the process.
02
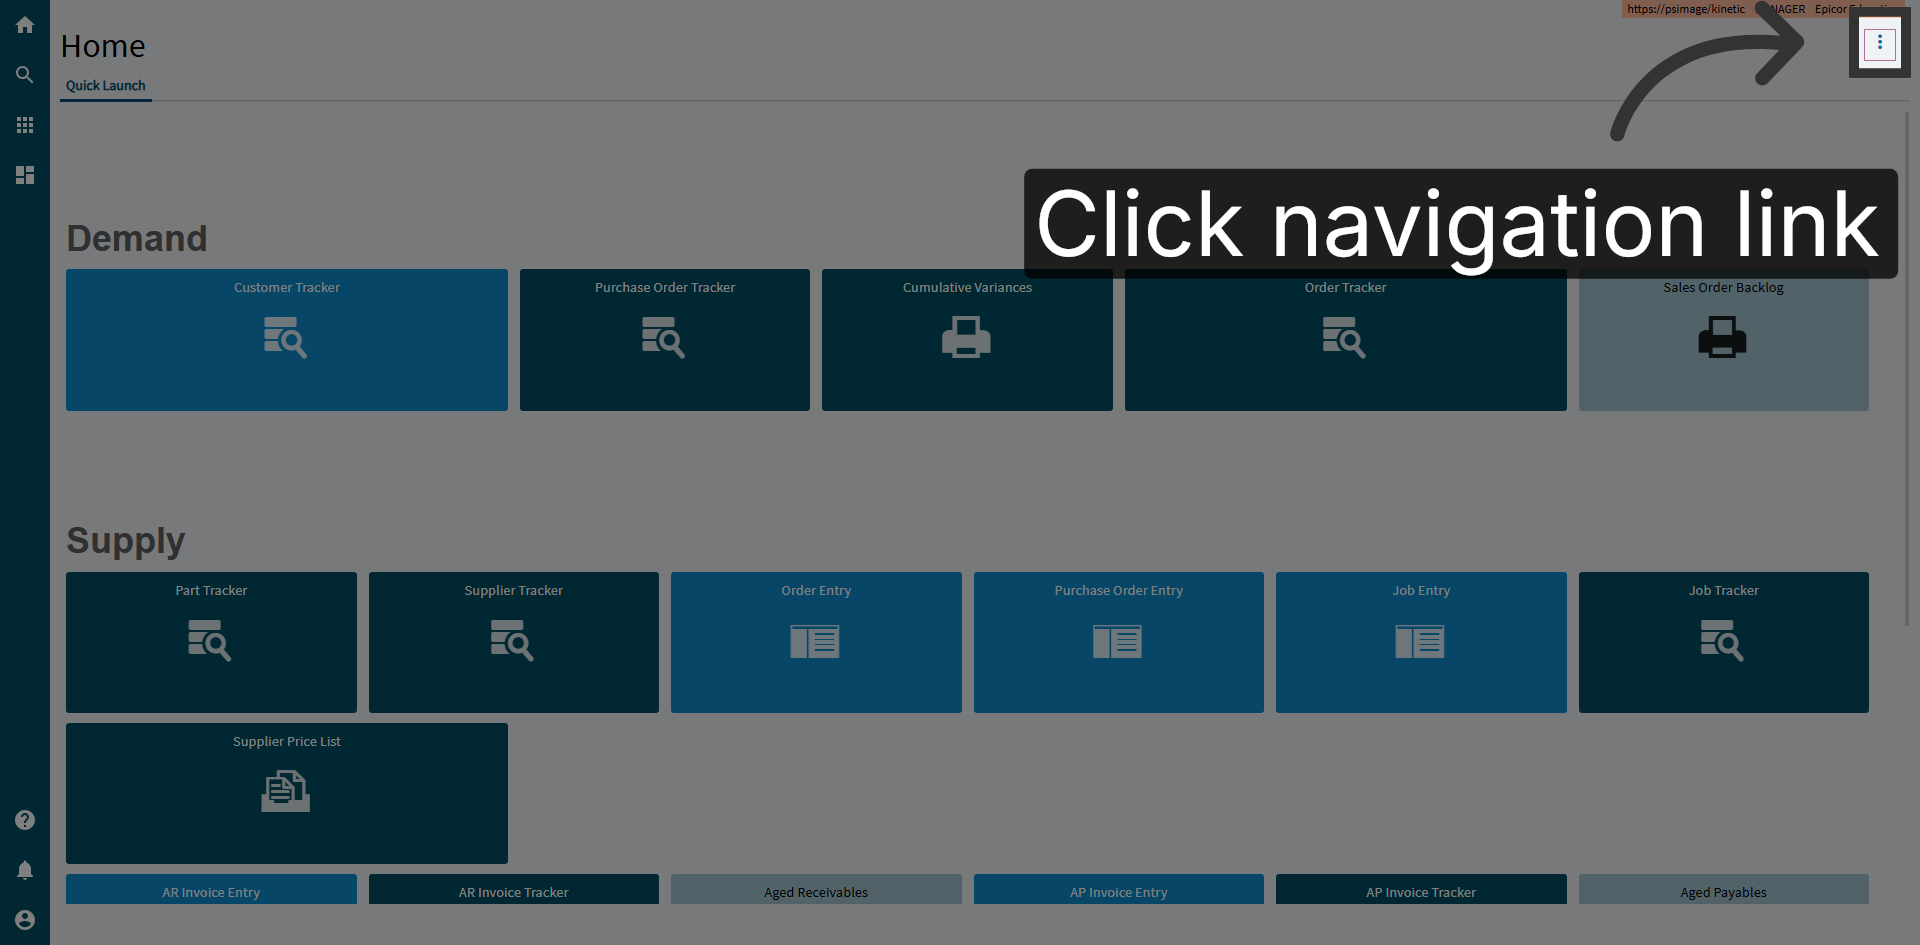
Click Navigation Link
Click the 3 dots to access the menu and customization features.
03
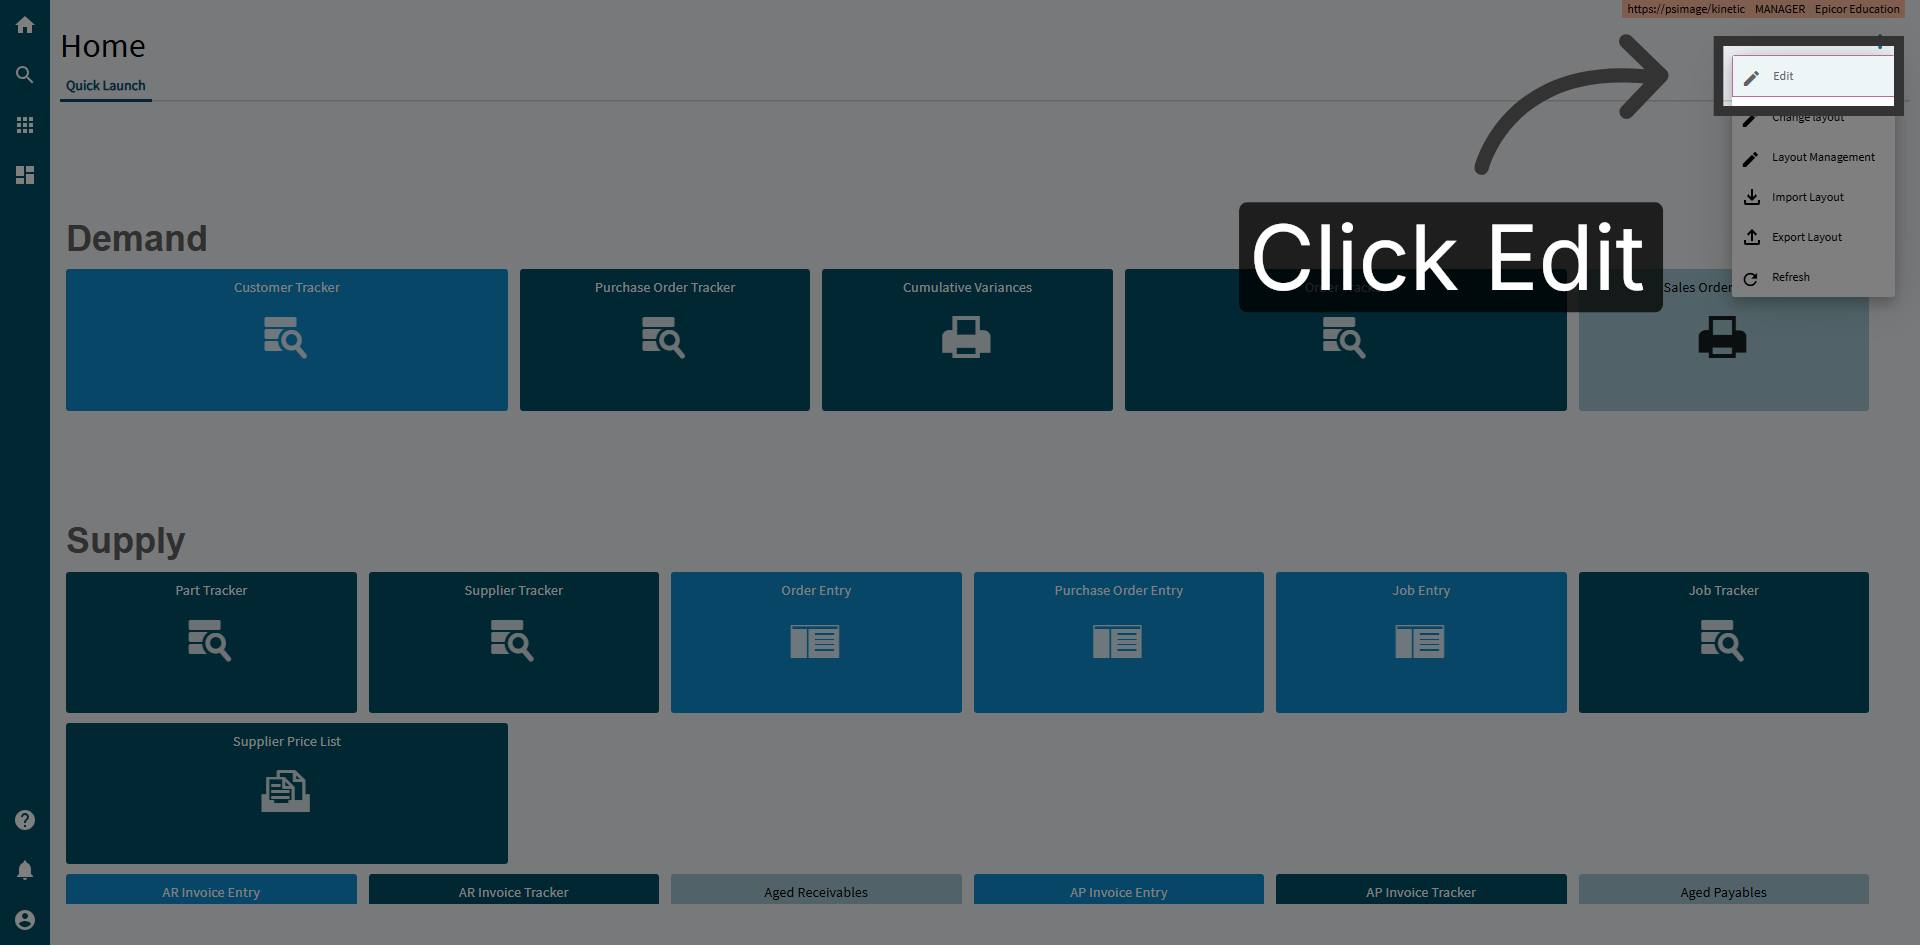
Select Edit Option
Click the Edit button on the Home page to modify the current settings or content.
04
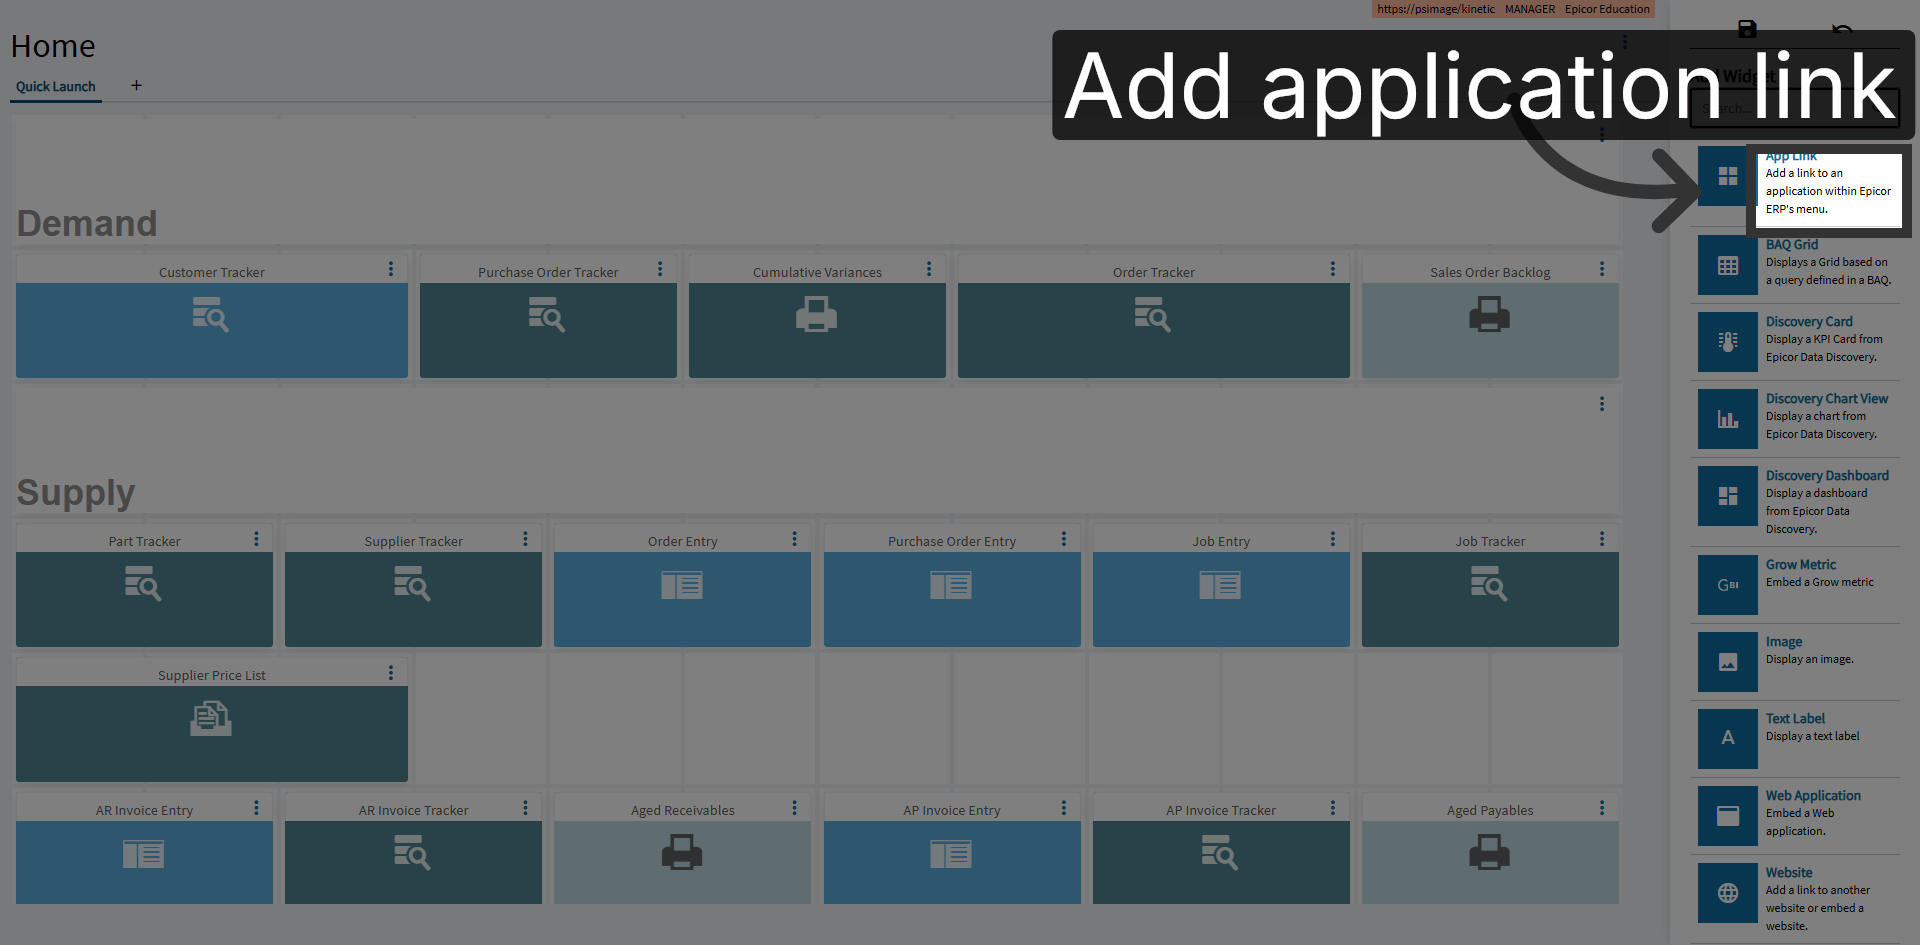
Add Application Link
Click App link within Epicor ERP’s menu to customize your workspace.
05
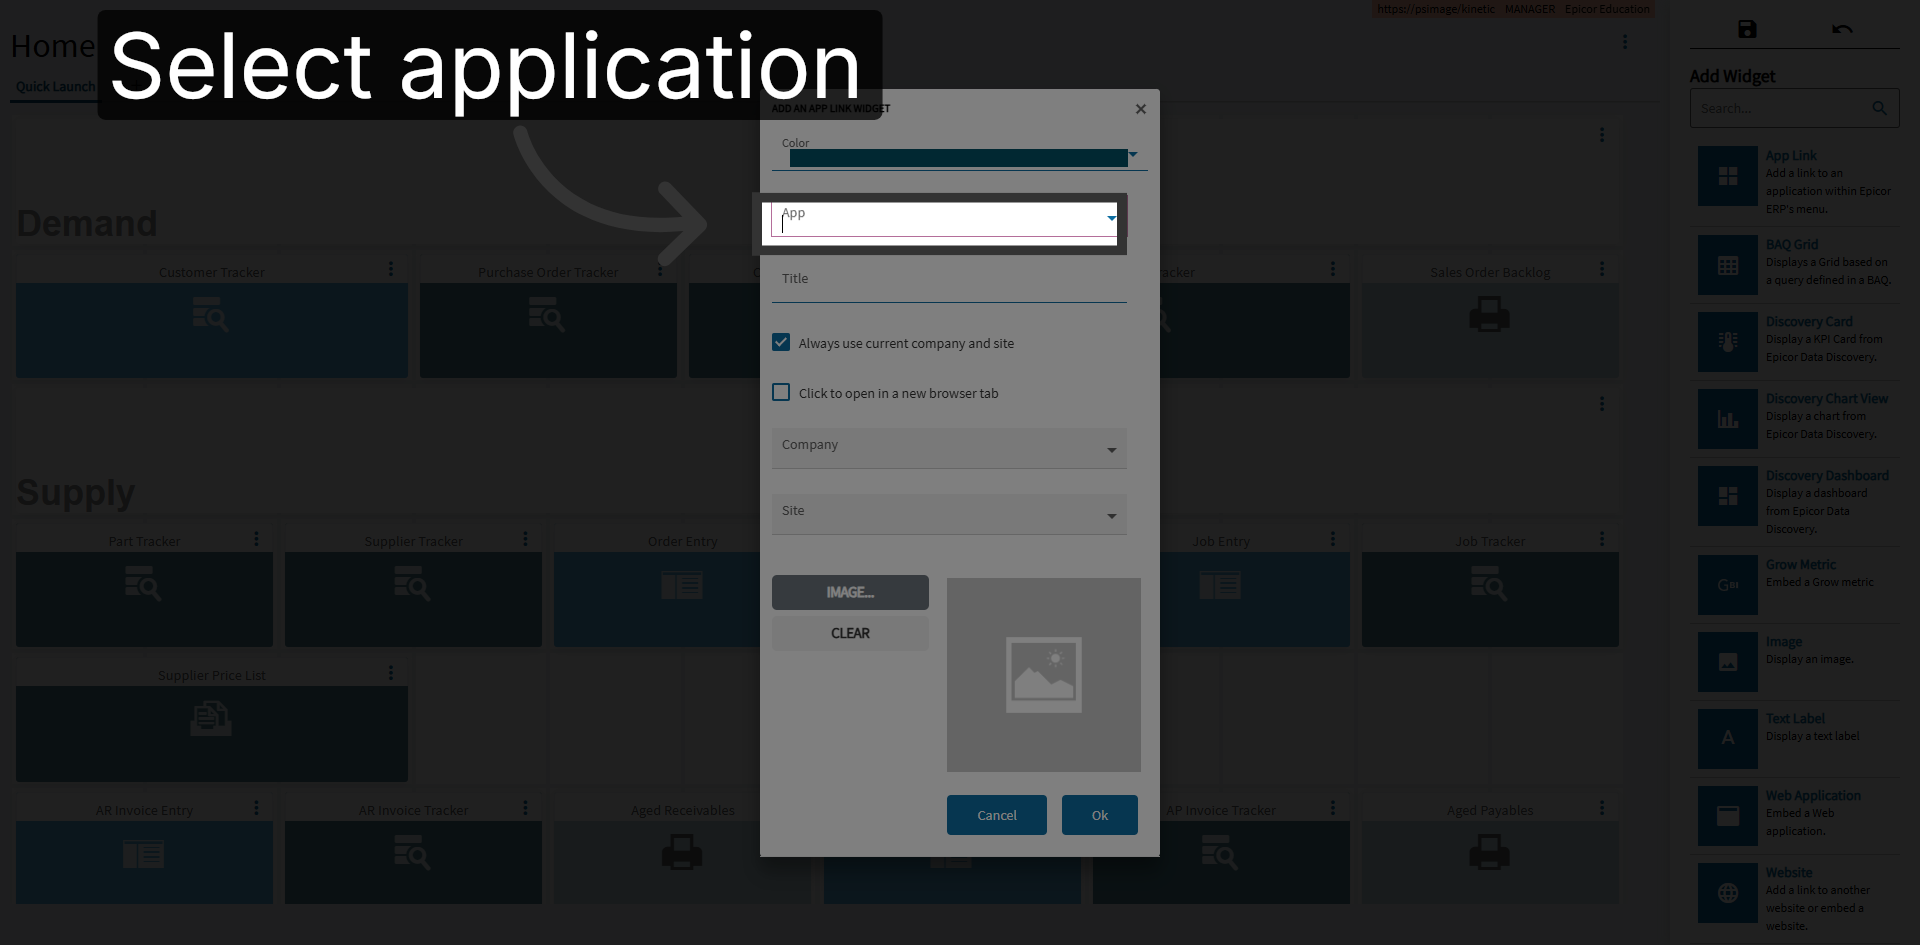
Select Application
Here is where you can choose which application you want to add to your home screen.
06
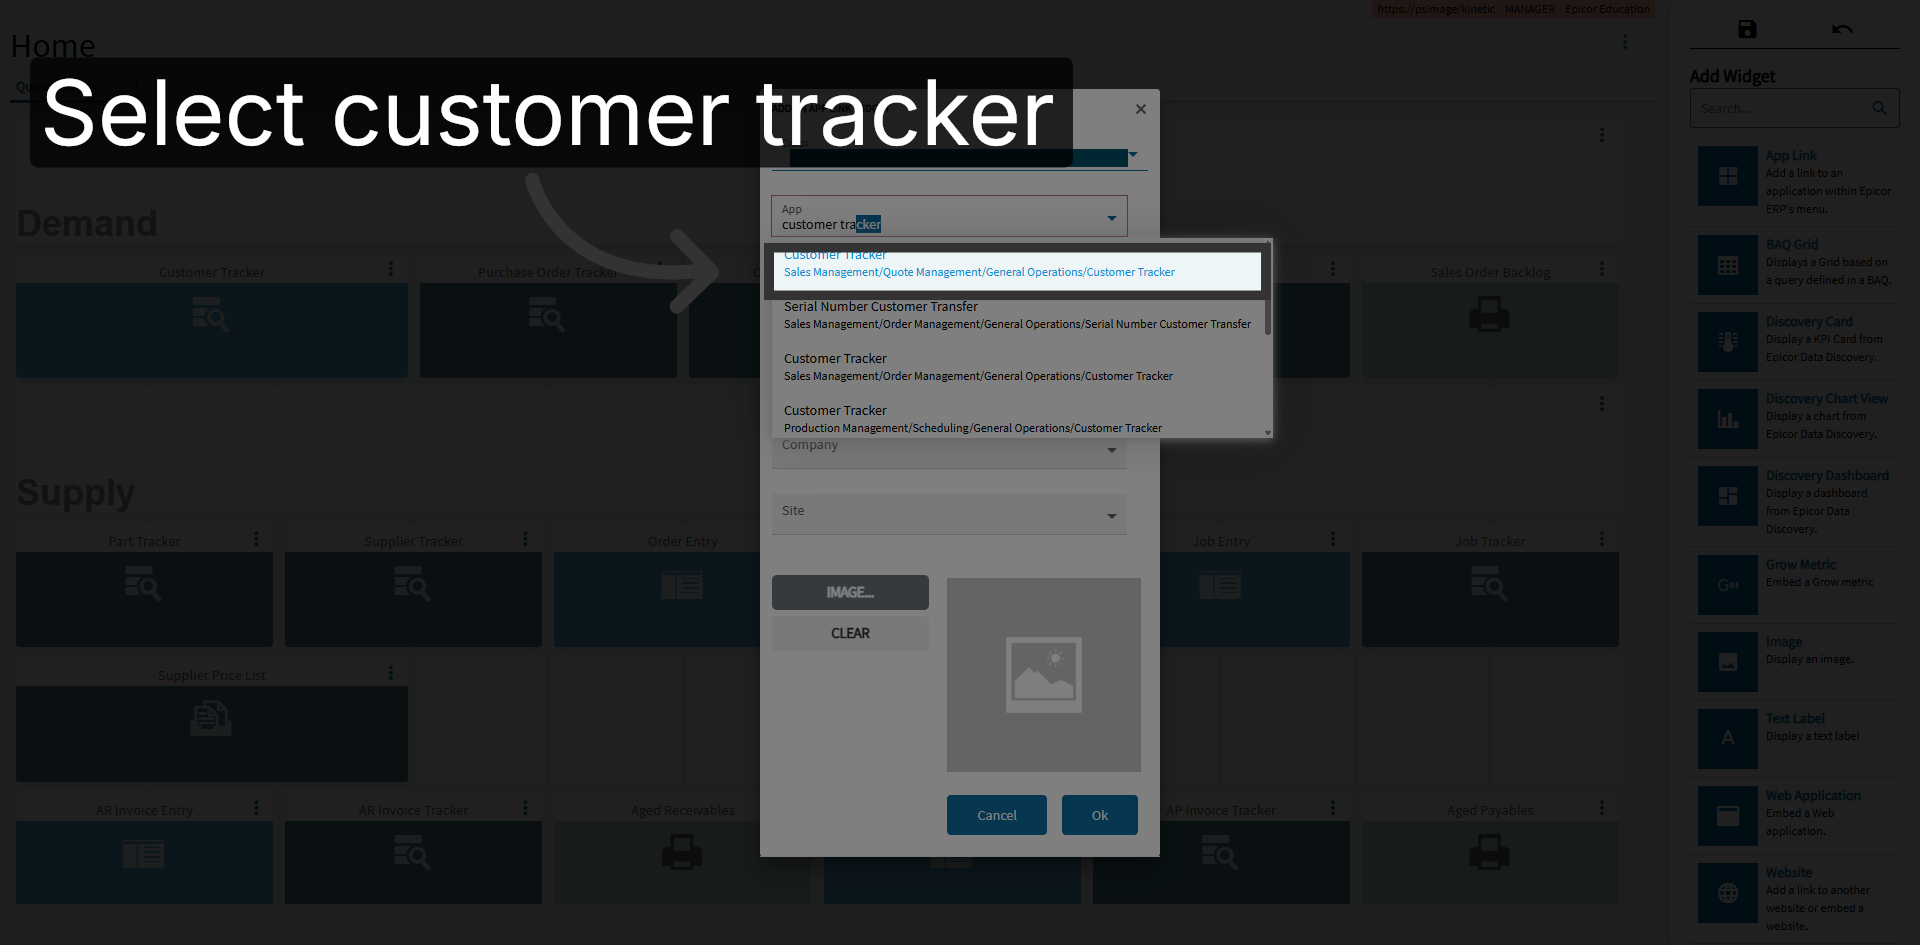
Navigate To Customer Tracker
We will select Customer Tracker as the application to add today.
07
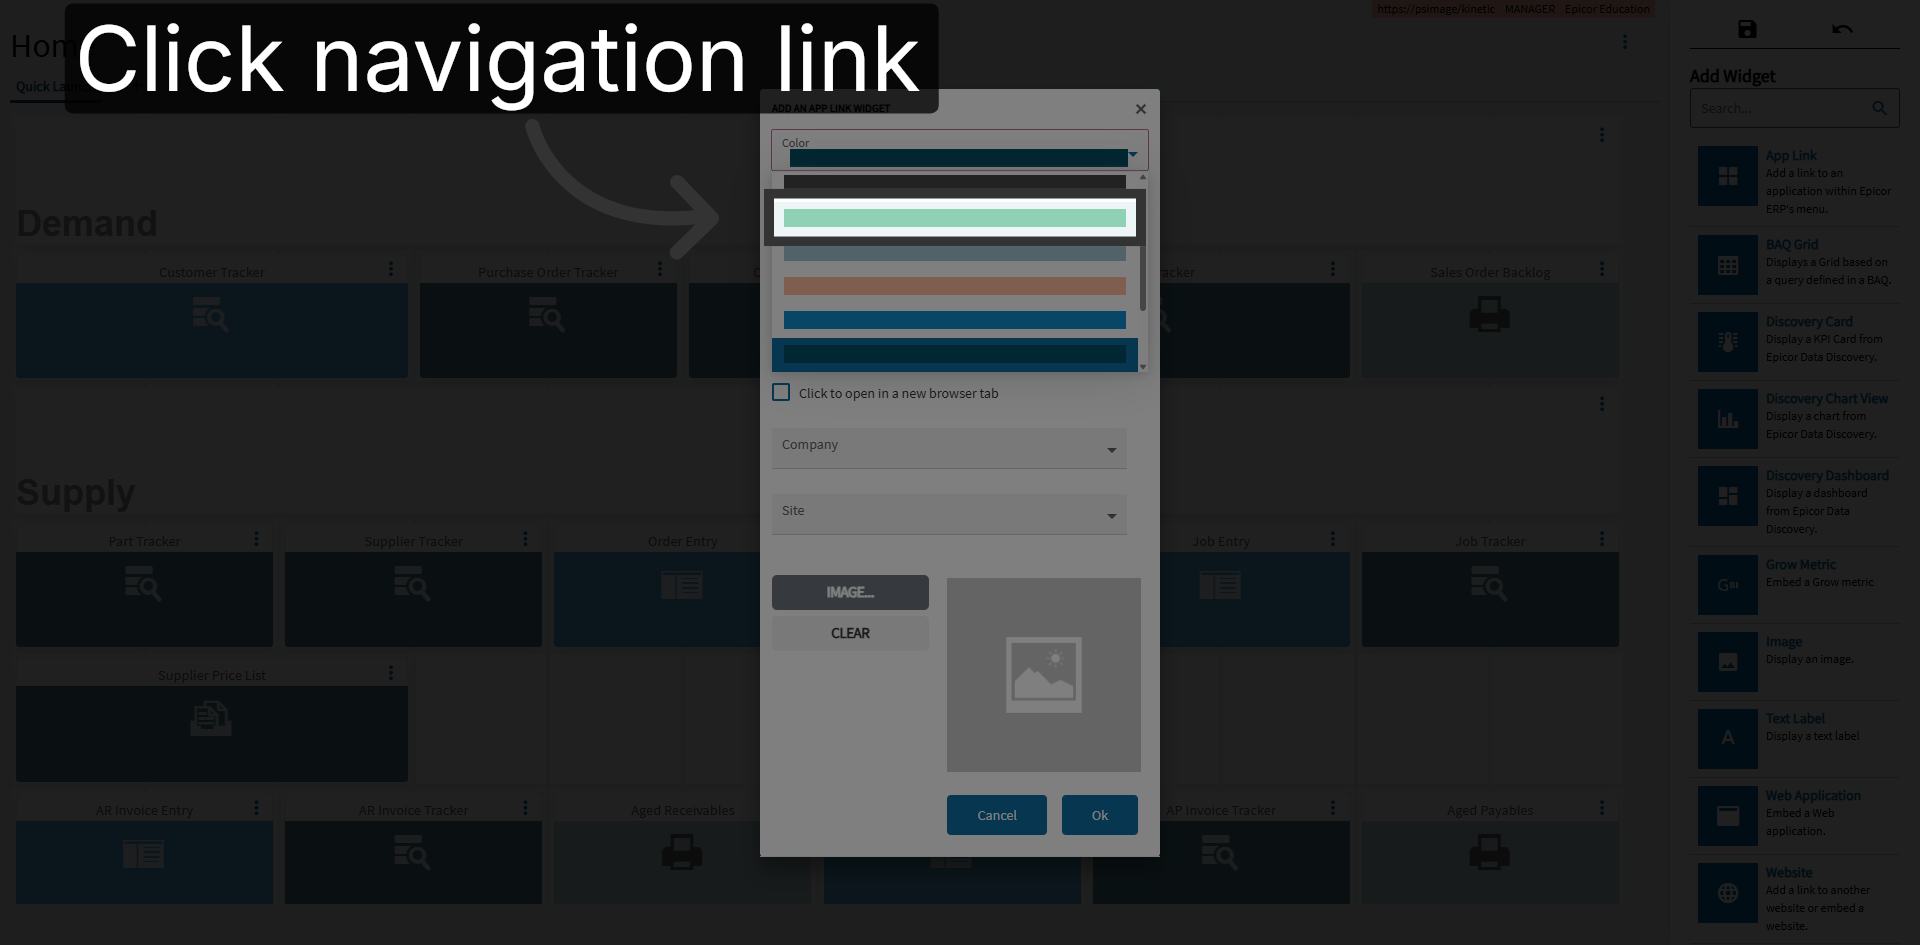
Change the color
We can change the color and hit ok.
08
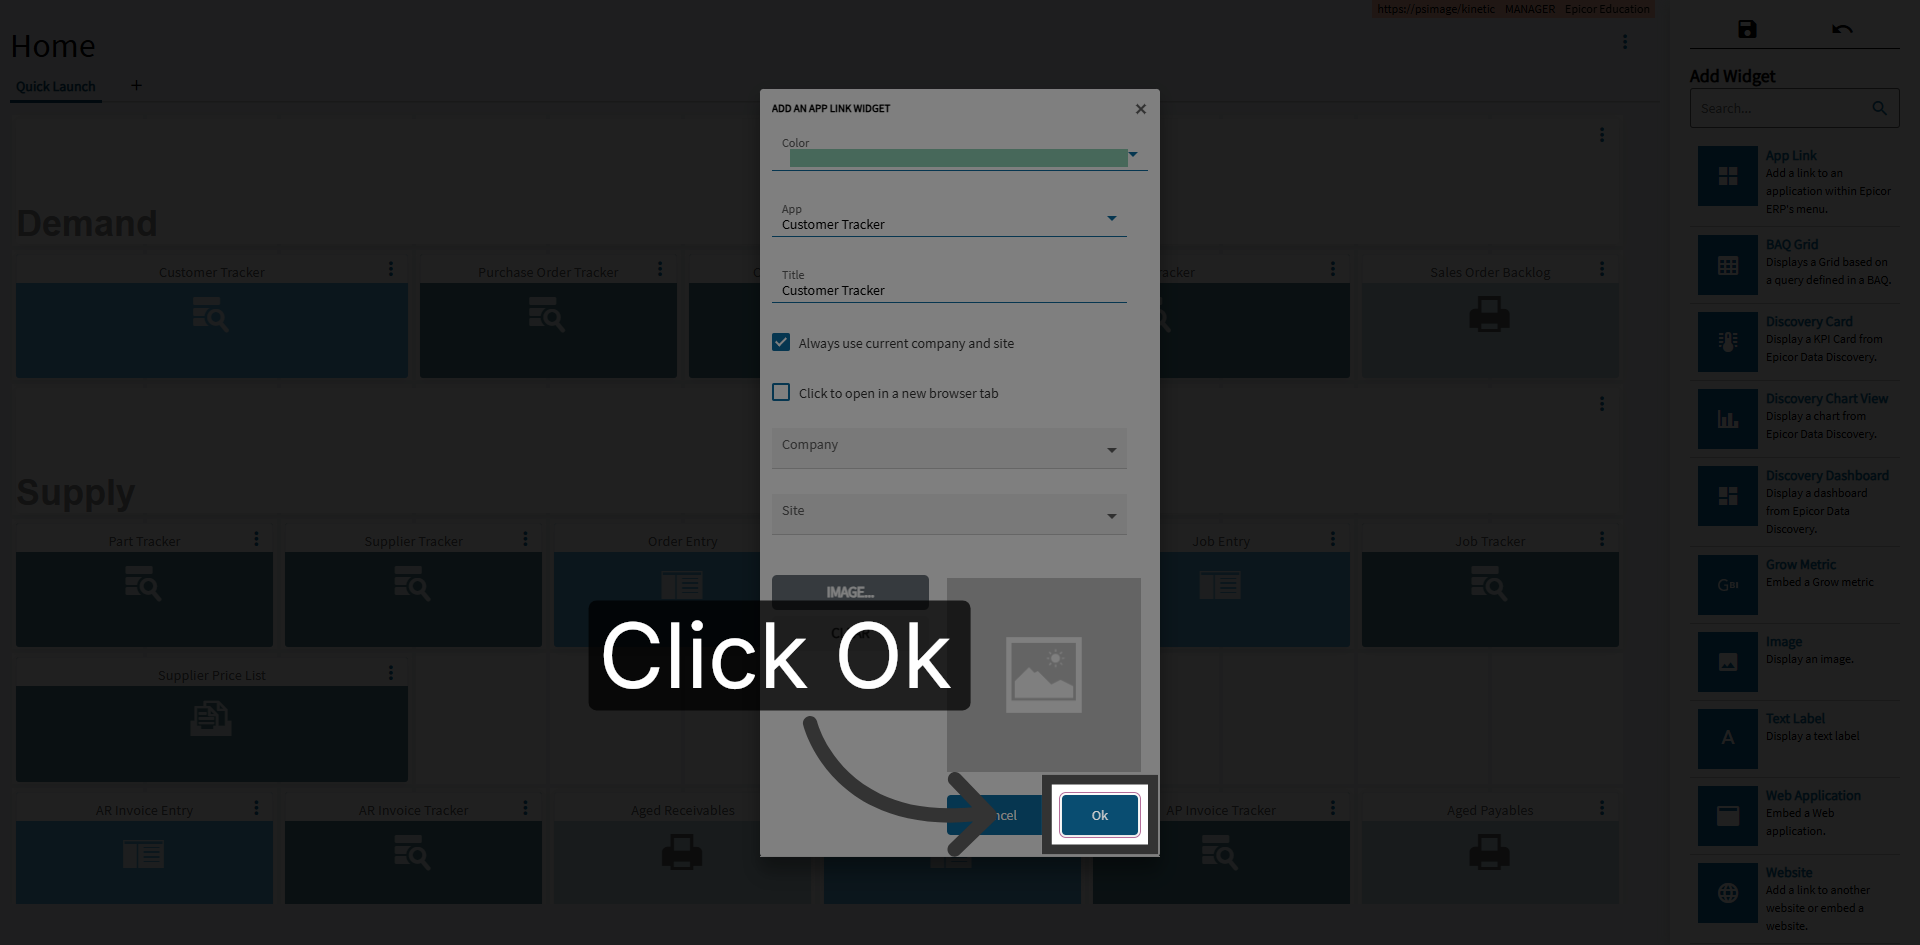
Confirm Action
Click the Ok button on the Home page to confirm your selection and proceed.
09
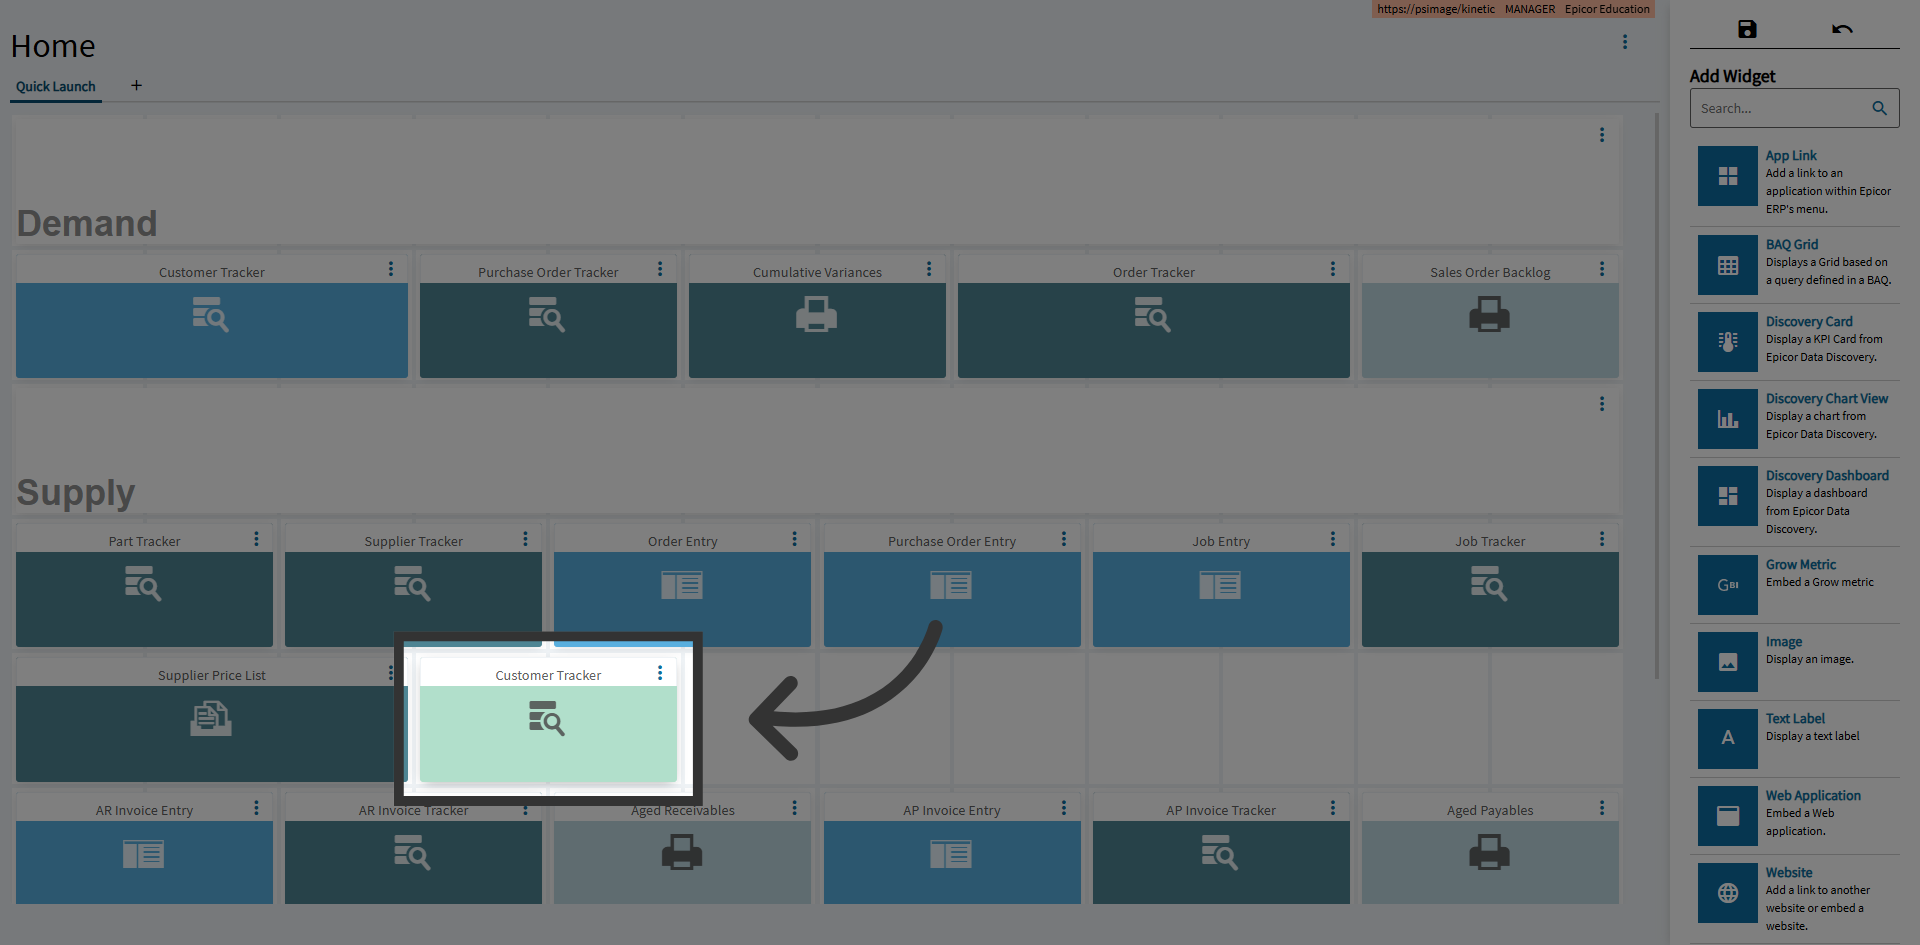
Customizing Widget Size
You can rearrange widgets within the Home Page by using drag and drop.
10
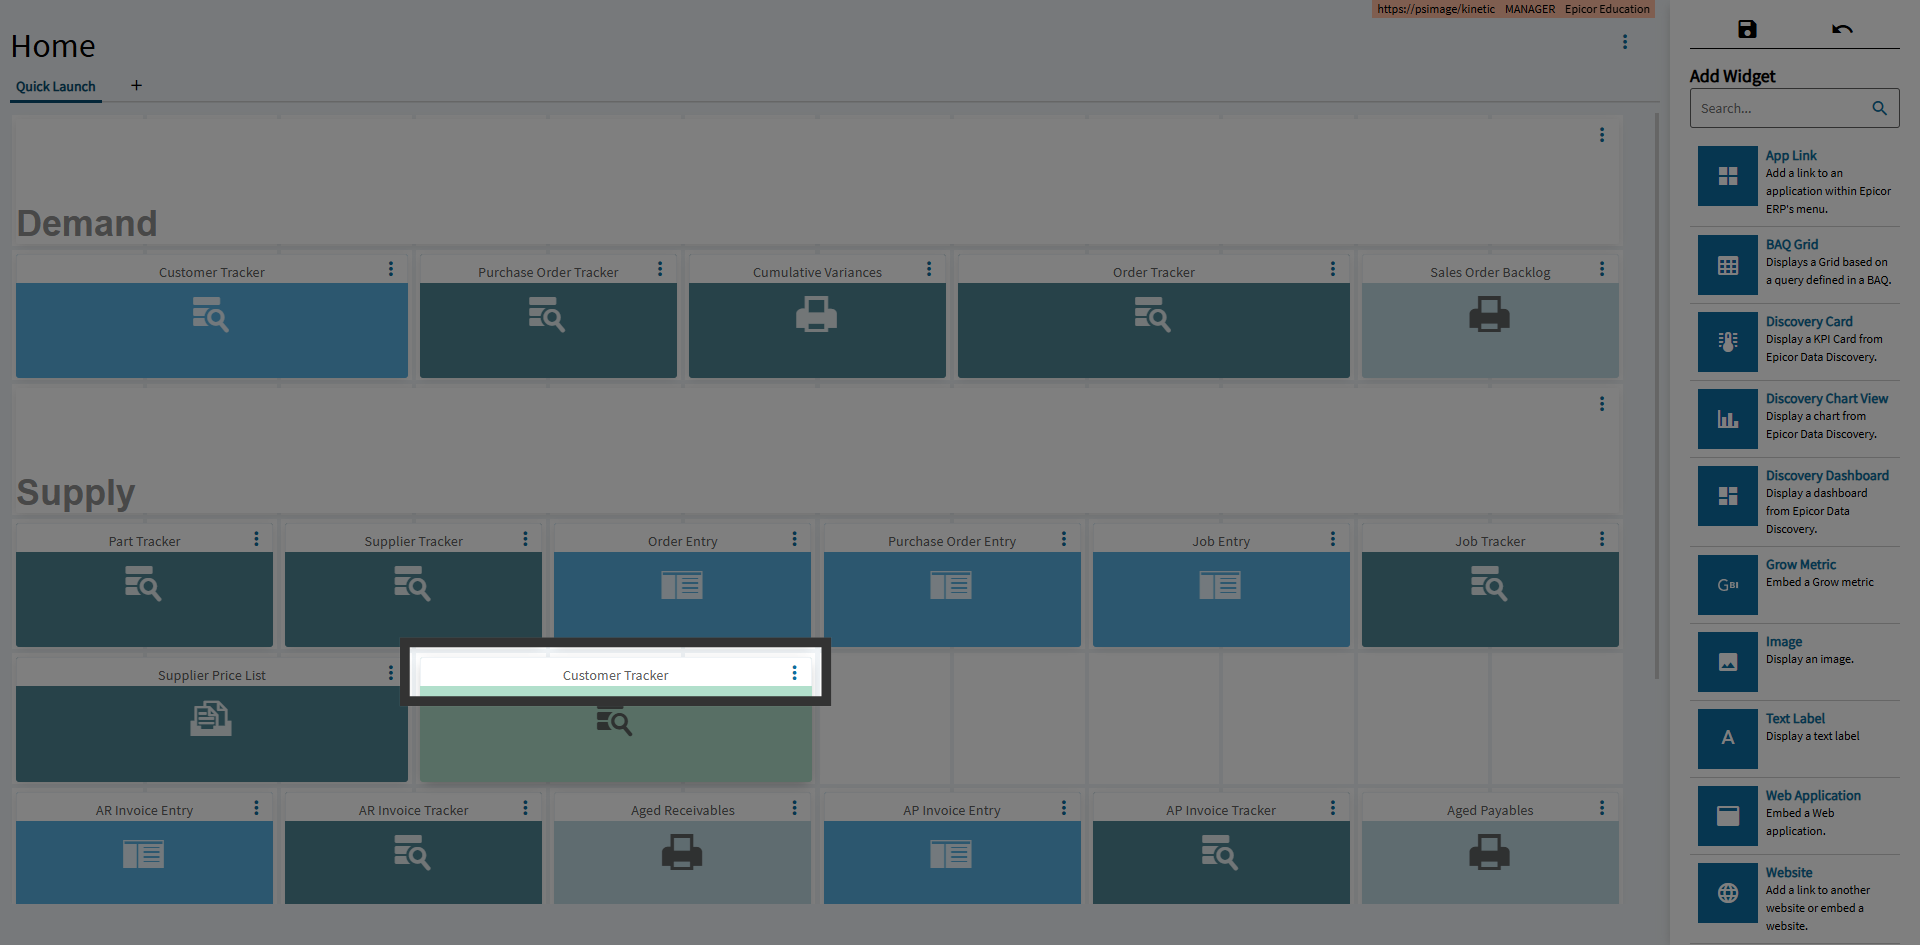
Open Customer Tracker
Resize widgets by selecting the corner of the widget and then dragging to your desired size.
11
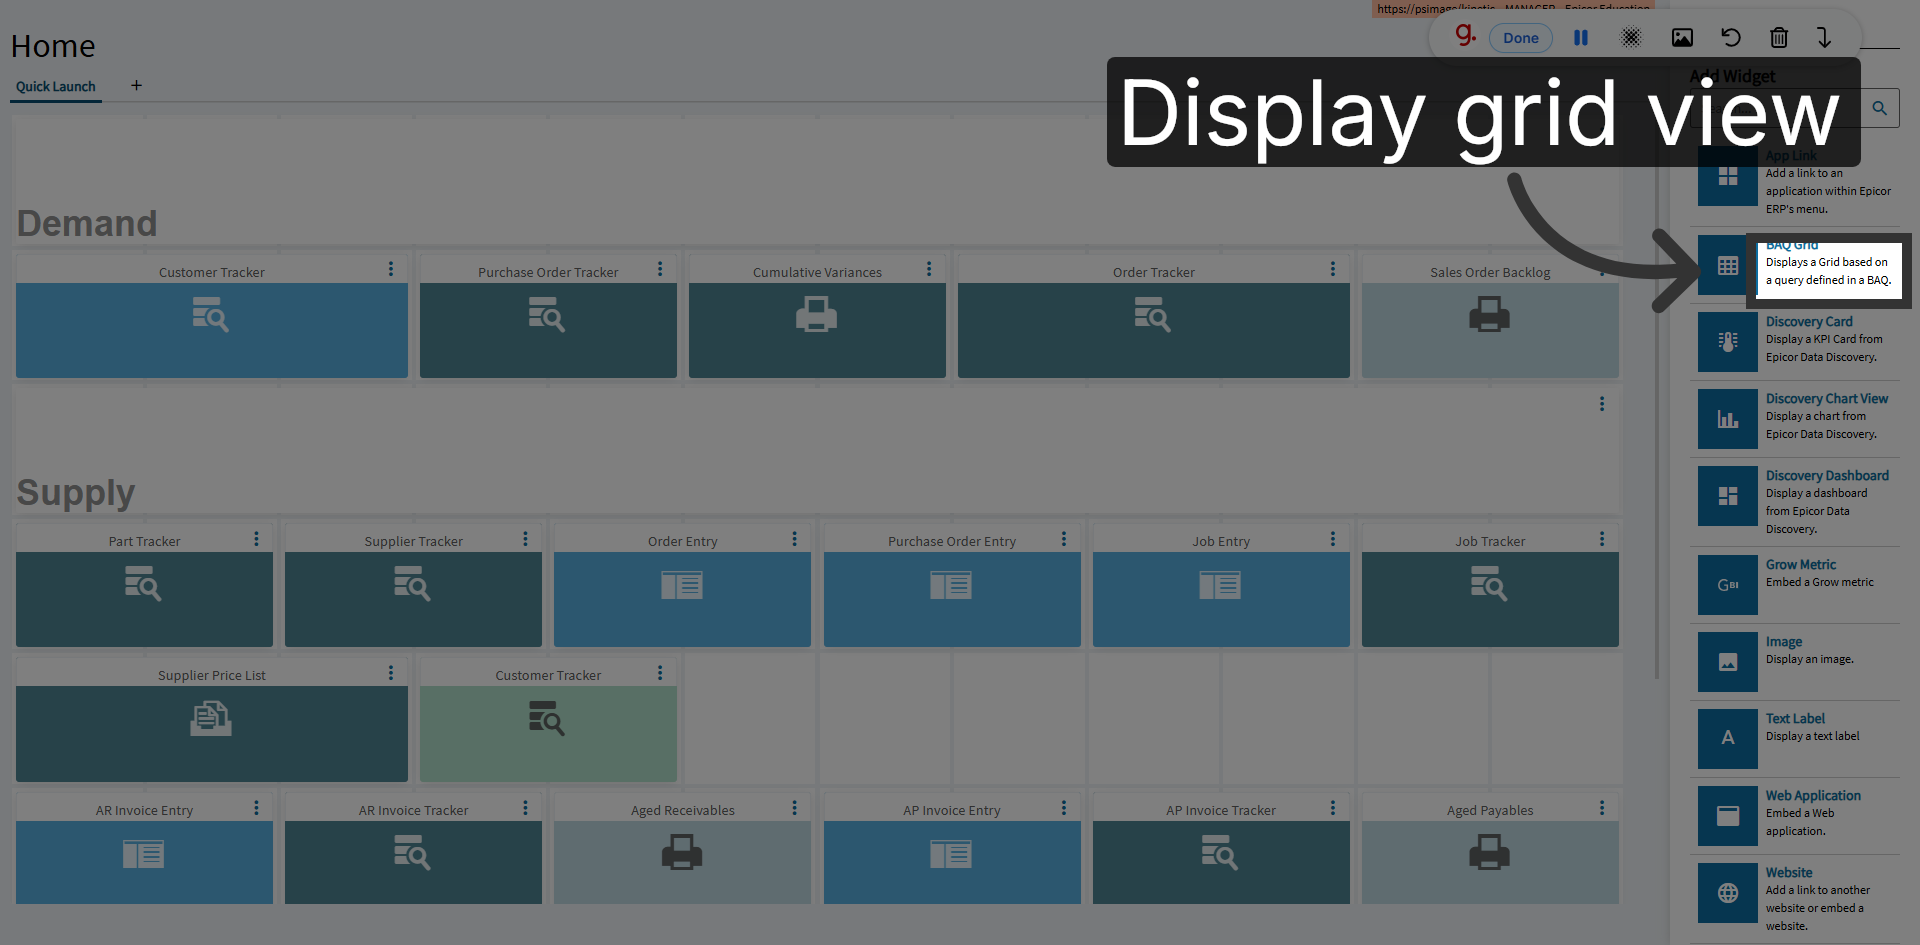
Display Grid View
Some of the widgets, such as a BAQ Grid, Discovery Chart View, Web Apps, and Embedded Website, can also be hosted as tabs on the Kinetic Home Page.
12
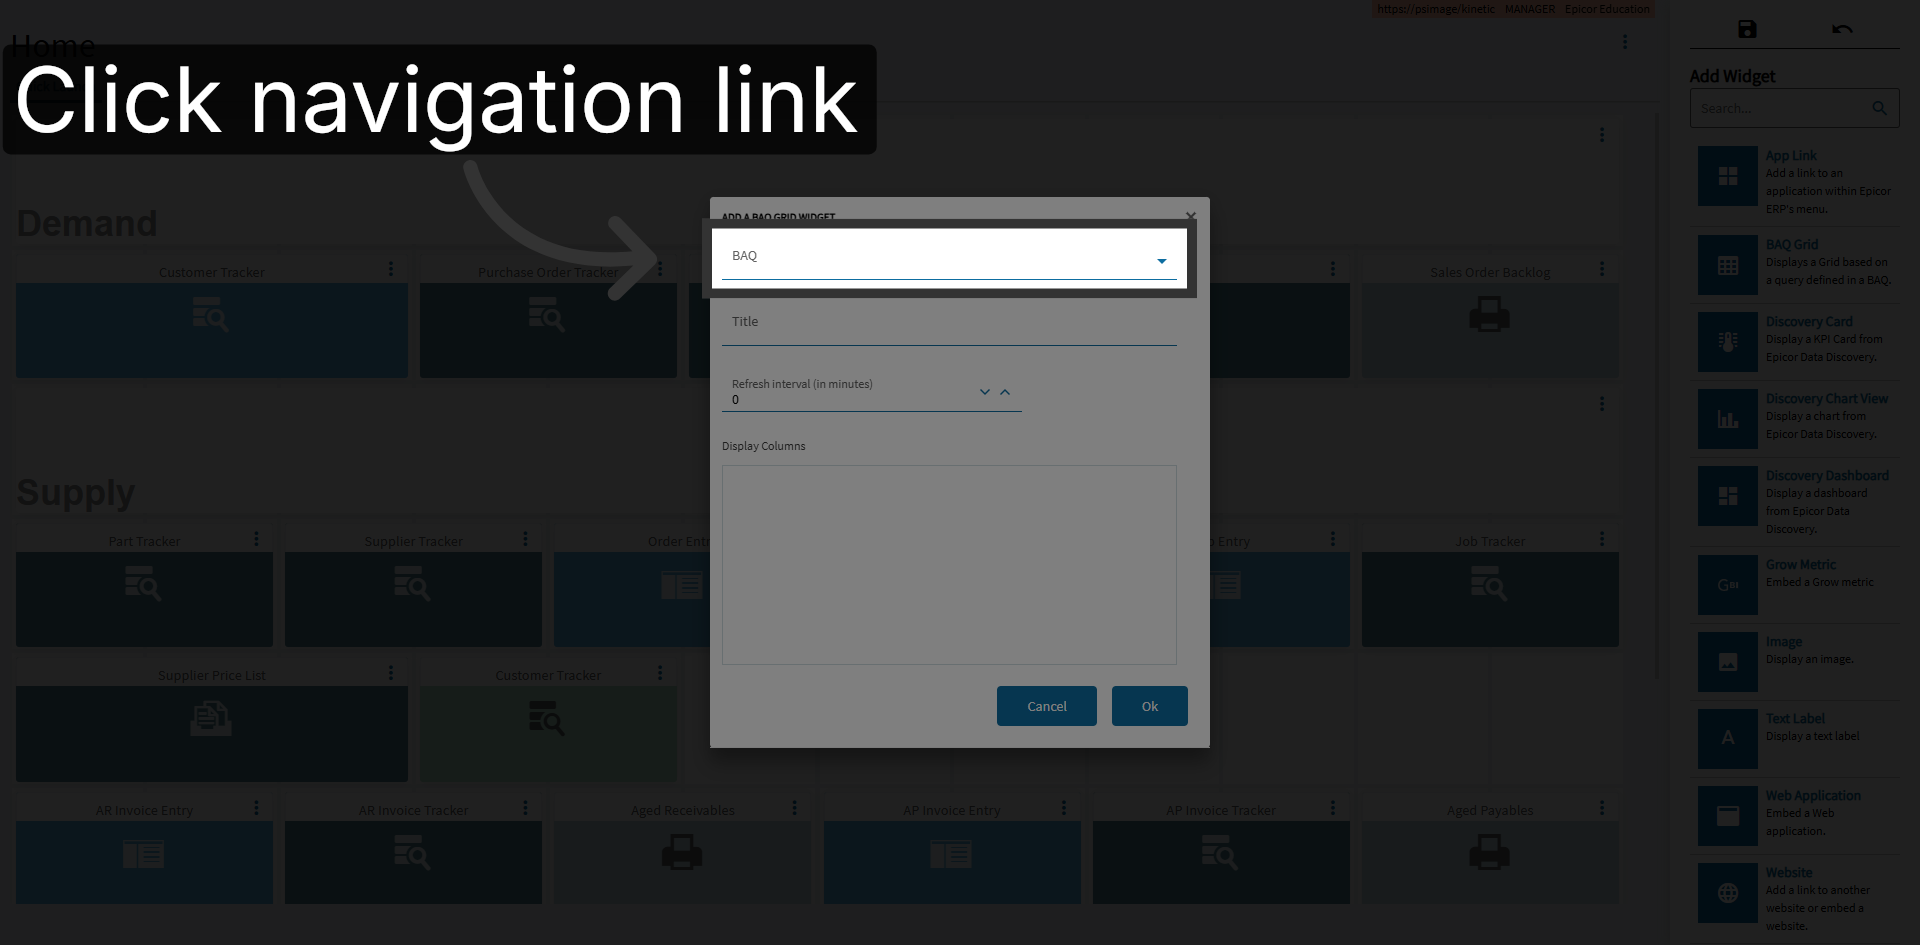
Click Navigation Link
13
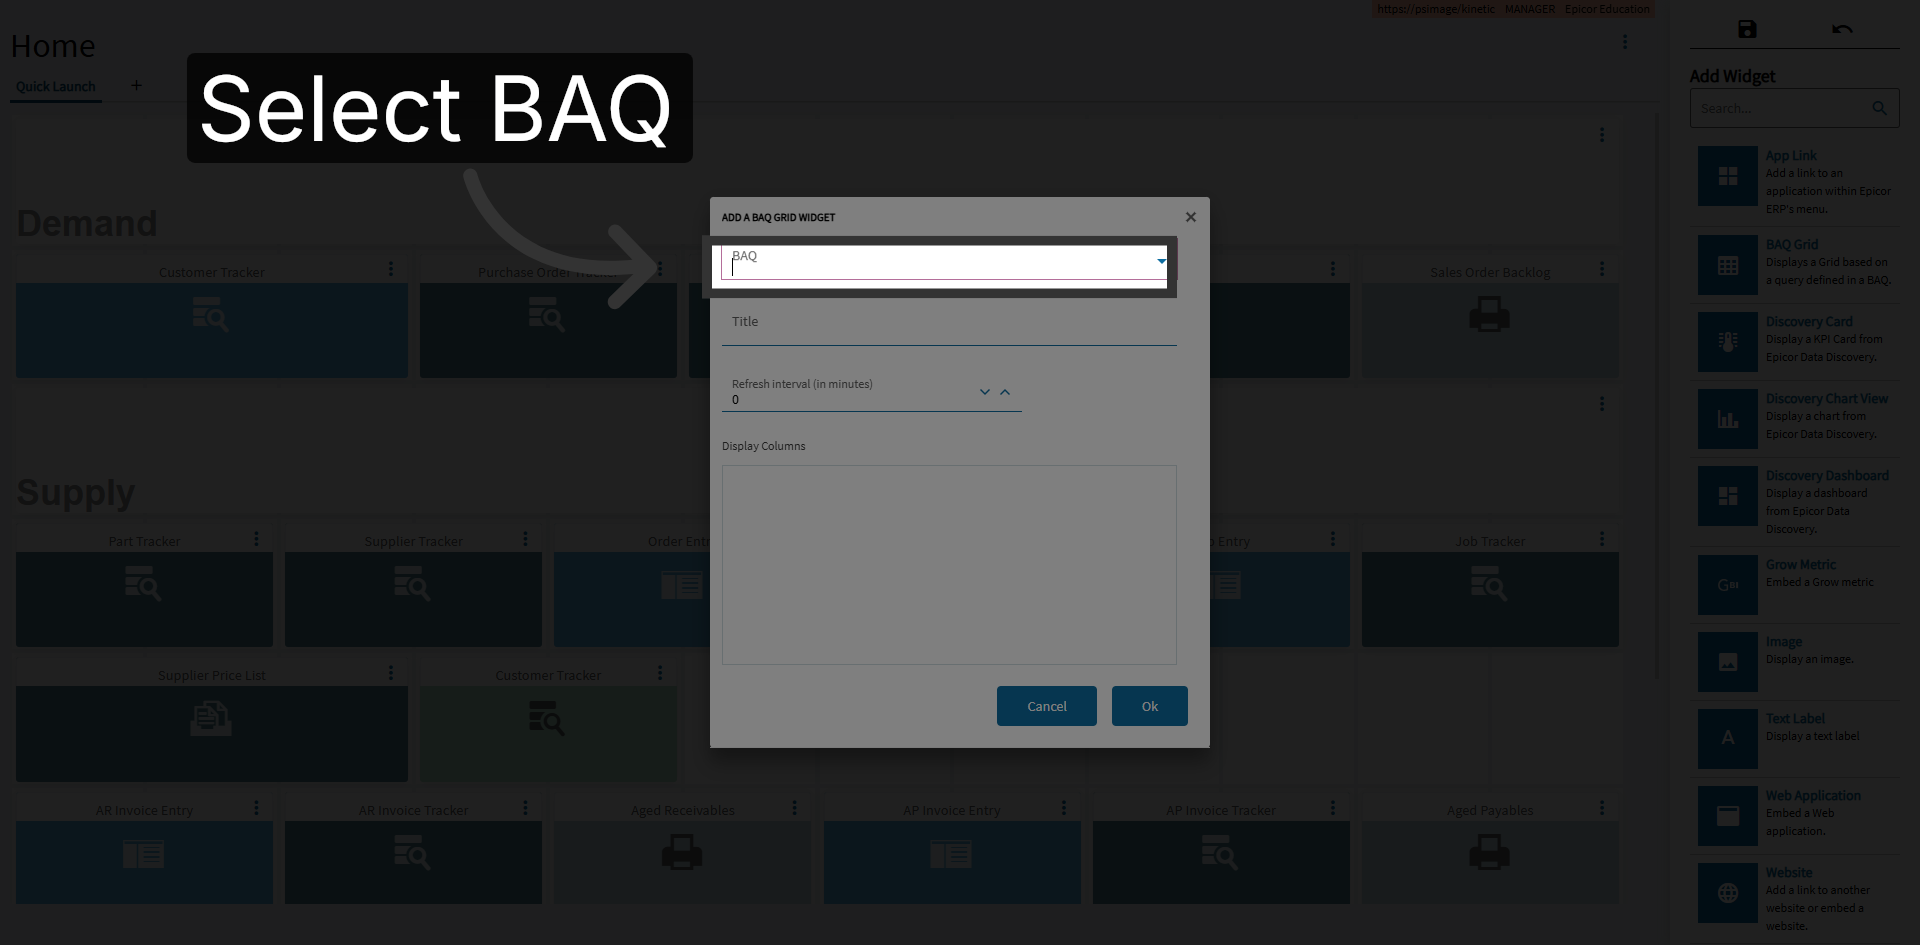
Select BAQ Option
14
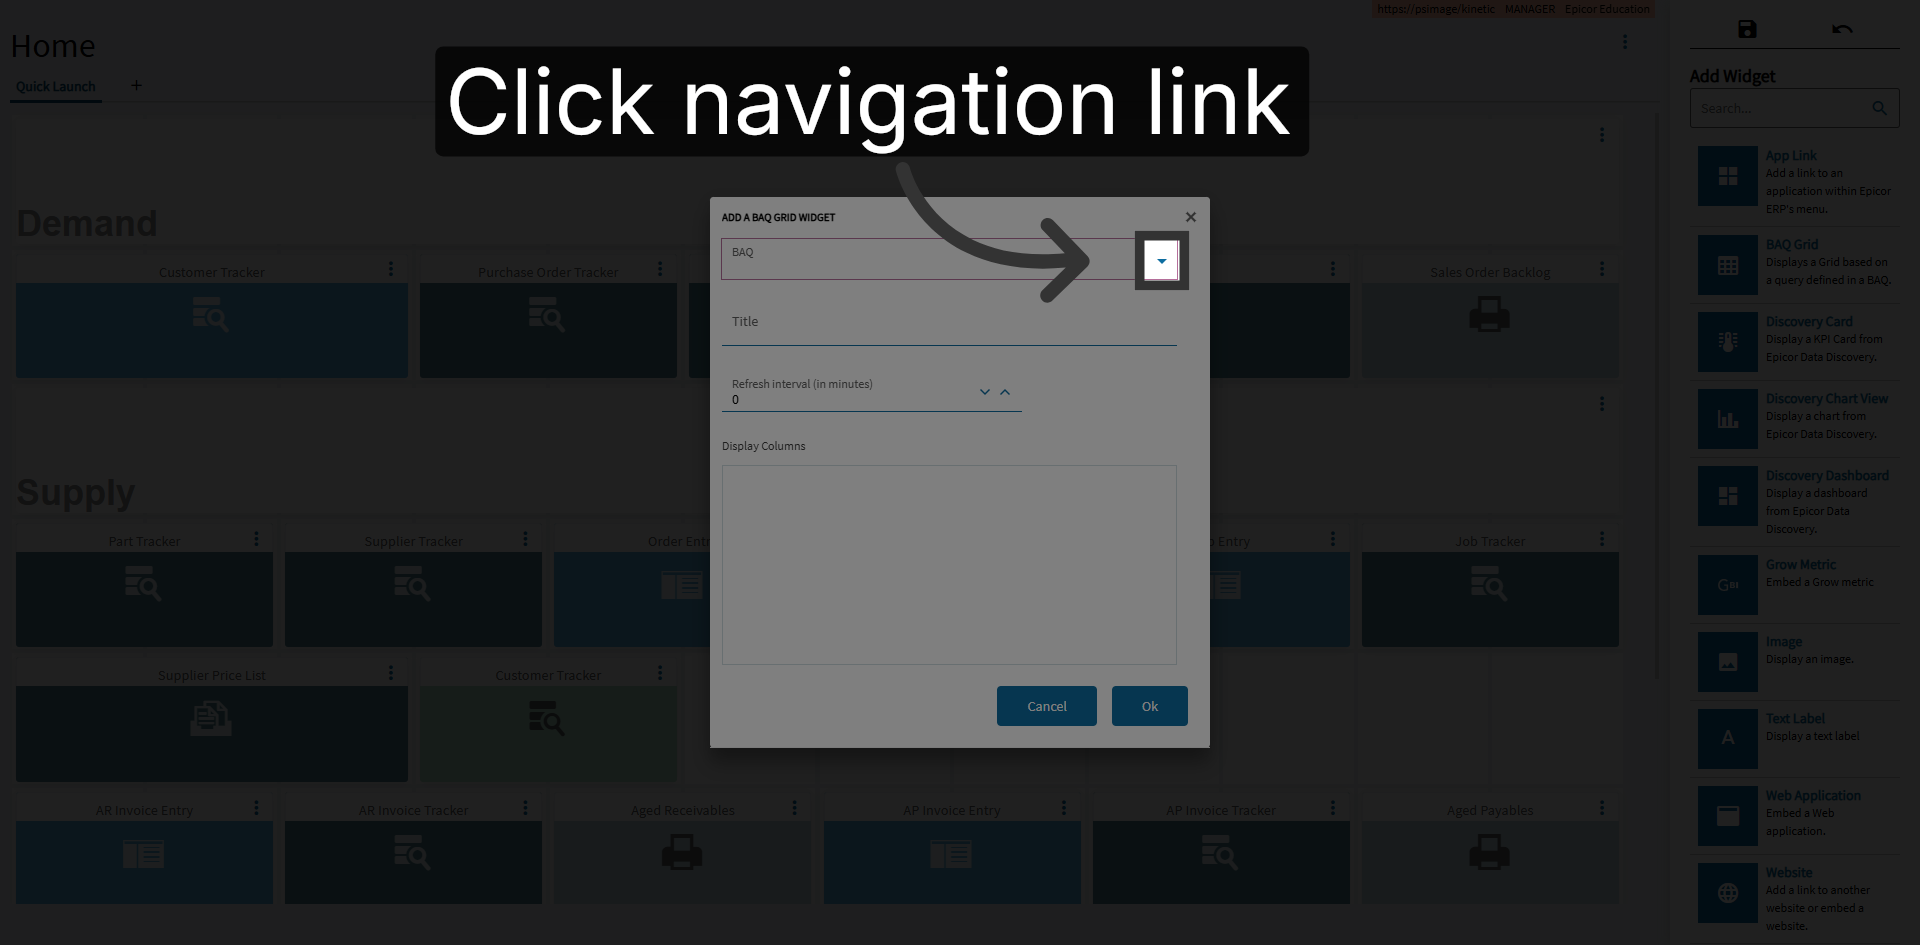
Click Navigation Link
Click the navigation link on the Home page to proceed to the next selection.
15
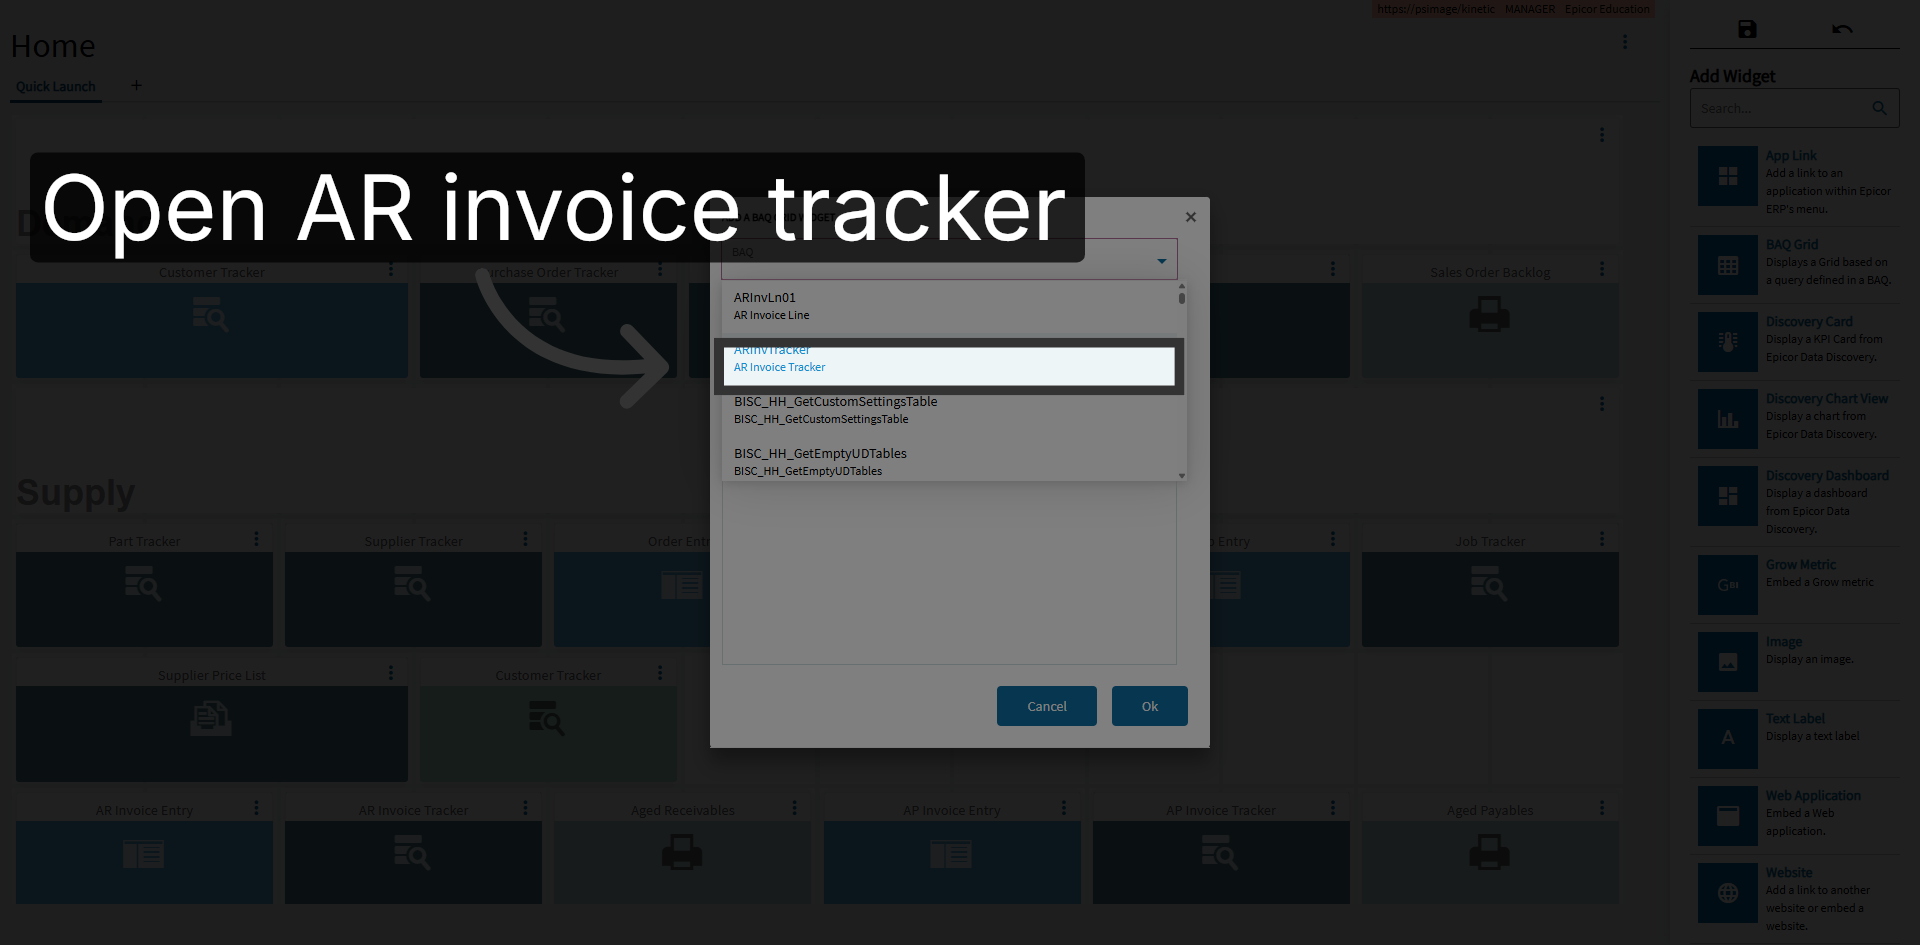
Open AR Invoice Tracker
Click the AR Invoice Tracker option on the Home page to view accounts receivable invoices.
16
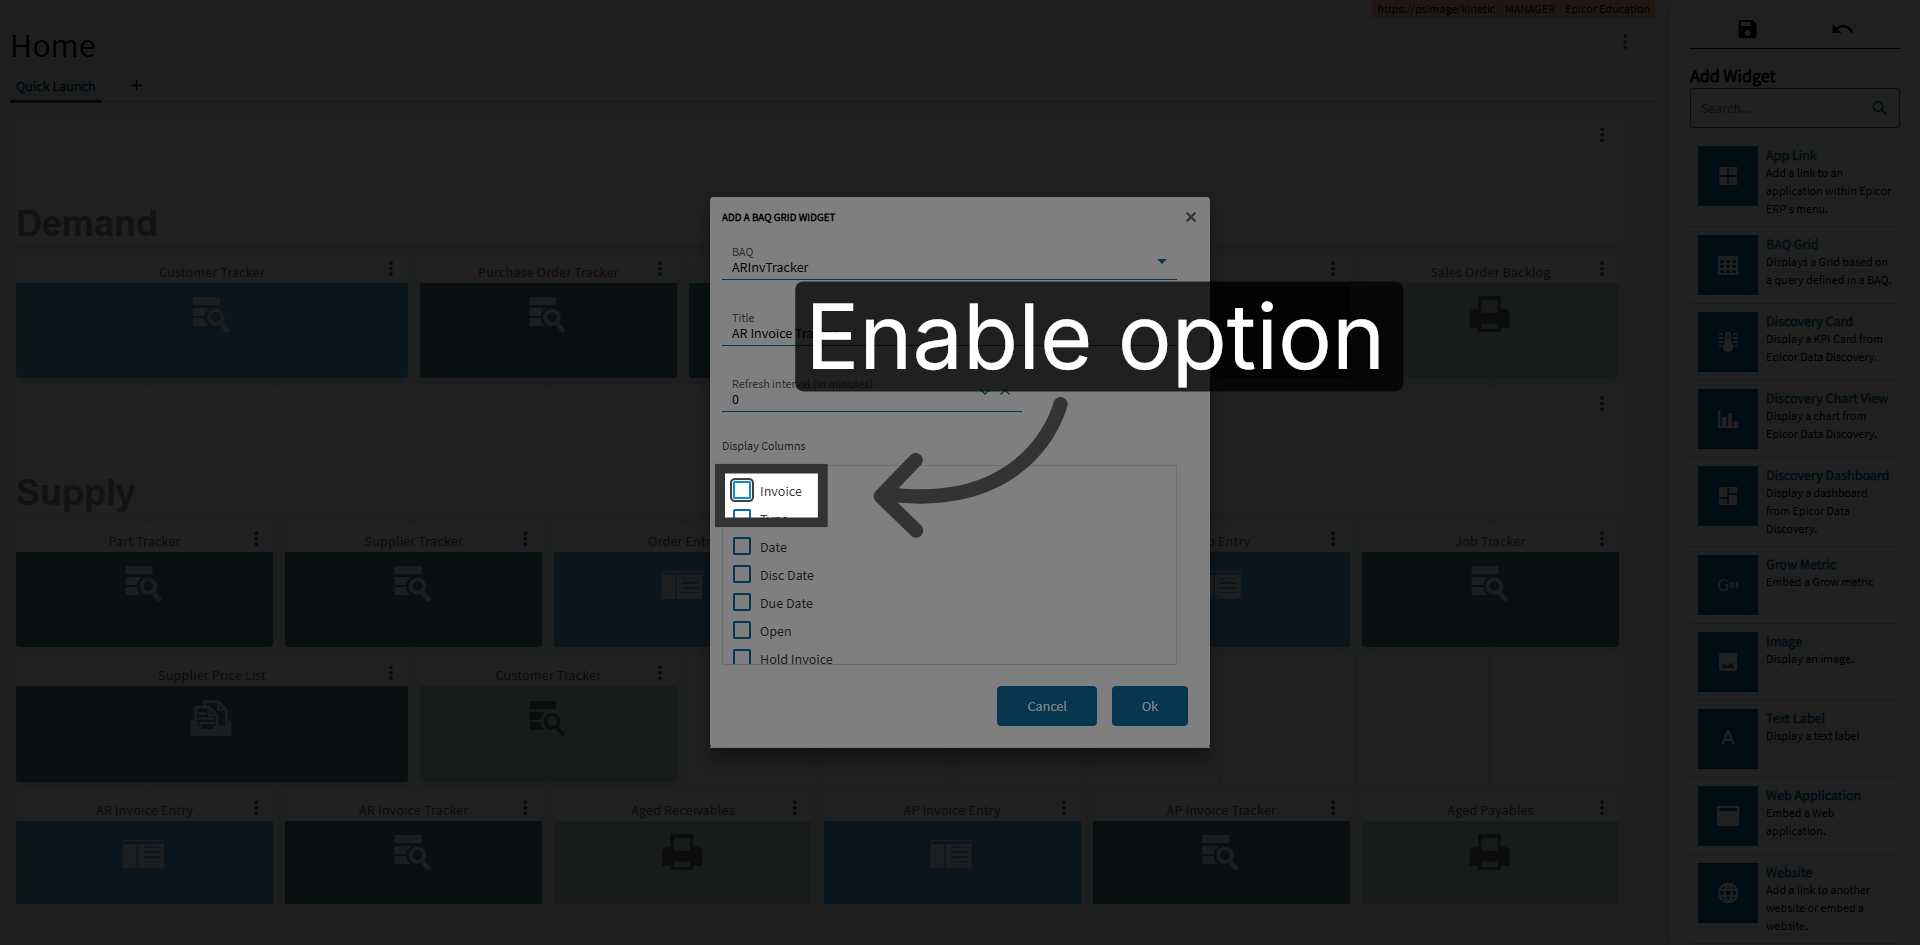
Enable Option
Click the on option on the Home page to enable the desired feature or setting.
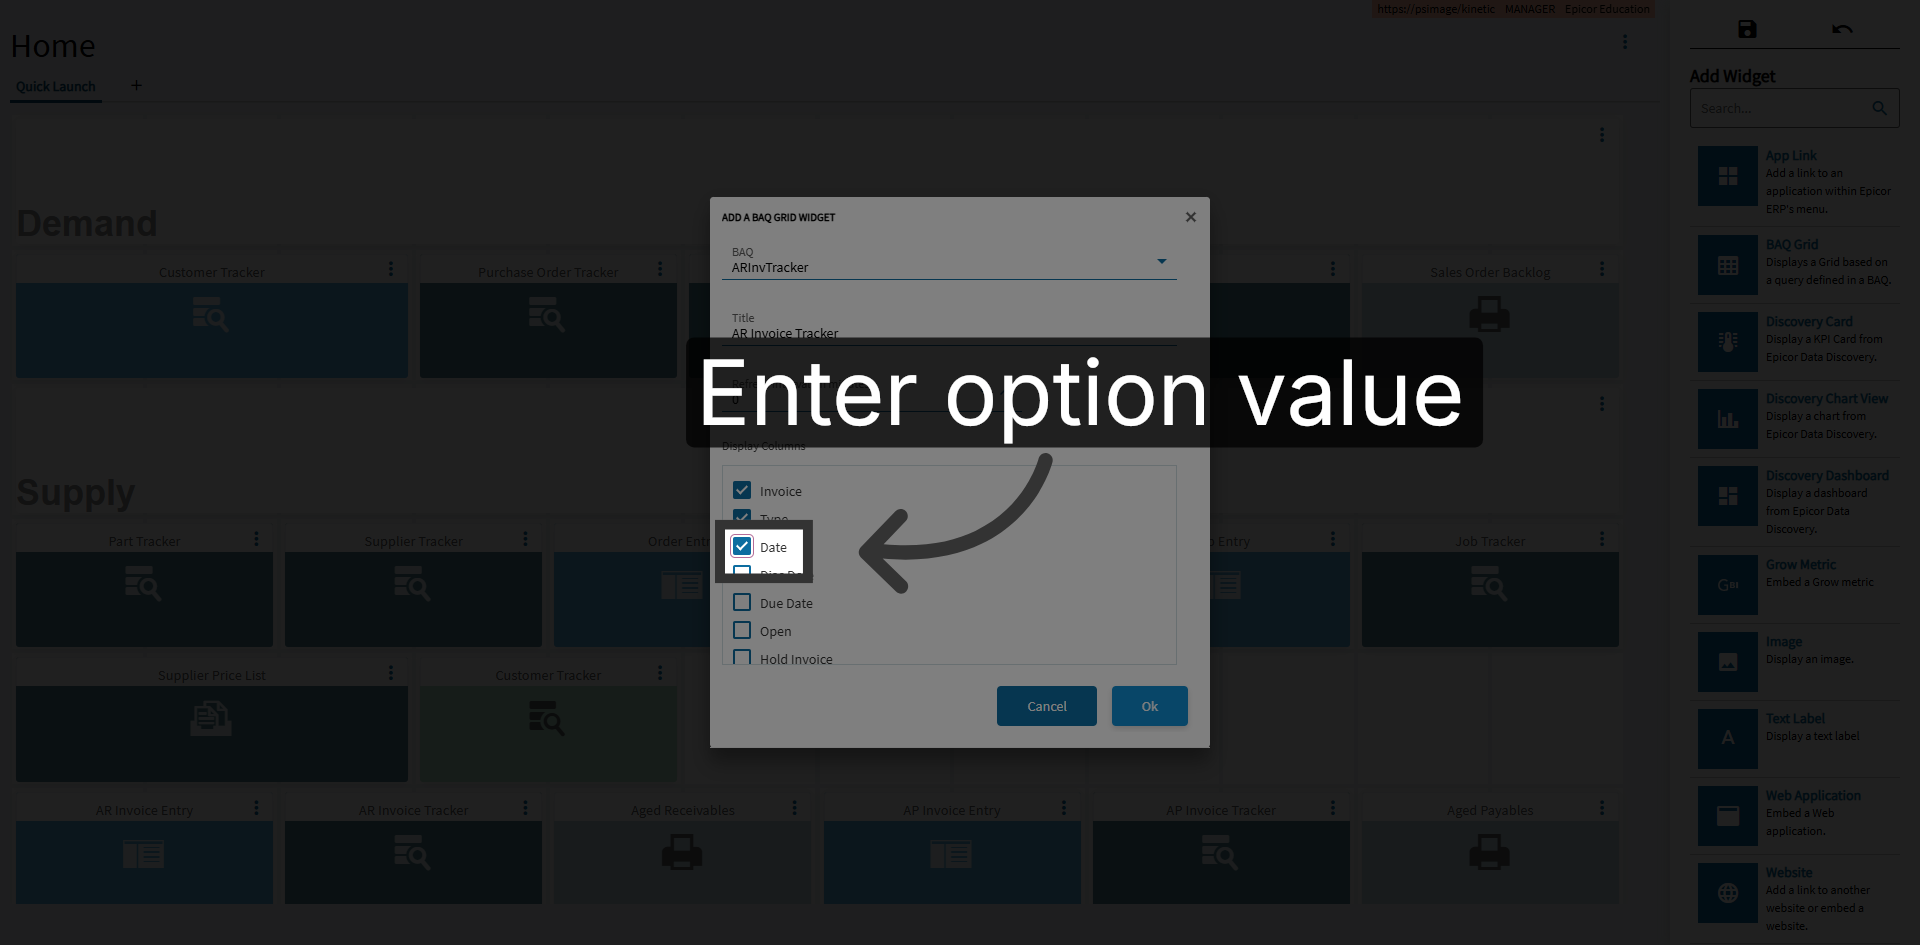
17
Enter Option Value
Enter the appropriate value in the field on the Home page to configure the setting.
18
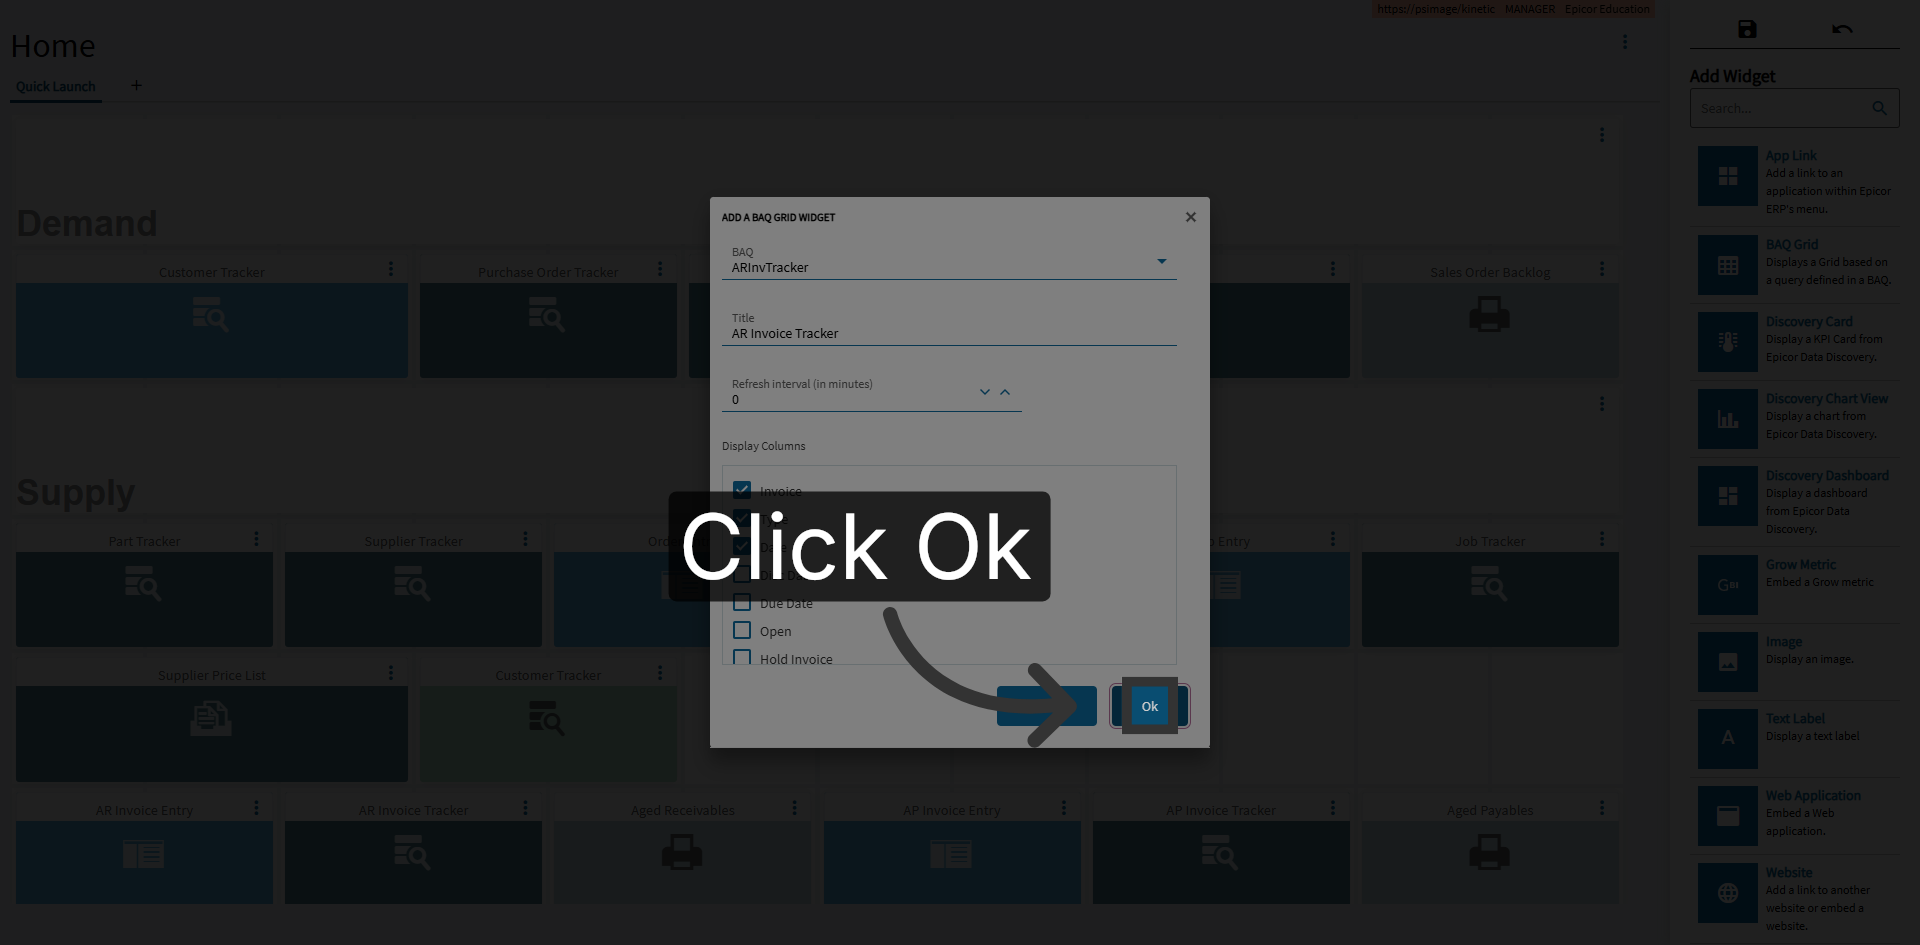
Confirm Selection
Click the Ok button on the Home page to confirm your input and continue.
19
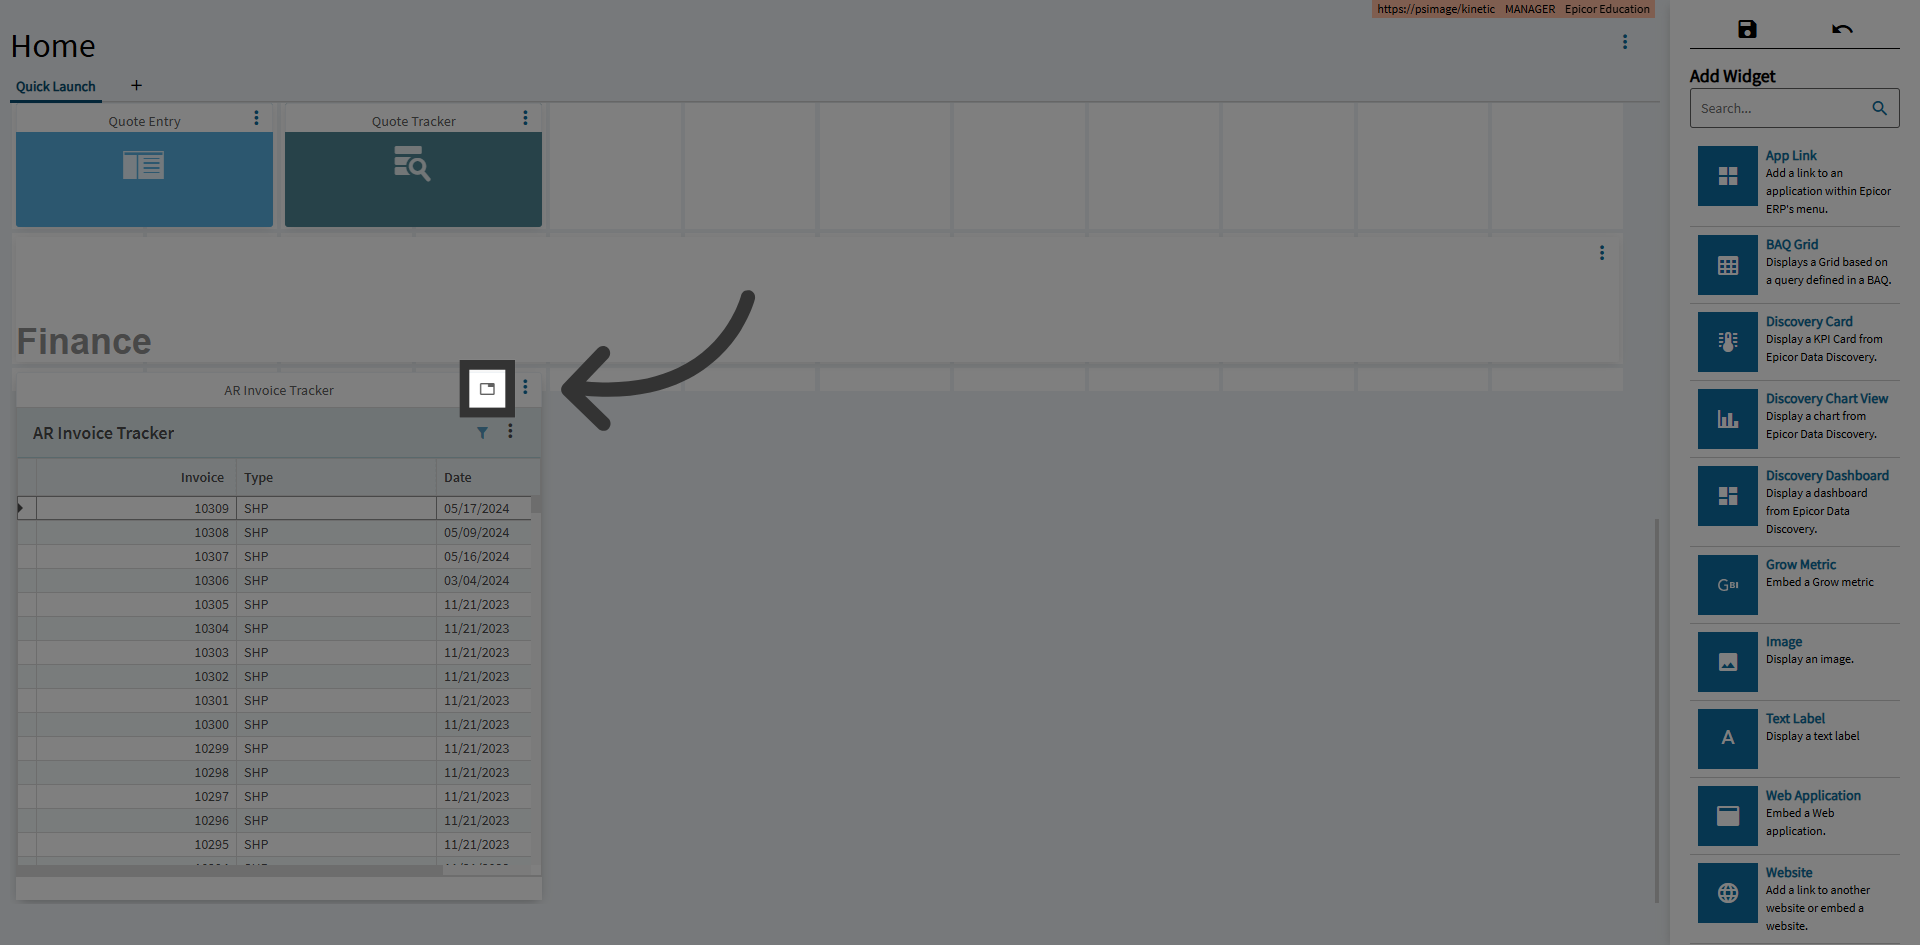
Click Navigation Link
Use the Promote button on the widget to display it as a tab. Along with promoting widgets, you can demote them. Note that when you add the Discovery Dashboard, it always displays in a new tab.
20
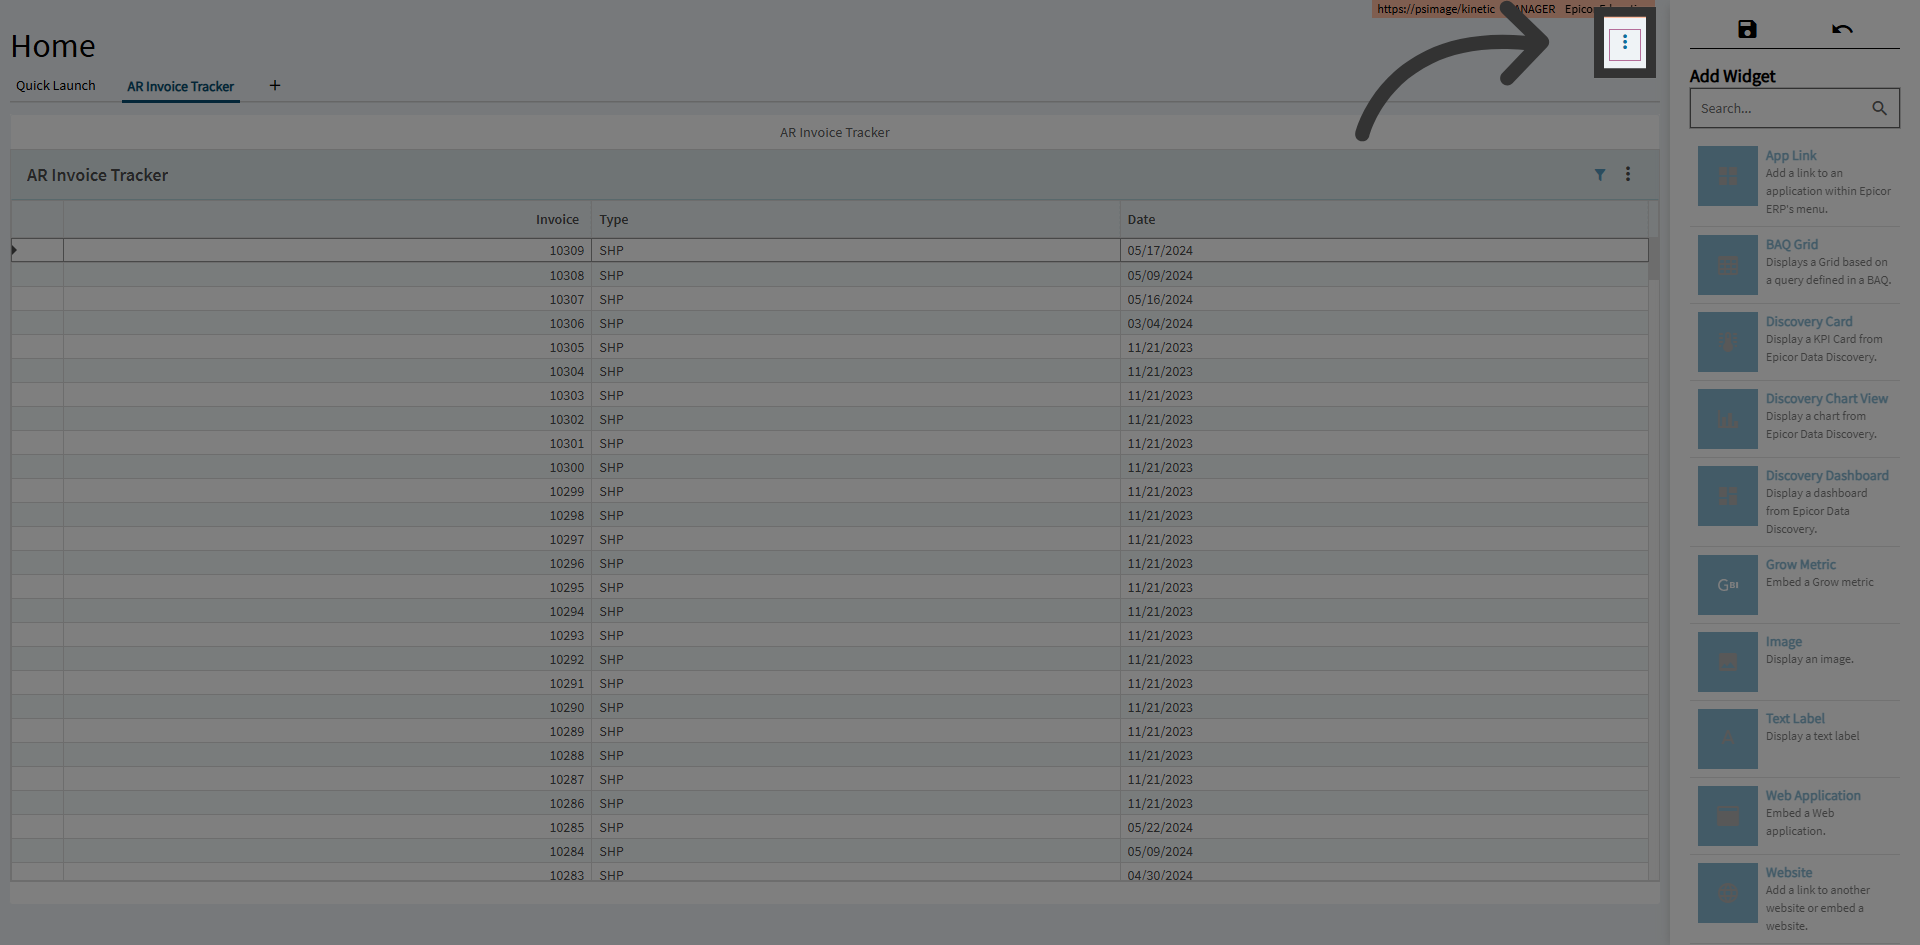
Click Navigation Link
To demote the widget, from the Overflow menu.
21
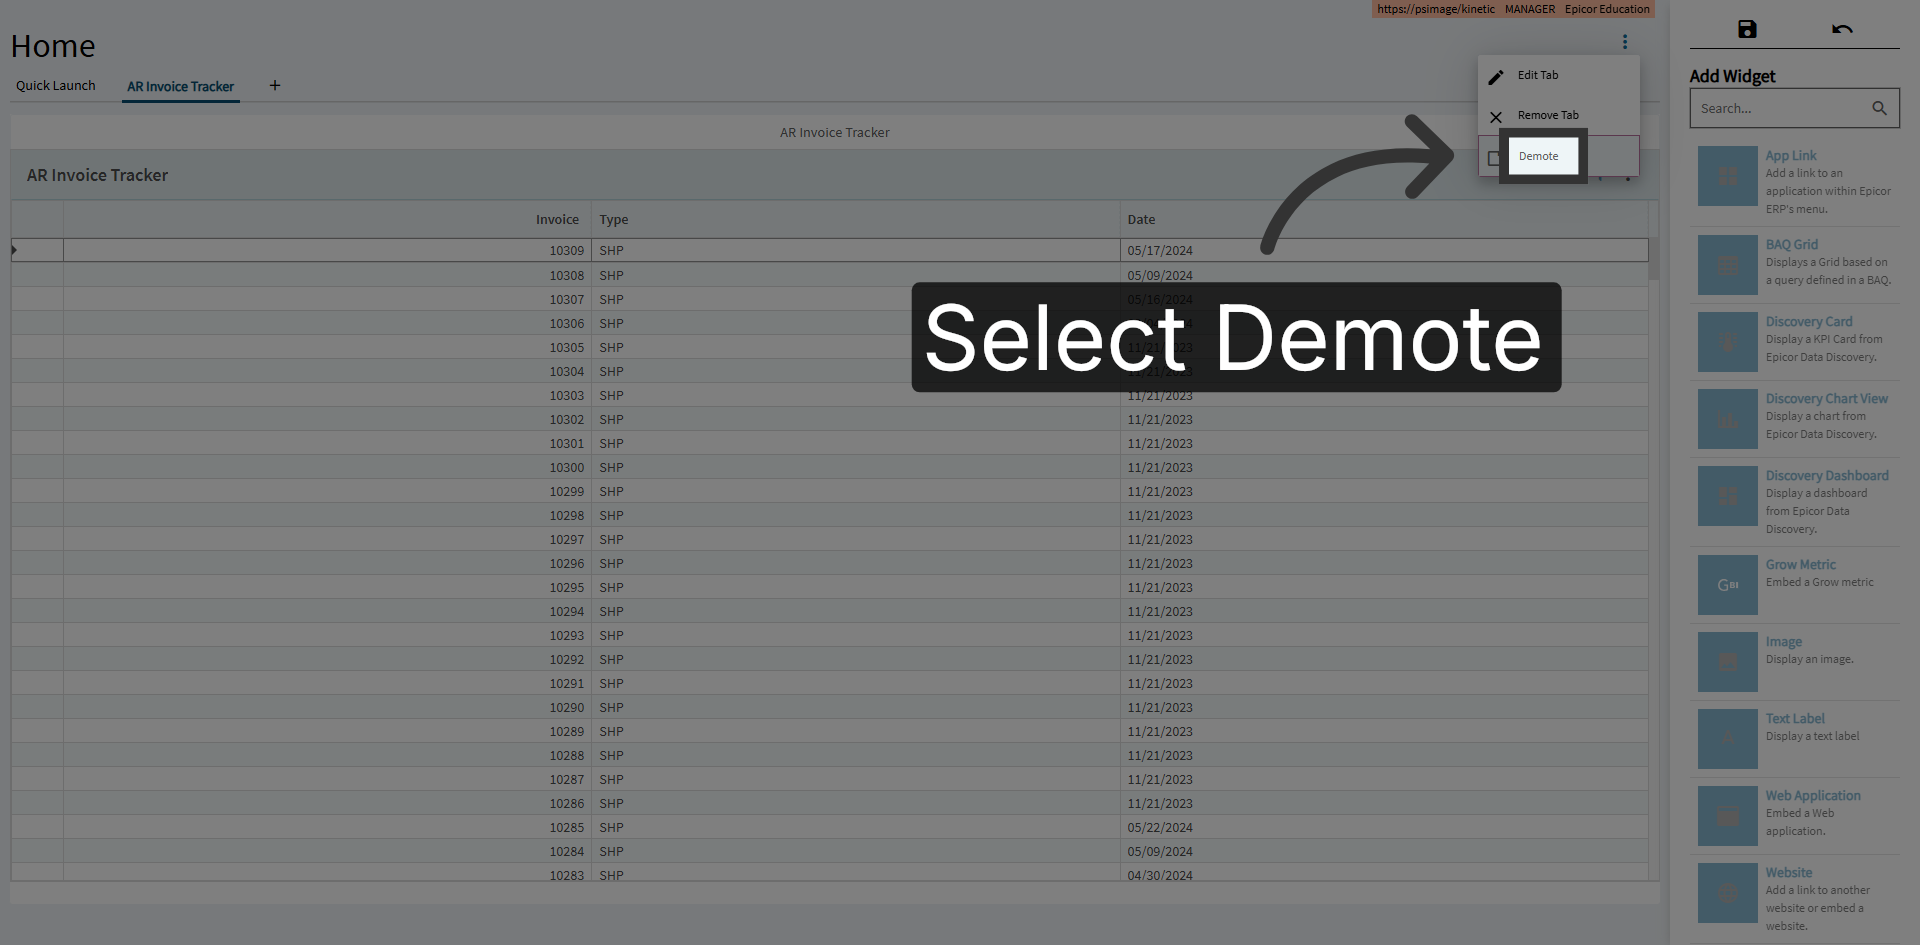
Select Demote Option
Click the Demote button on the Home page to lower the priority or status of the selected item.
22
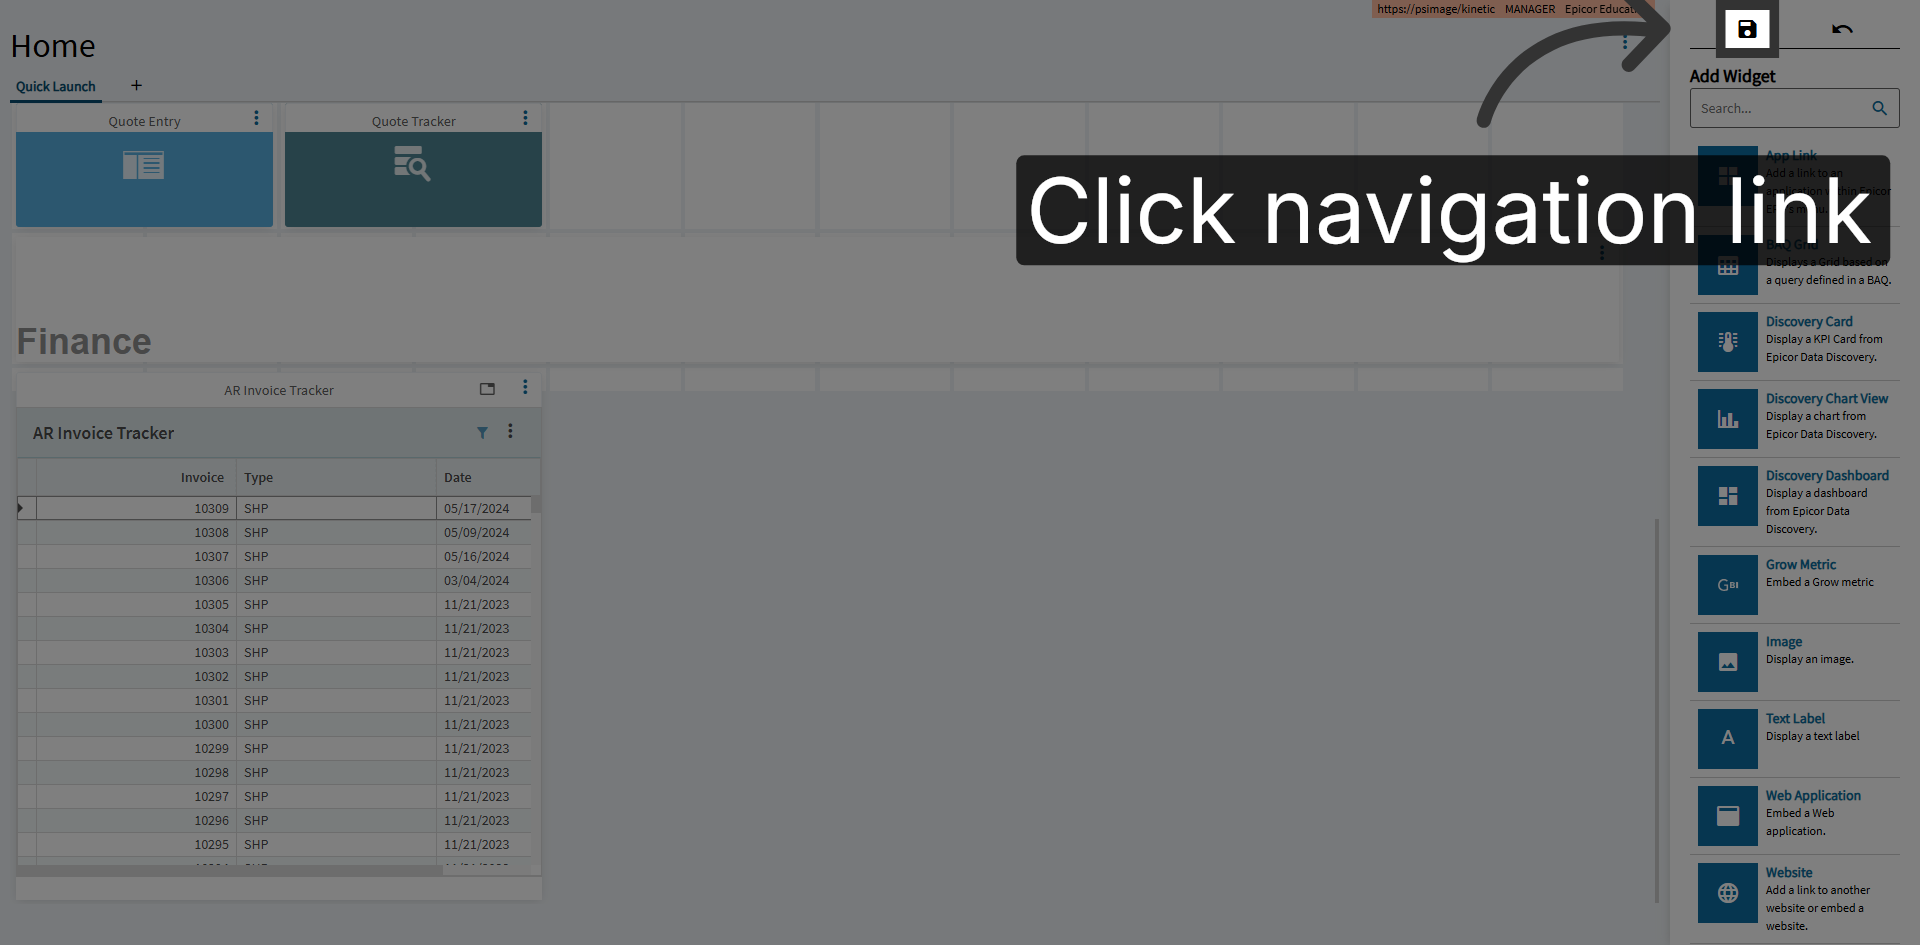
Click Navigation Link
Click Save to save your changes.
23
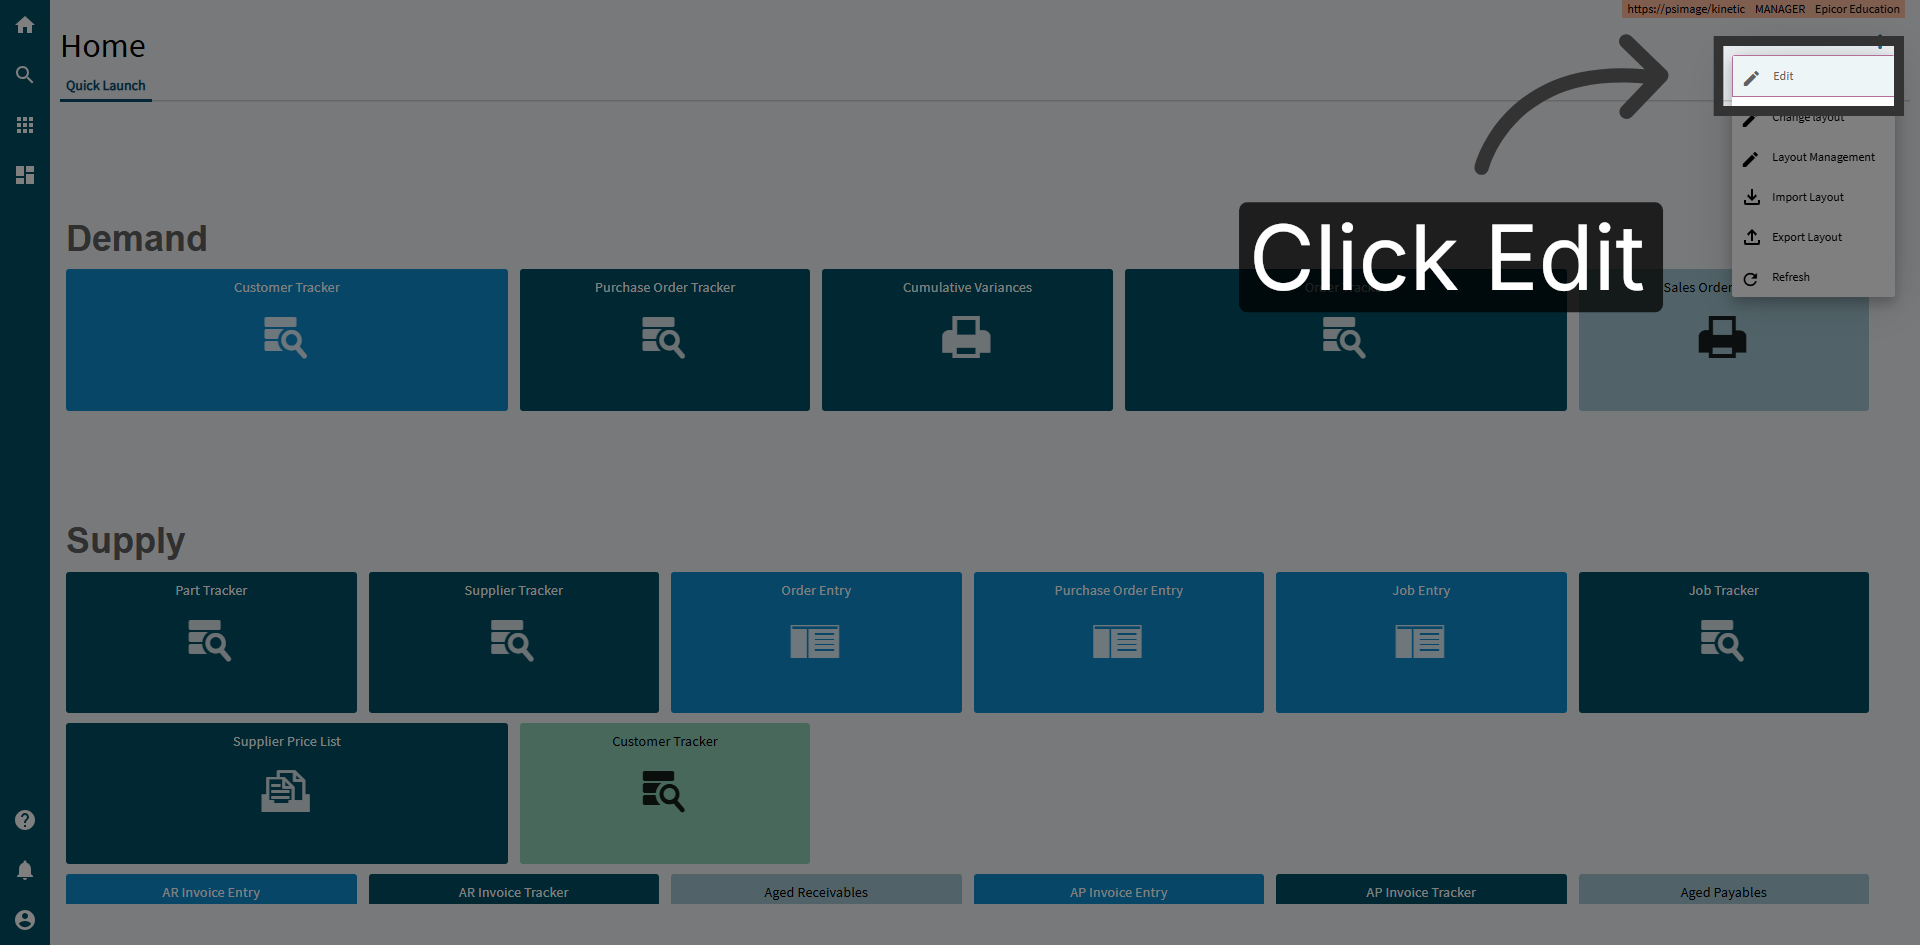
Select Edit Option
Click the Edit button on the Home page to modify the selected item or settings.
24
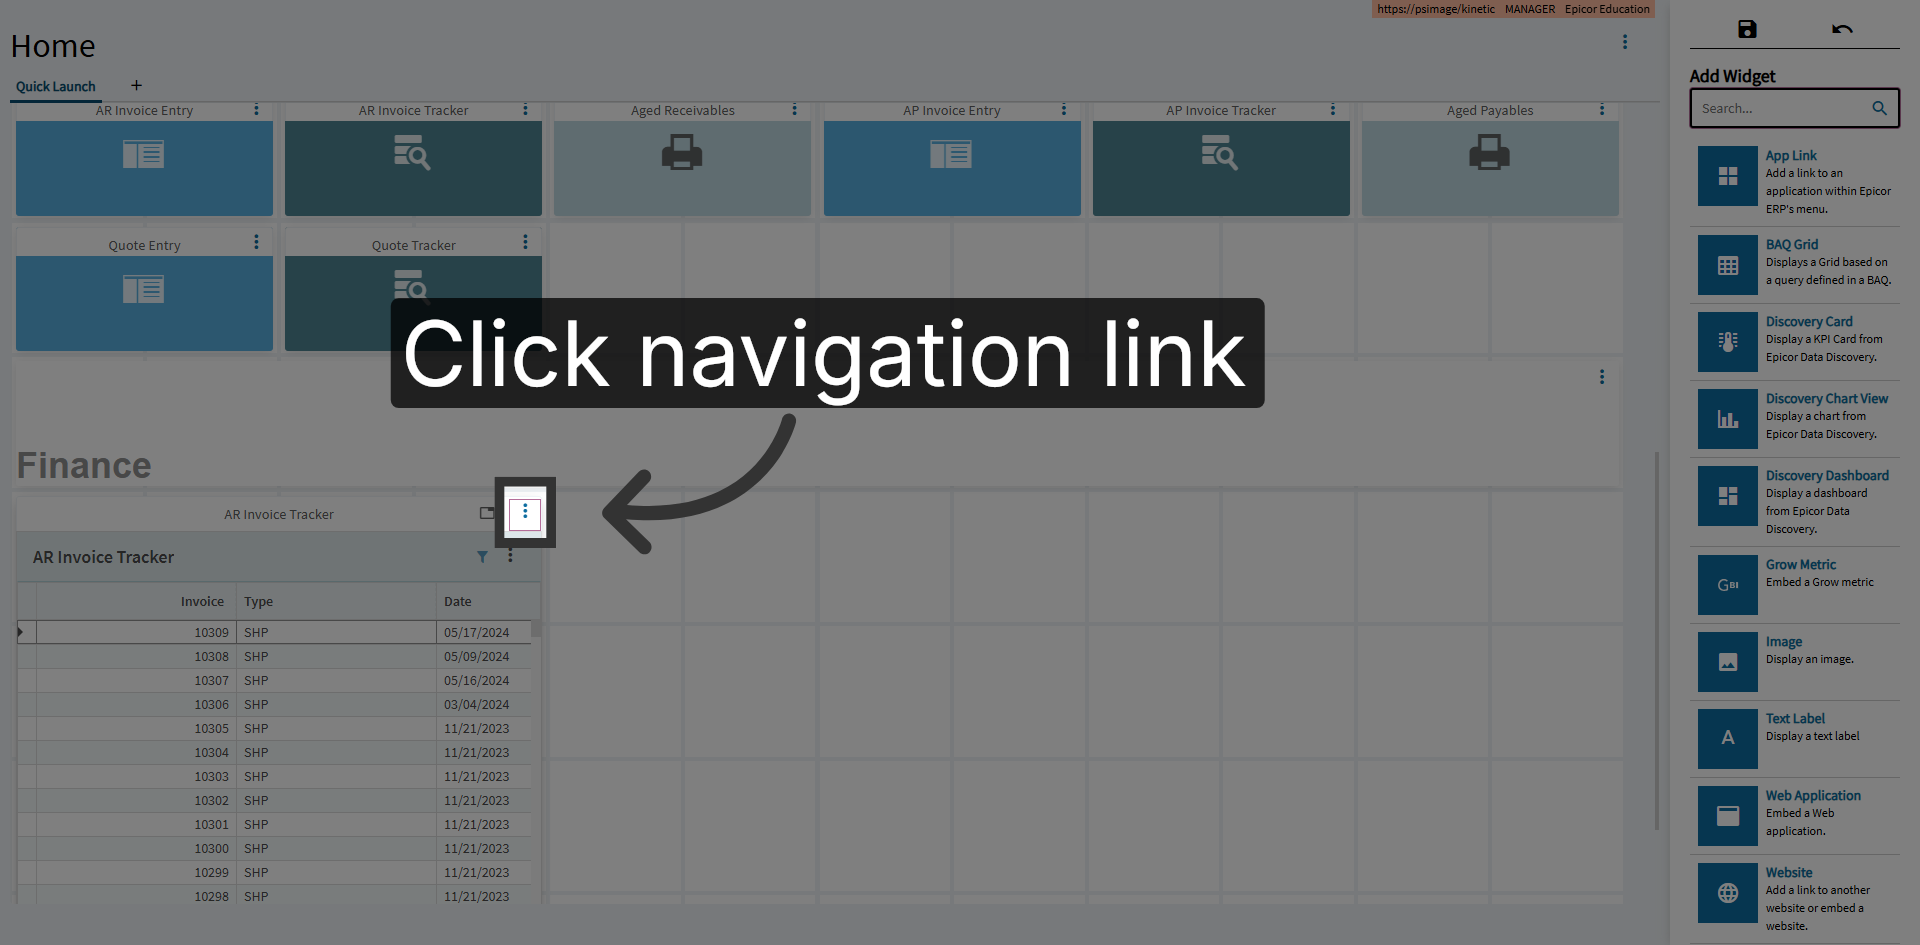
Click Navigation Link
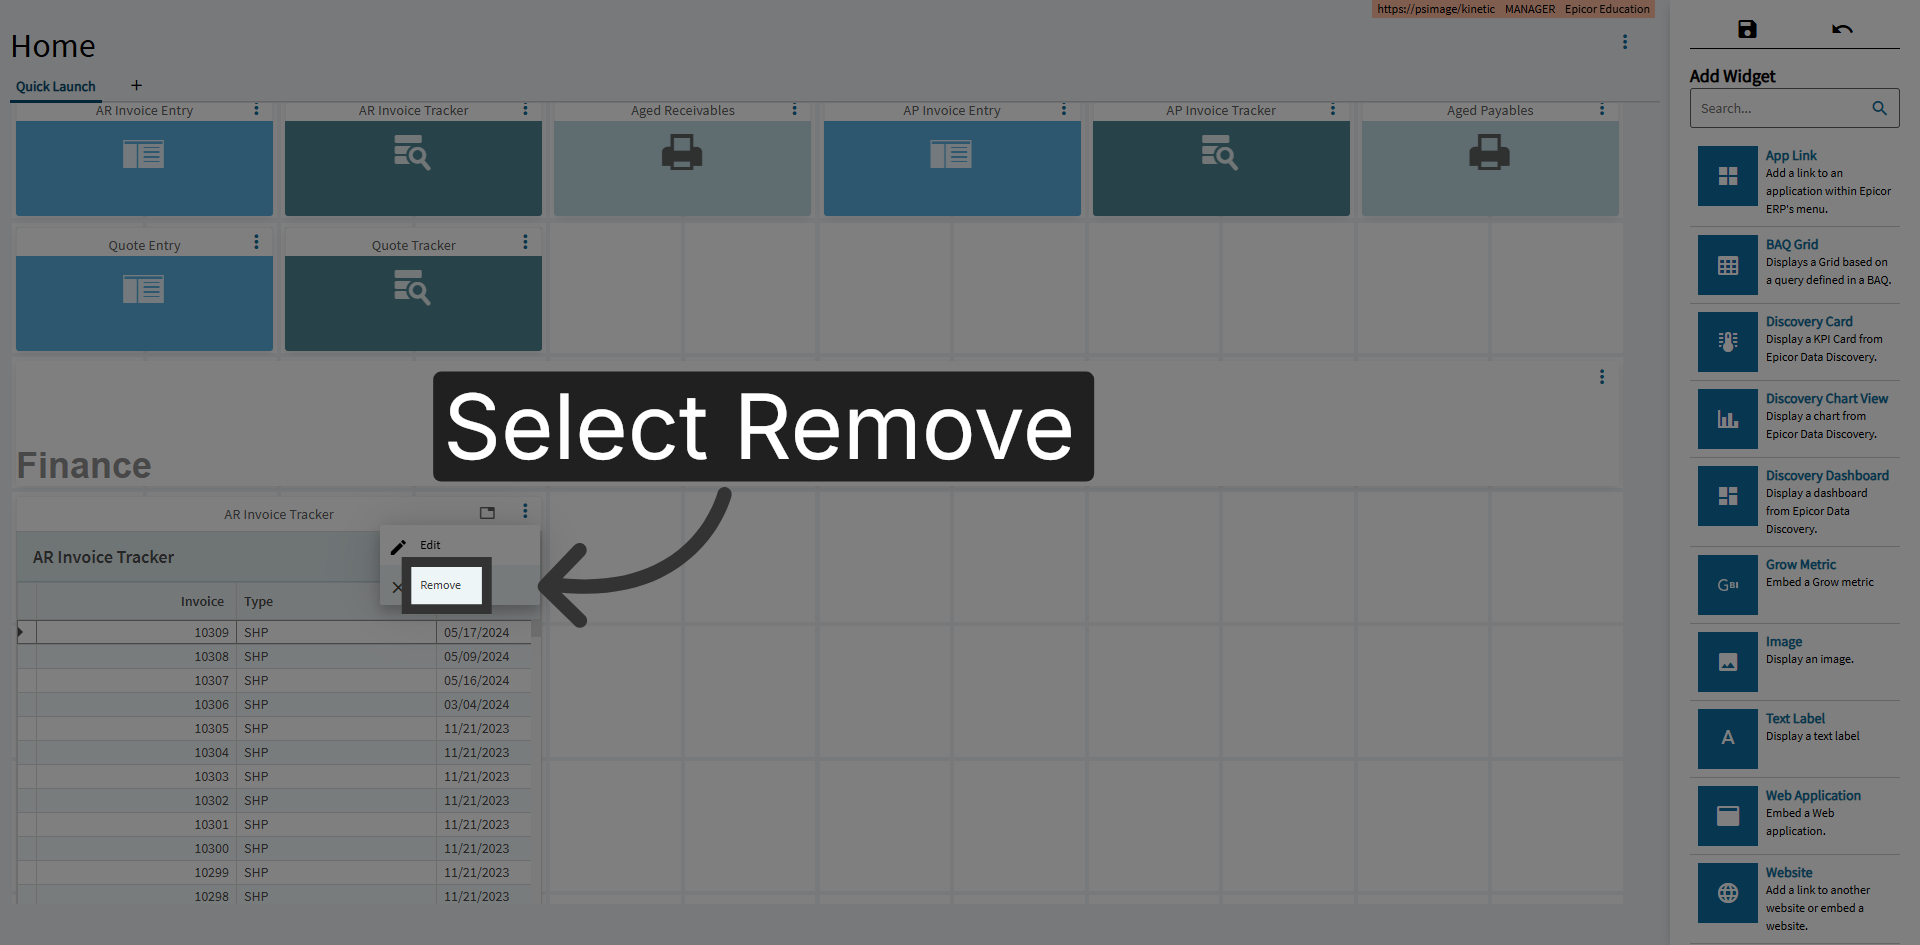
On the widget to delete, select the Overflow menu
25
Select Remove Option
Click the Remove button on the Home page to delete the selected item from the list.
26
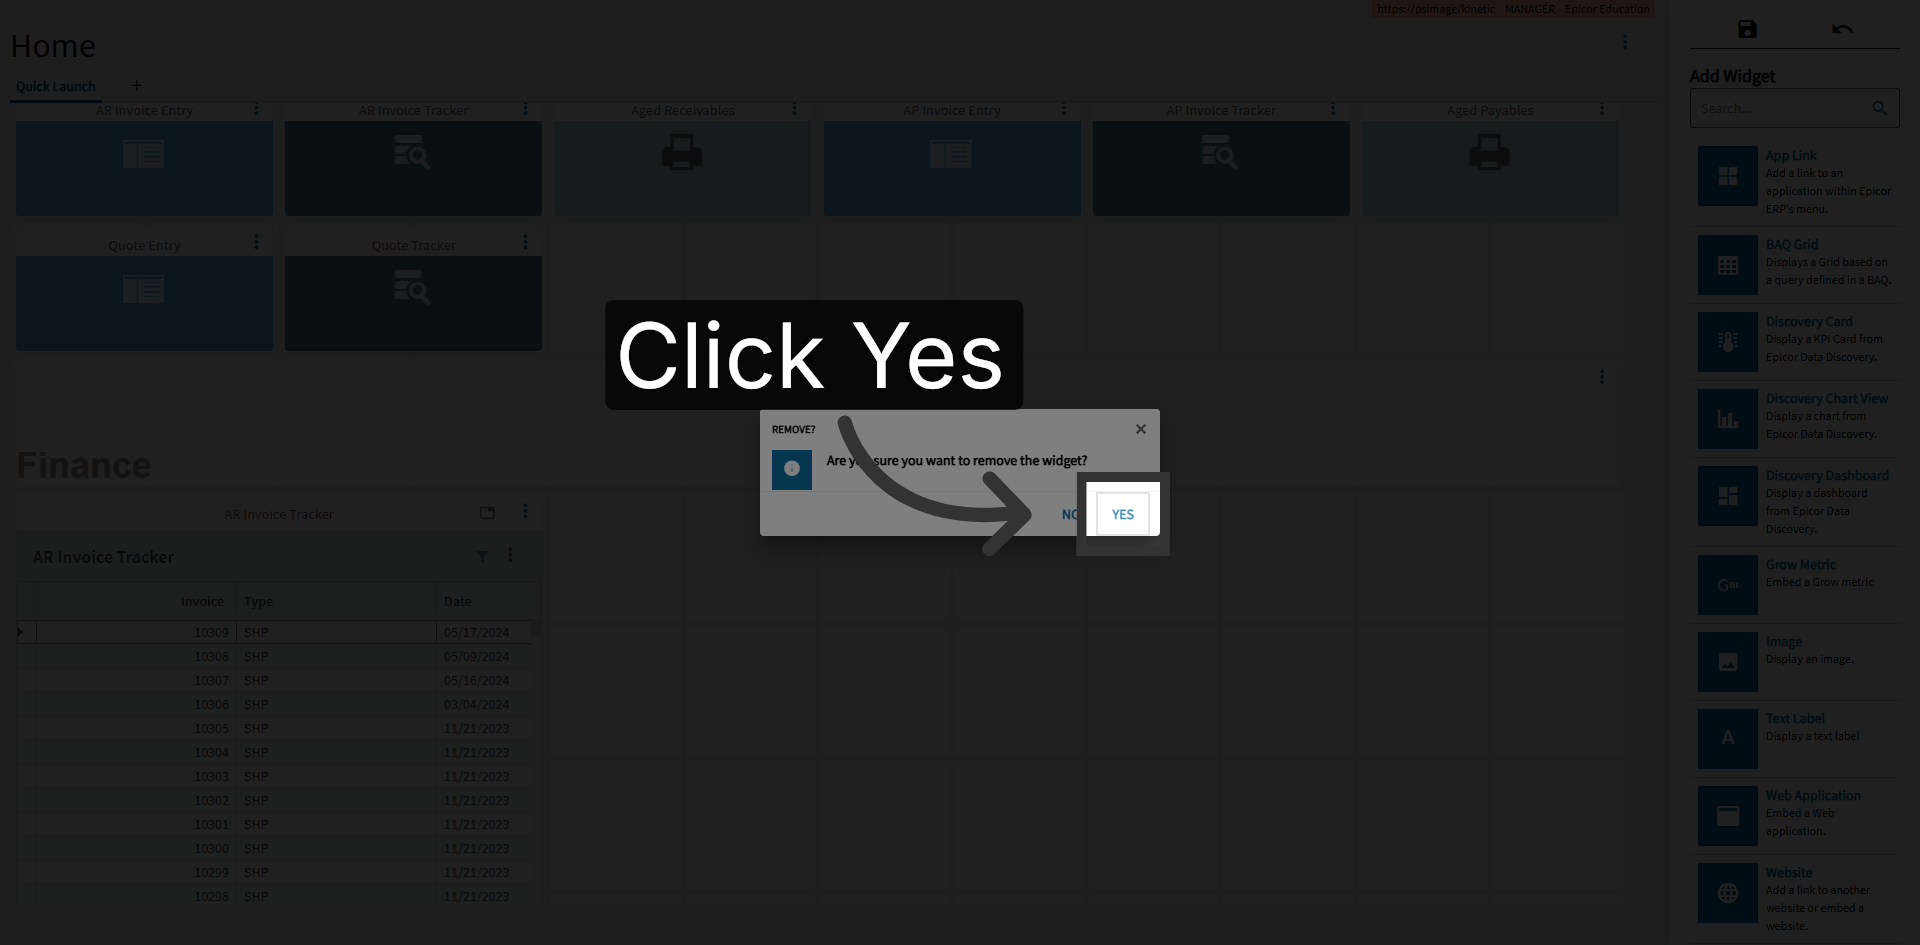
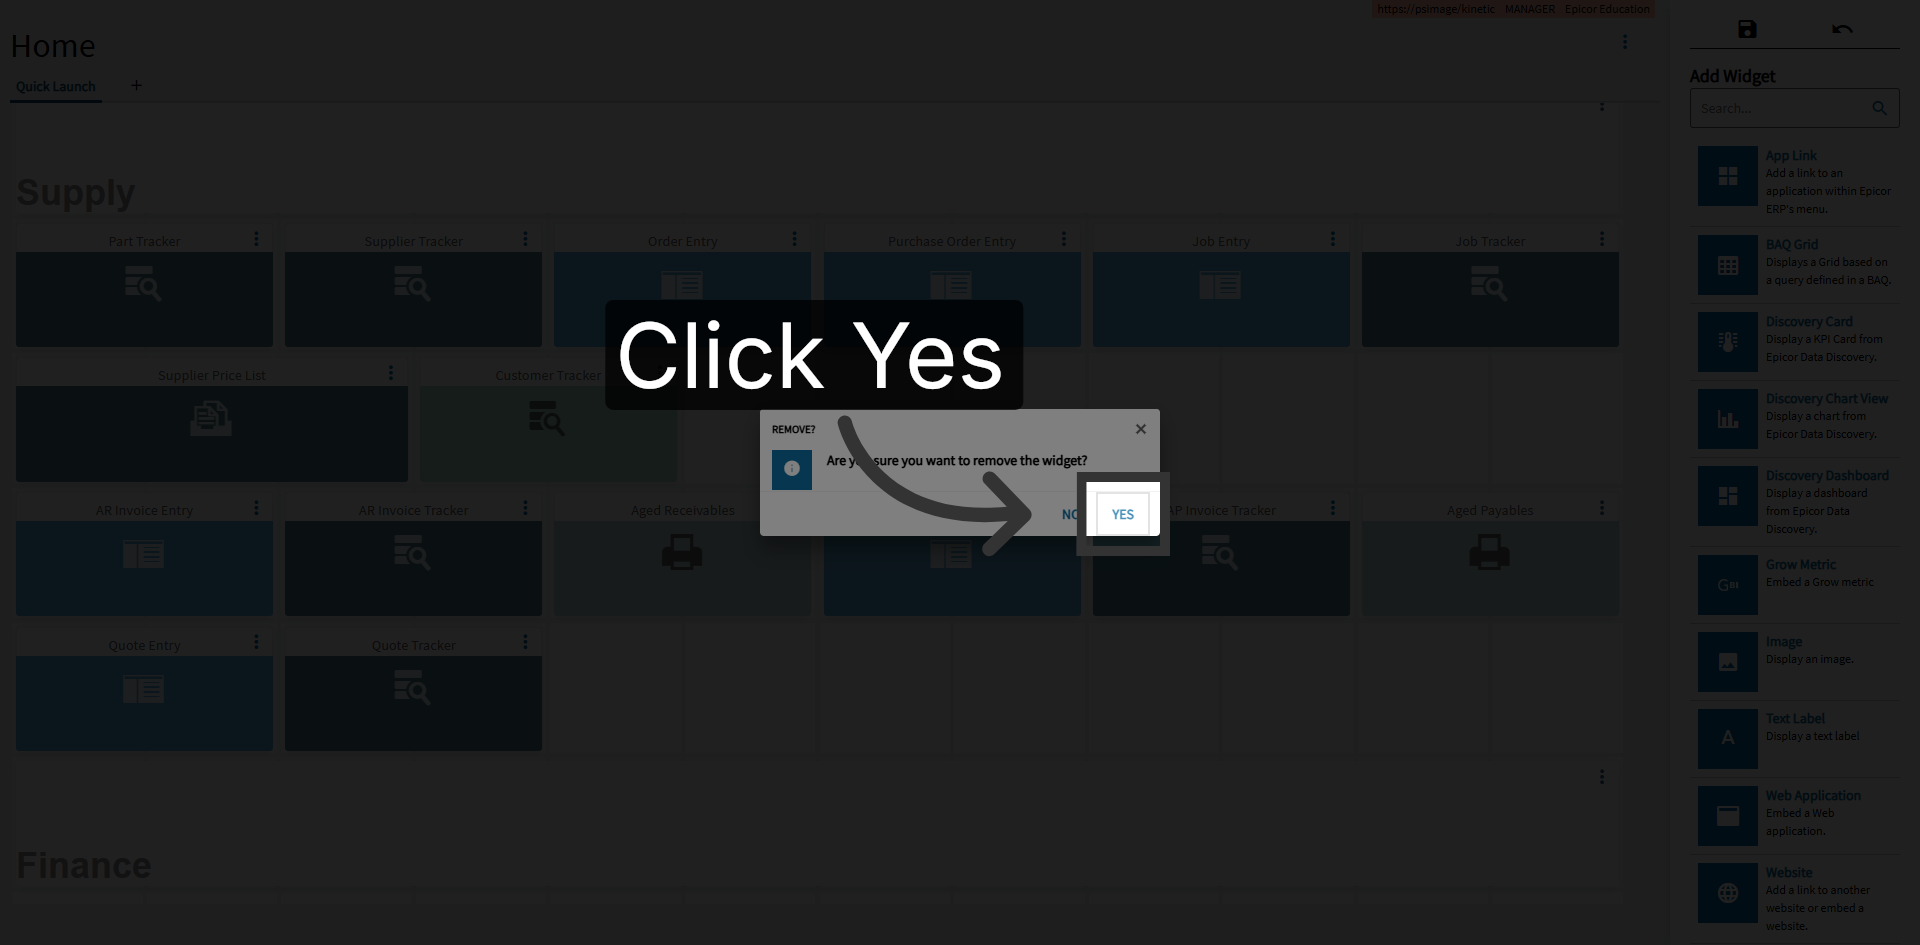
Confirm Removal
Click the Yes button on the Home page to confirm the removal of the selected item.
27
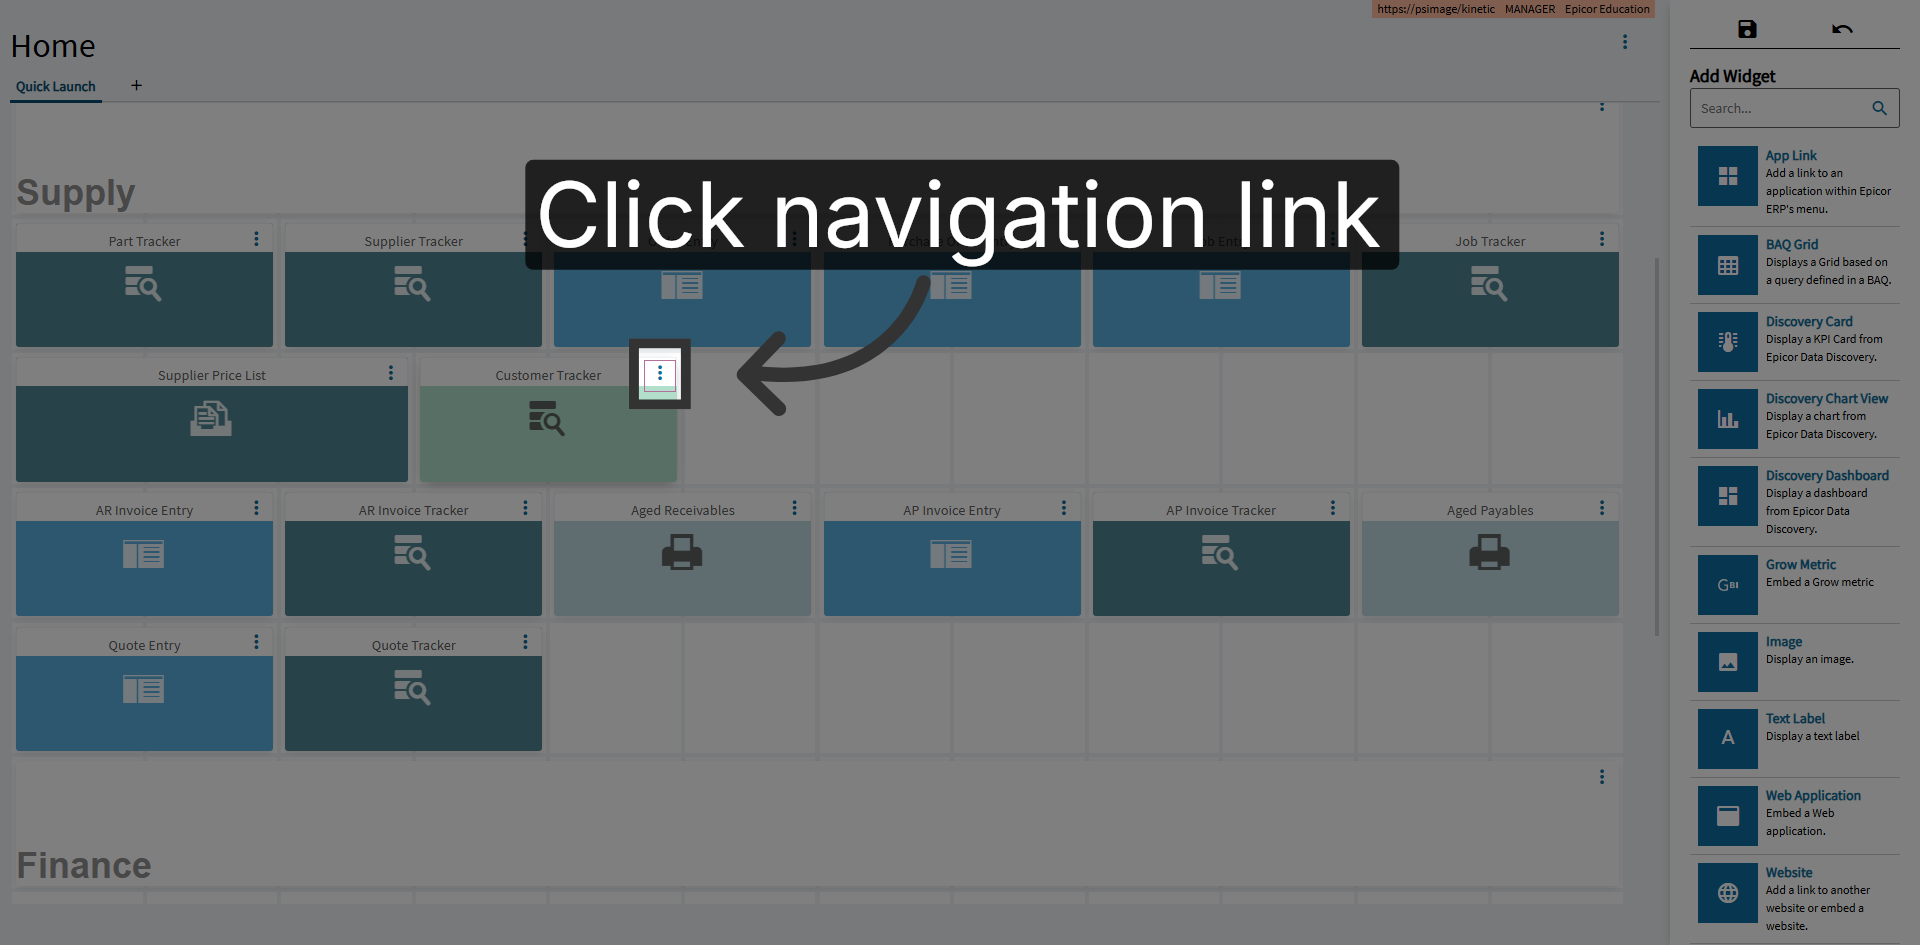
Click Navigation Link
We can do the same thing with Customer Tracker
28
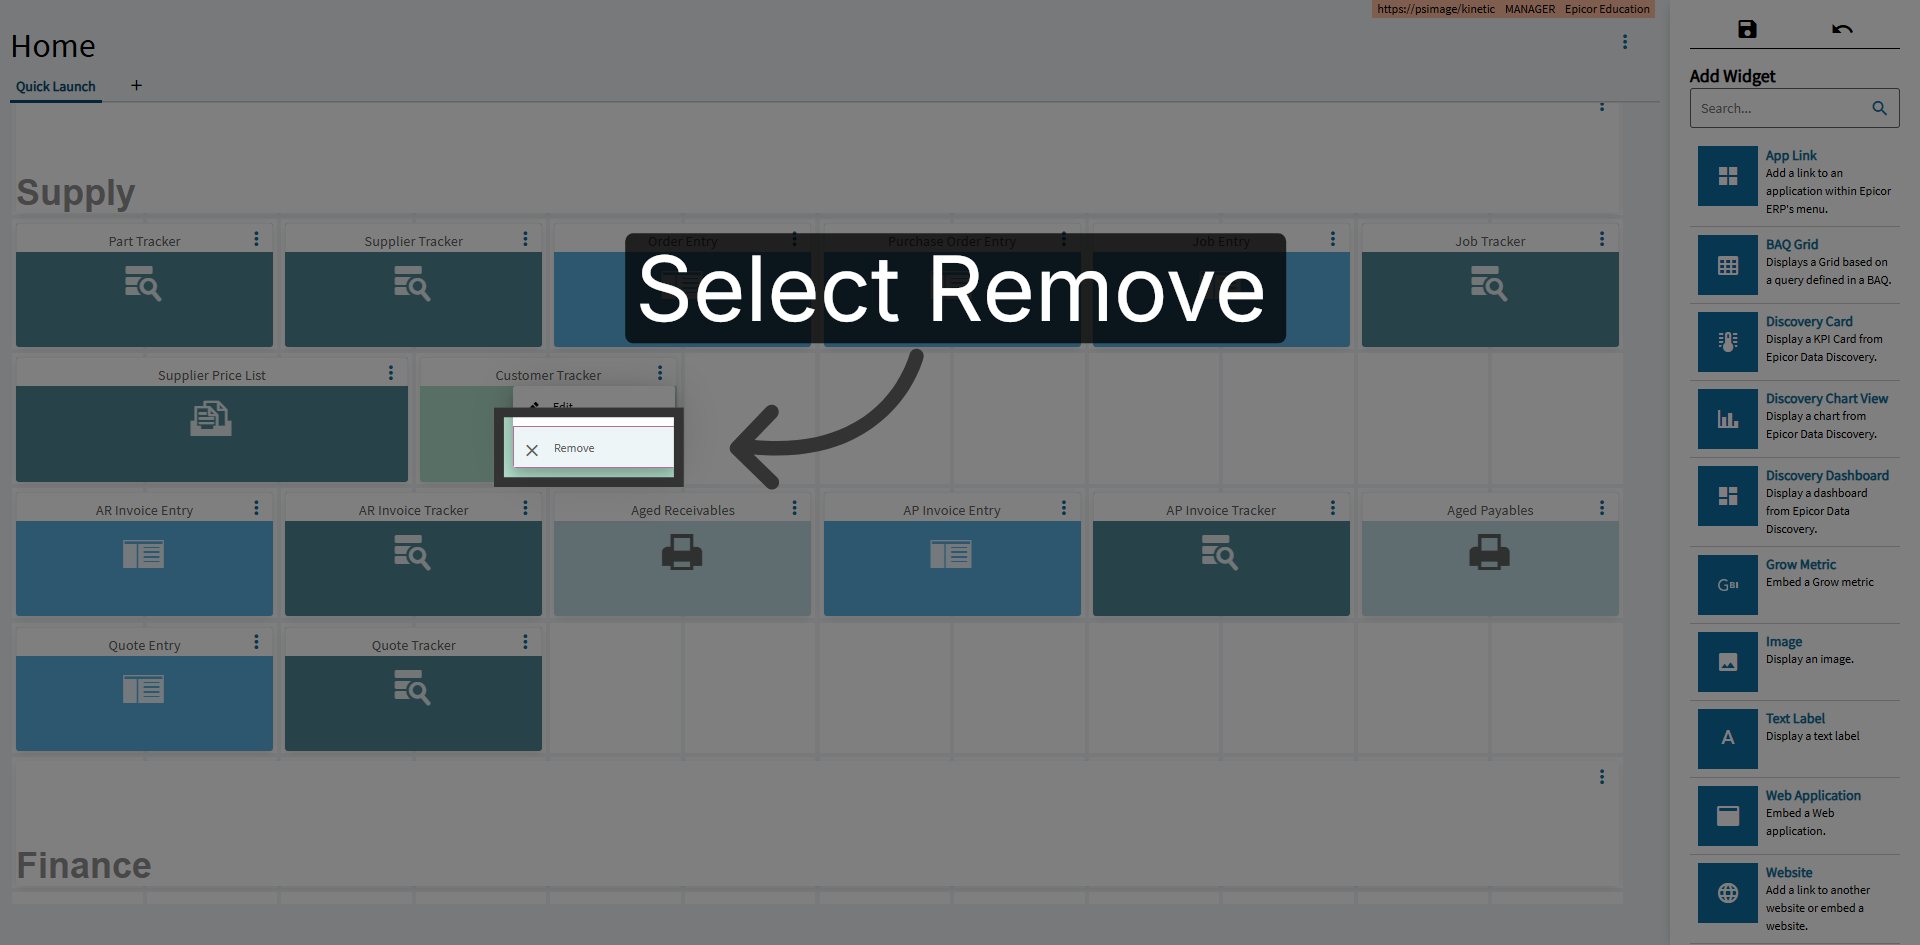
Select Remove Option
Click the Remove button on the Home page to delete another selected item as needed.
29
Confirm Removal
Click the Yes button on the Home page to confirm the deletion of the item.
30
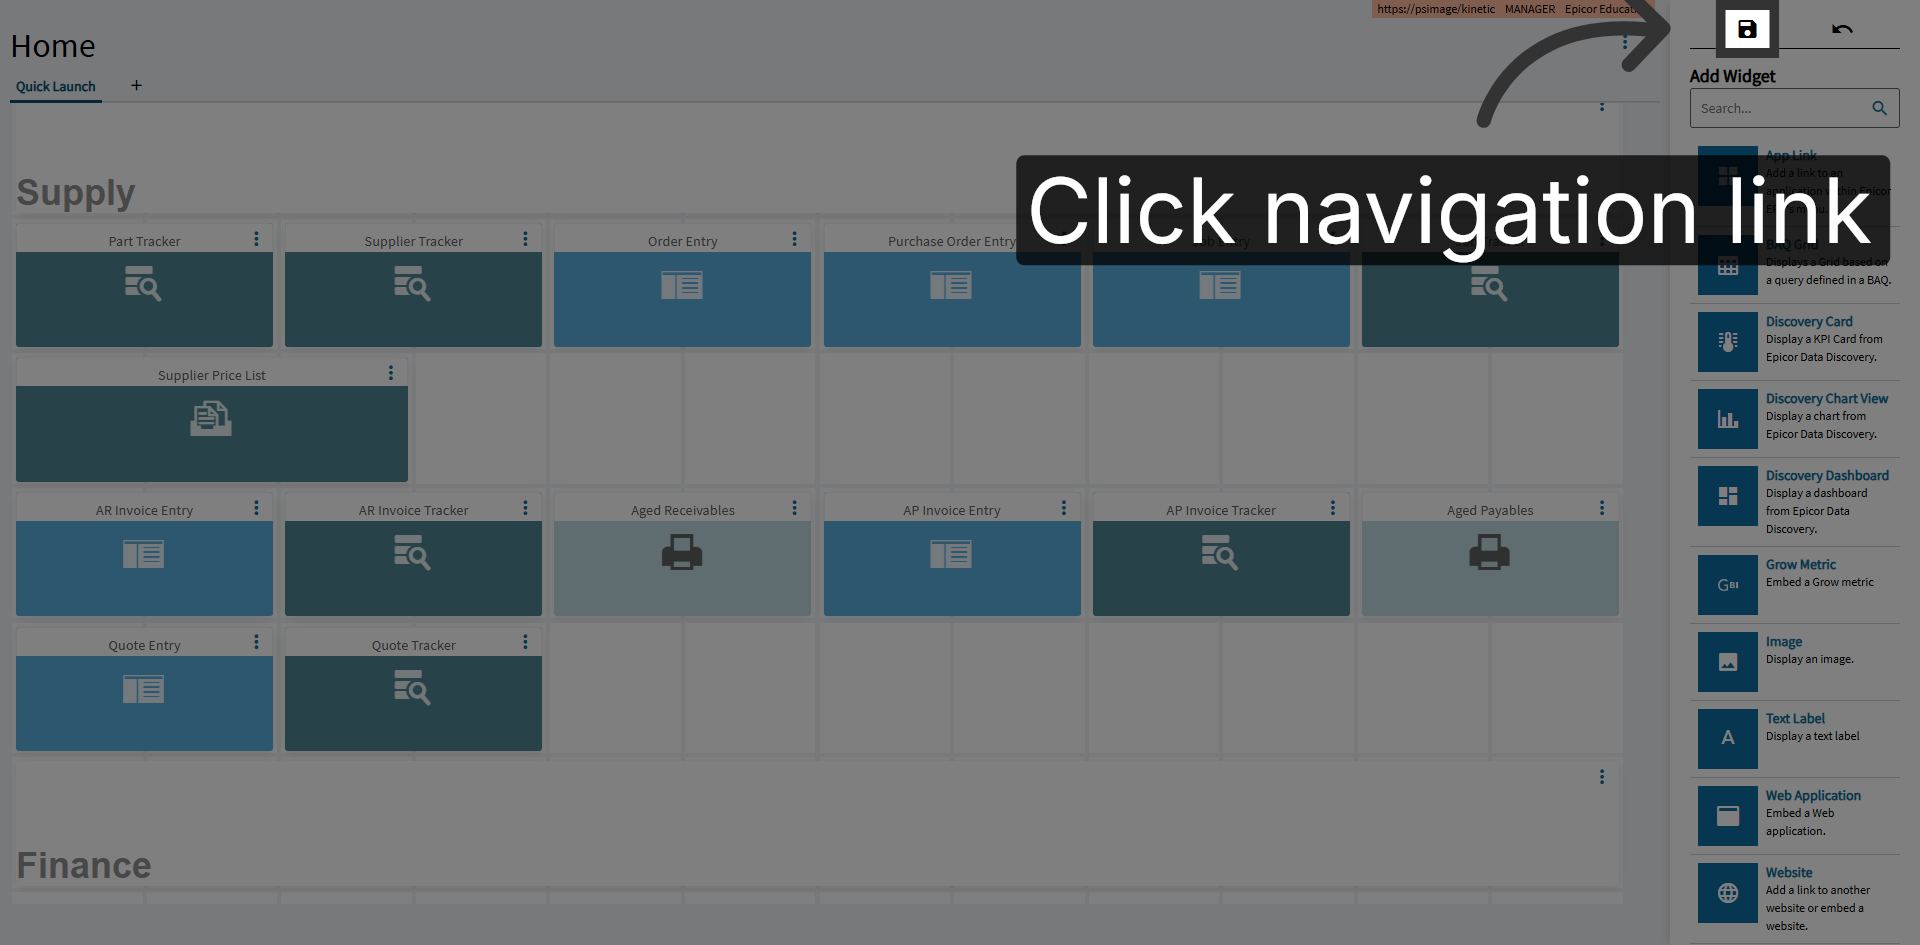
Click Navigation Link
Click Save to save your changes.
Make sure to follow Crawford Software for more training videos and to help maximize your Epicor ERP.
Make sure to follow Crawford Software for more training videos and to help maximize your Epicor ERP.