
This tutorial guides you through accessing SYSPRO Avanti and customizing your dashboard.
1. Introduction
First let’s login to your Syspro account by entering your credentials.
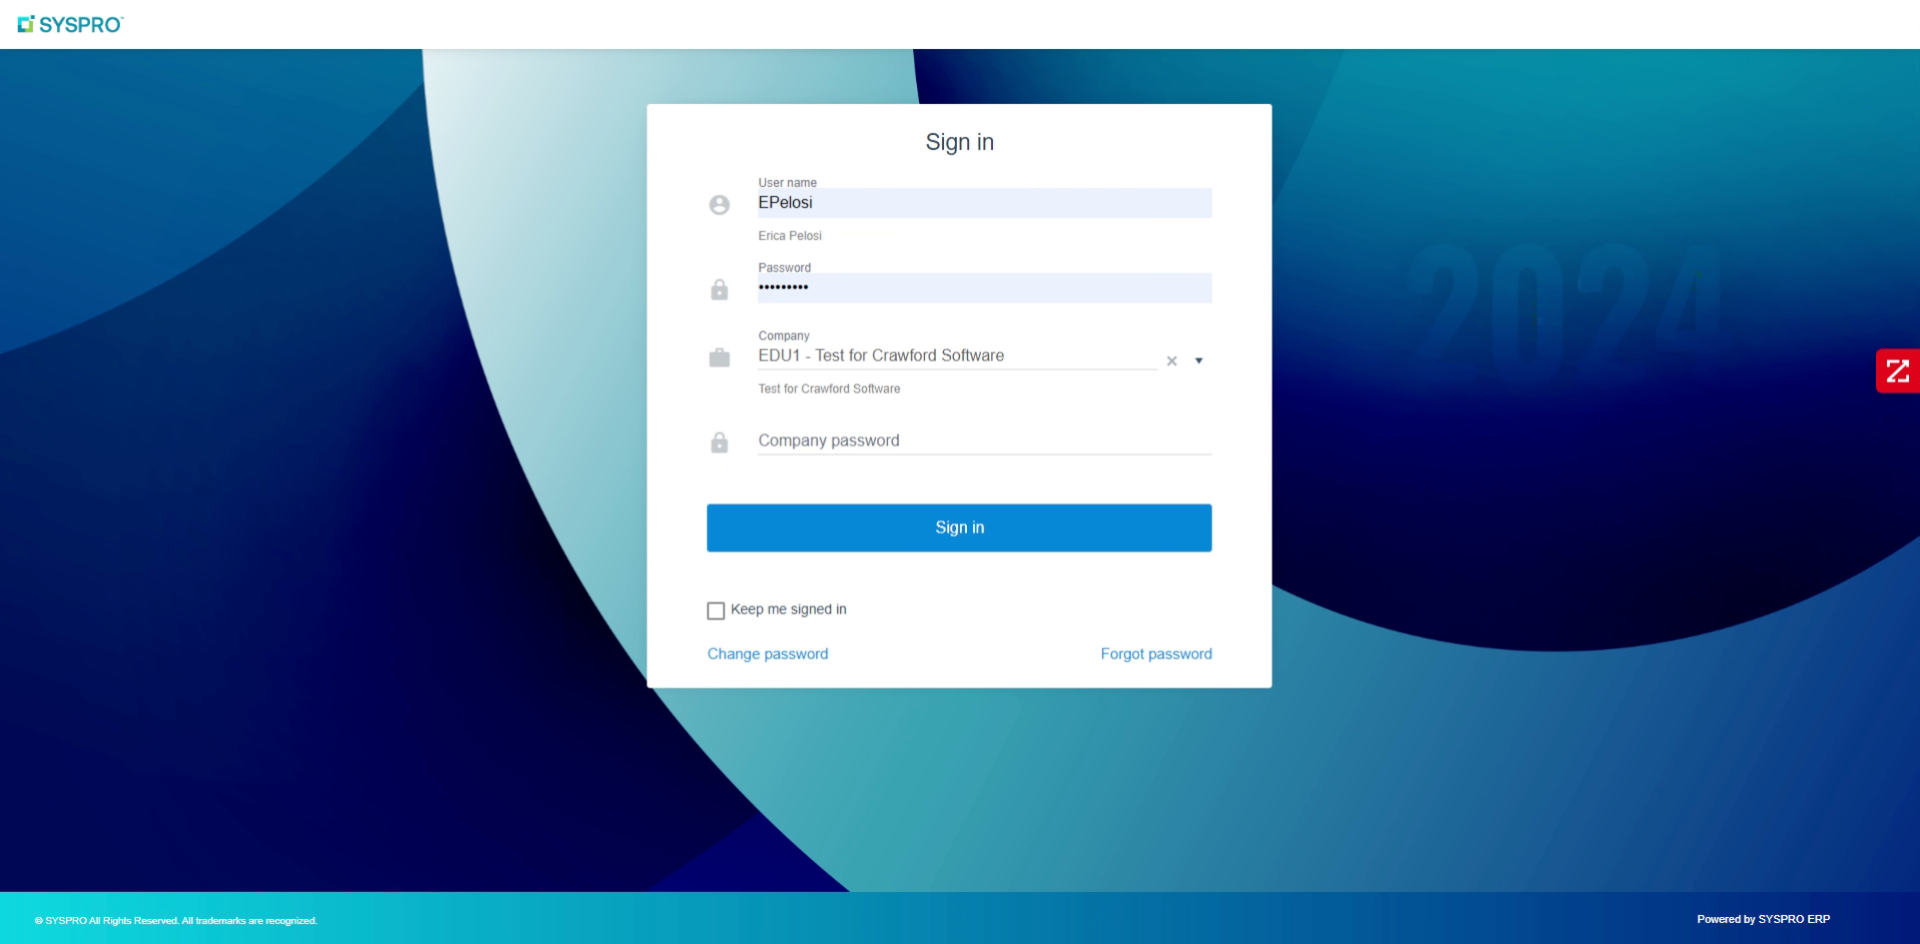
Video content
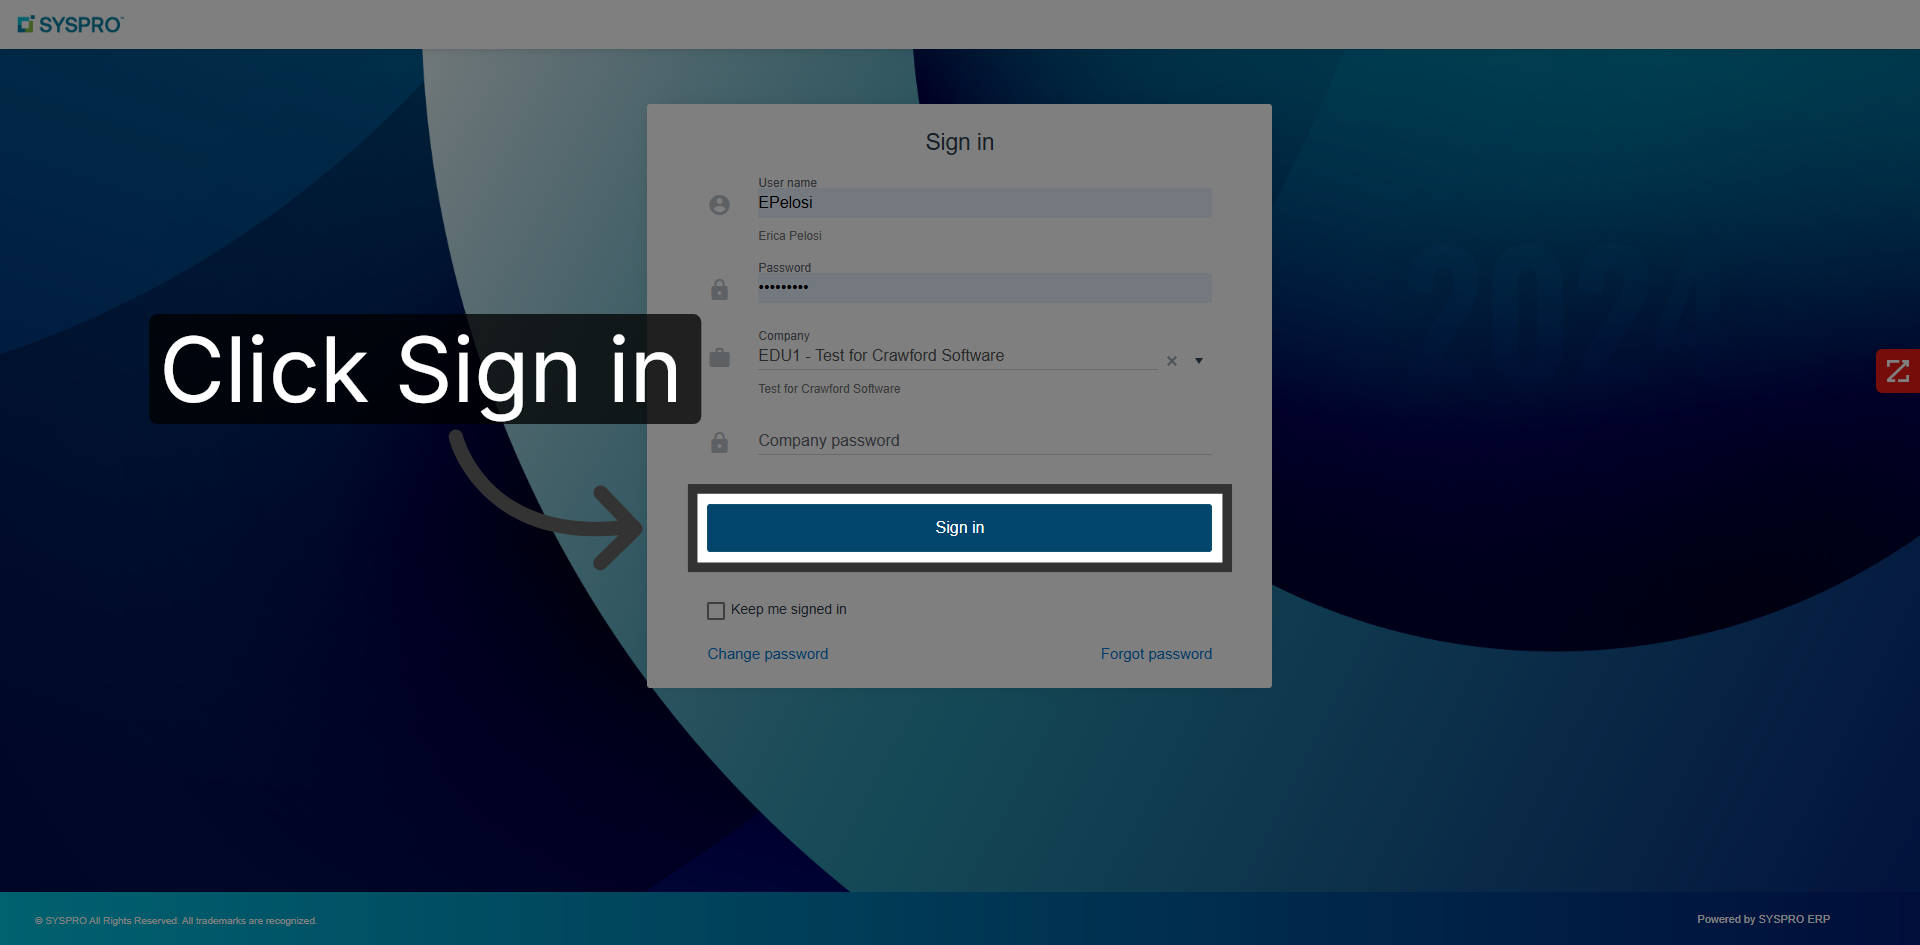
2. Complete Sign-In
Click “Sign in” to submit your credentials and access the system.
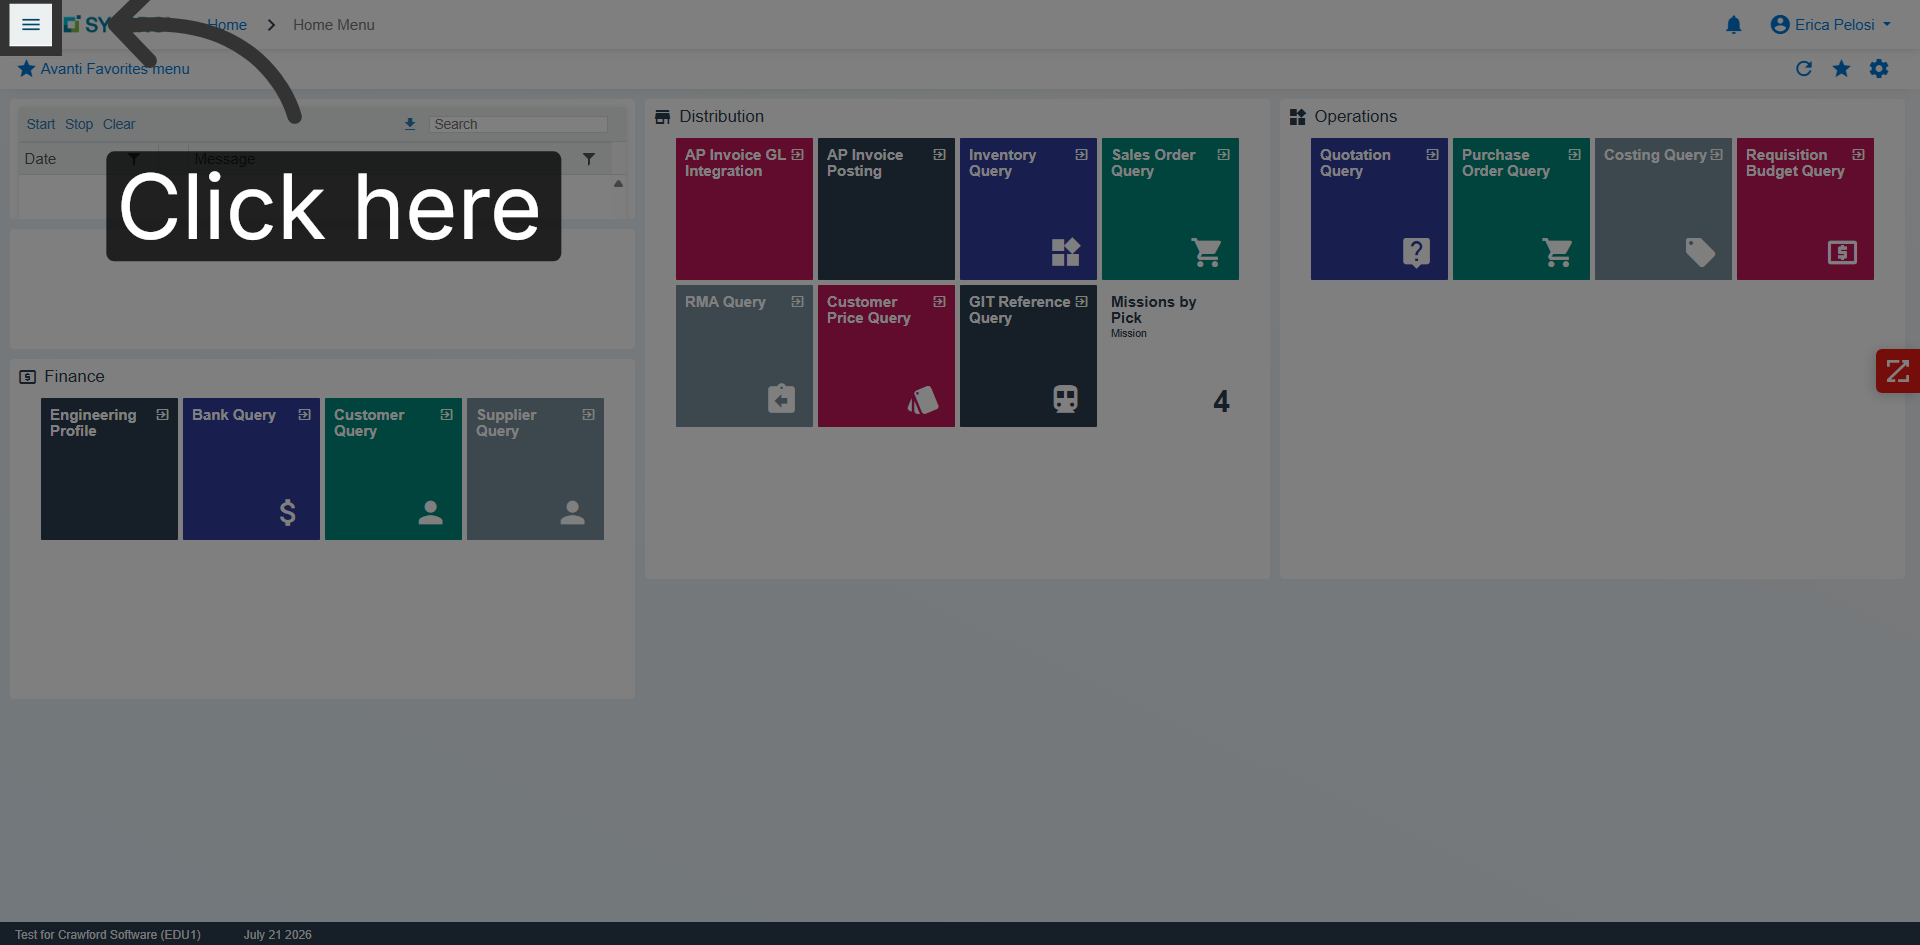
3. Open Home Menu
Click here to open the Home Menu in SYSPRO Avanti.
4. Add anything to your home menu
Select anything that will help your role be most effective
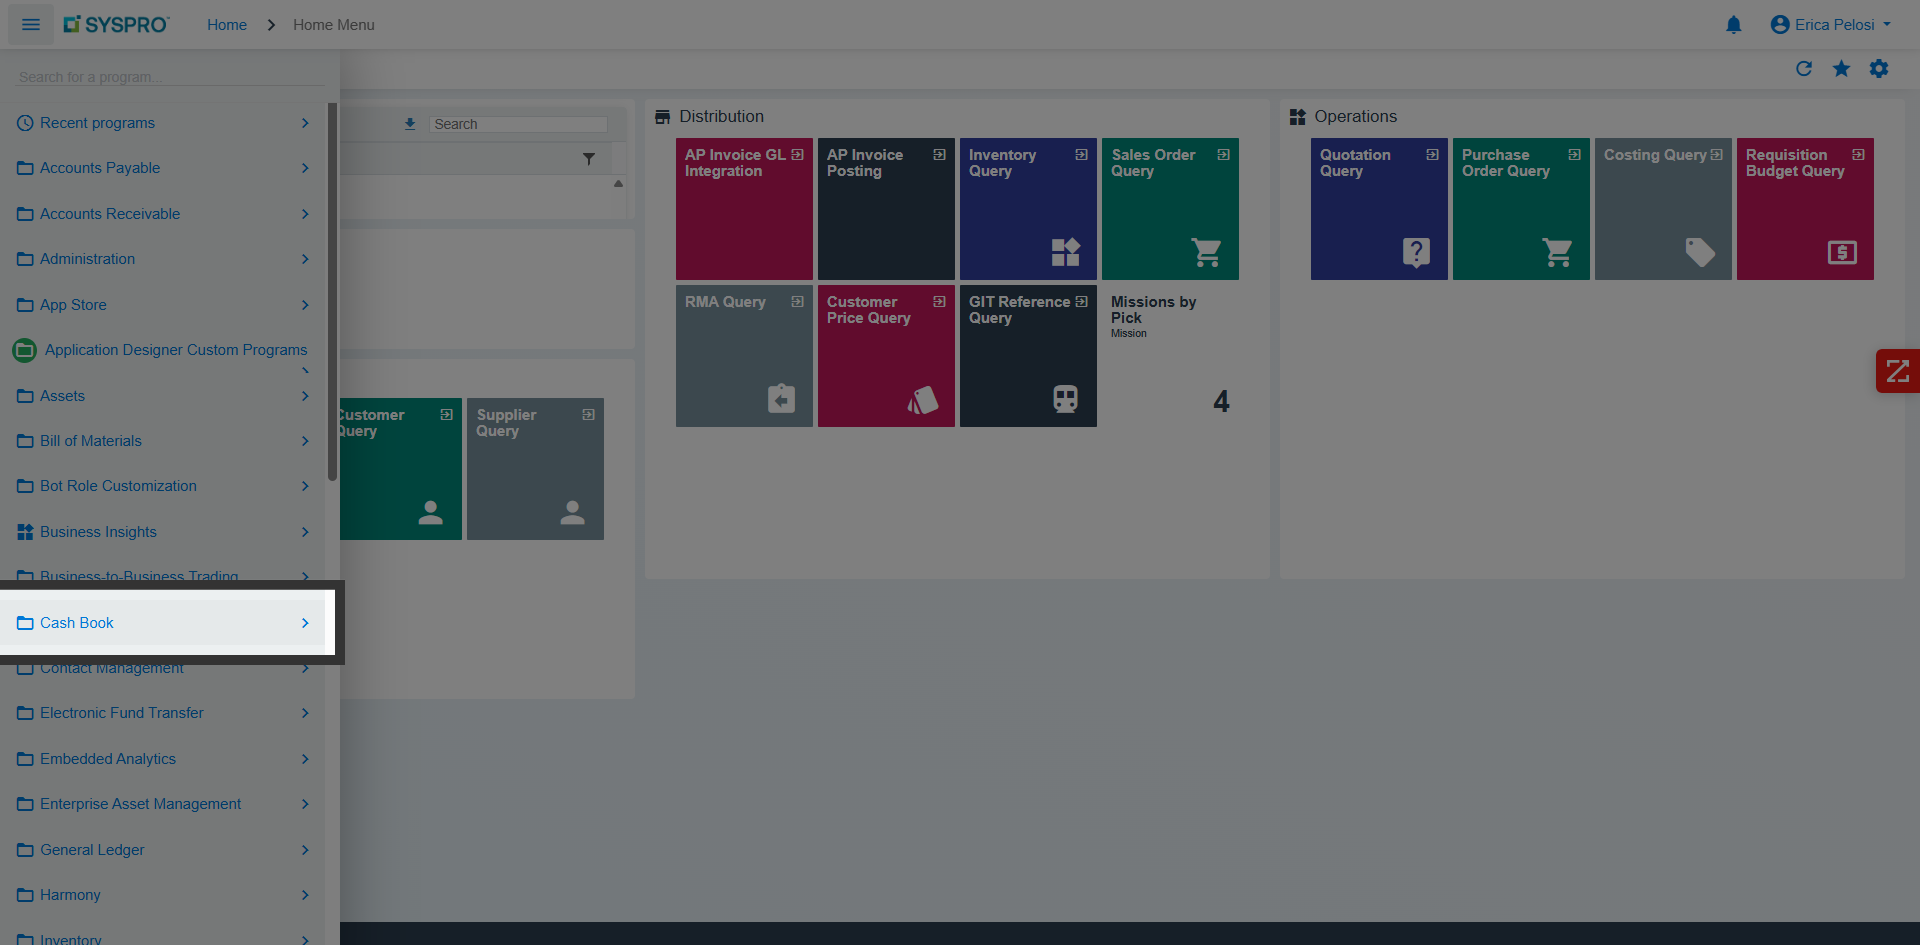
5. Expand GL Integration Folder
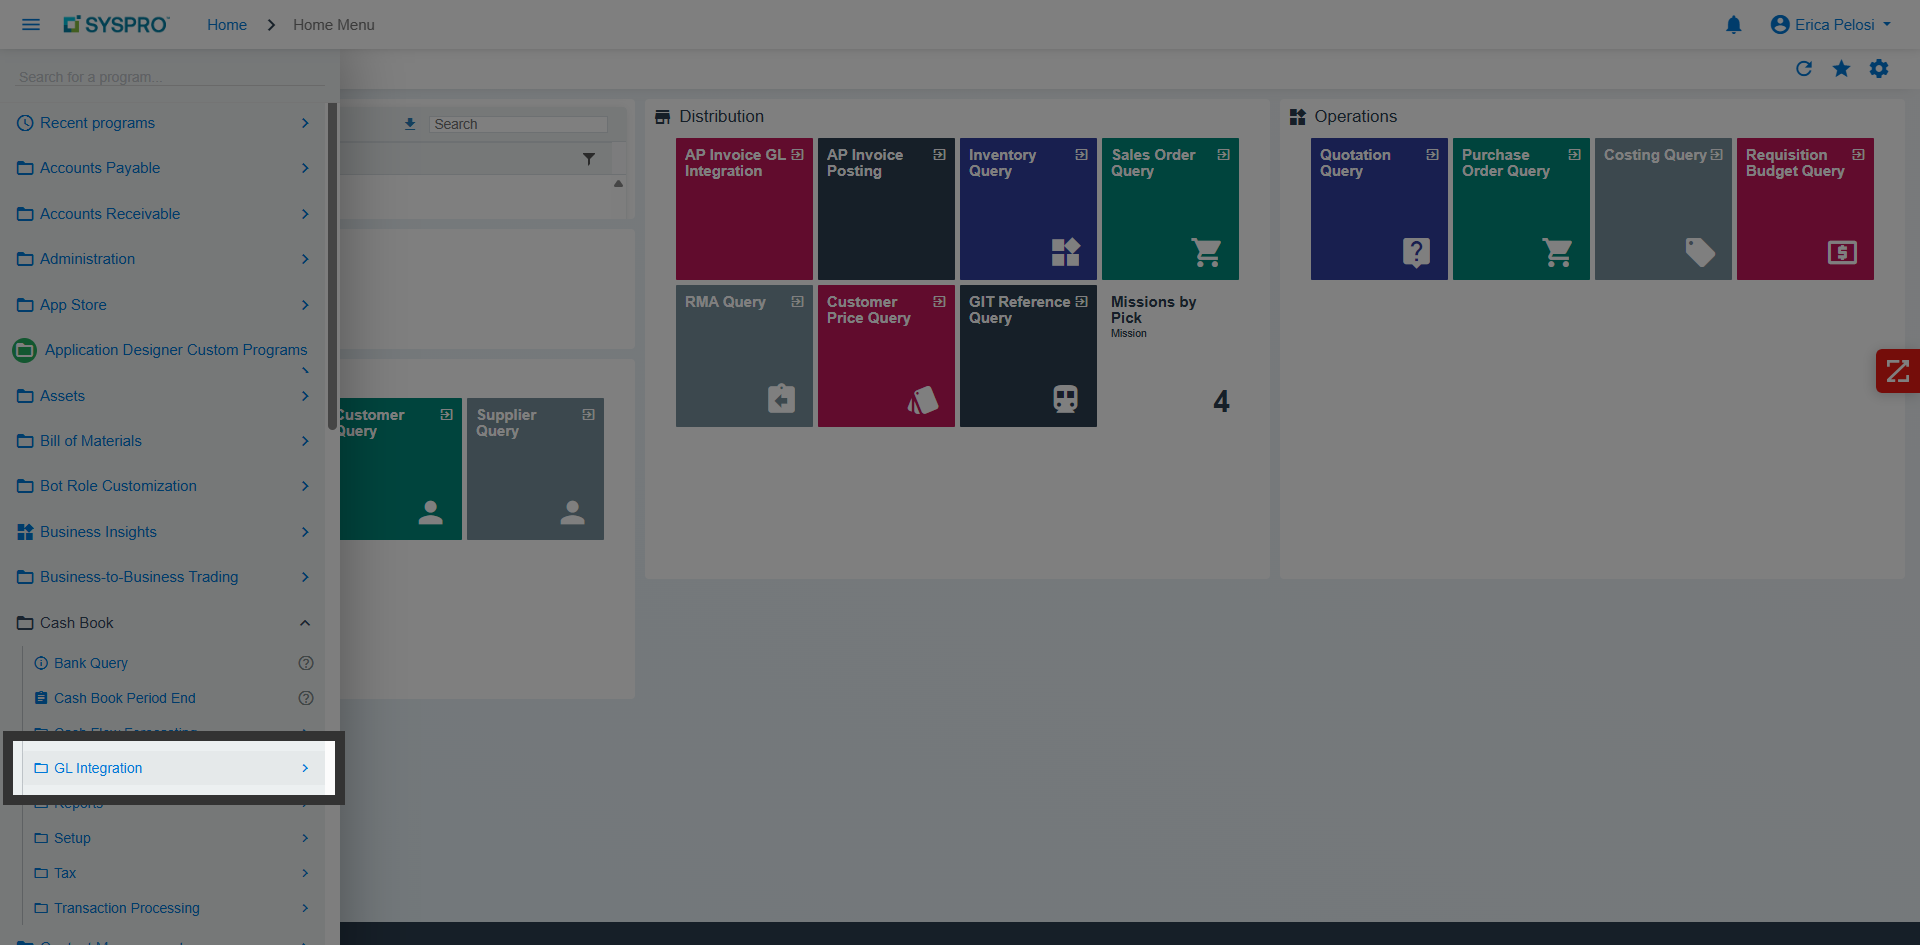
6. Select Cash Book Distribution Report
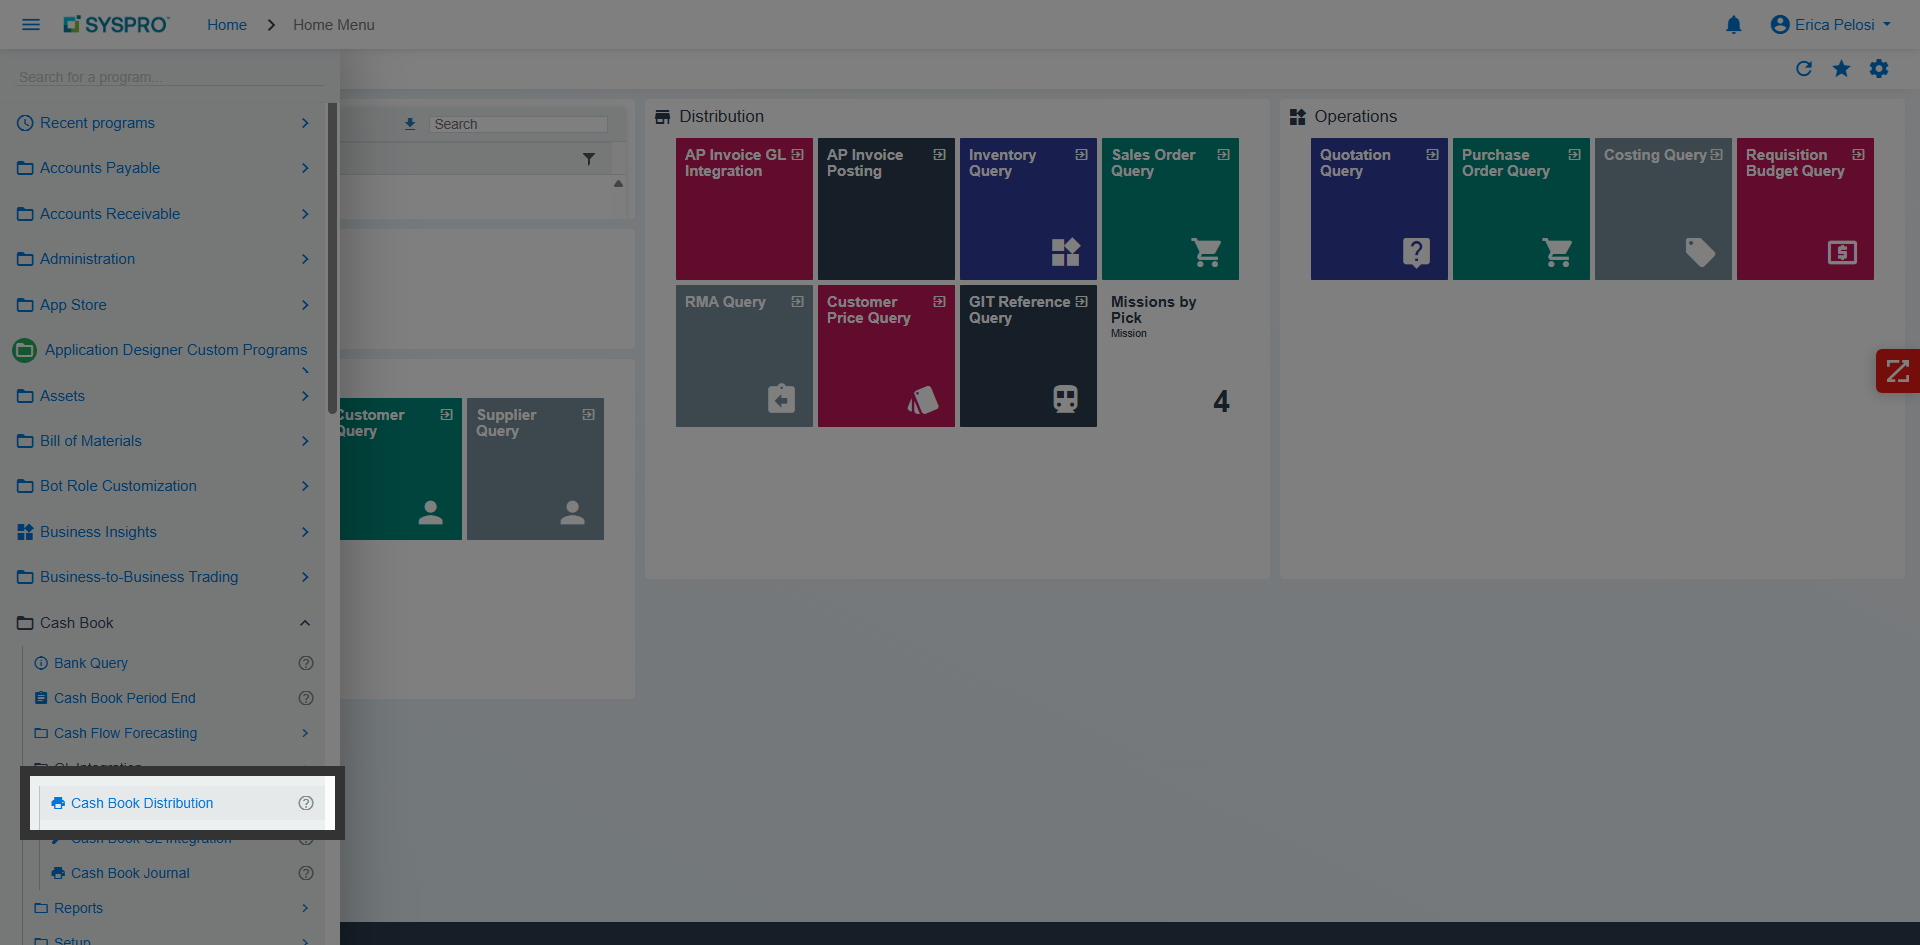
7. Select Cash Book Journal Report
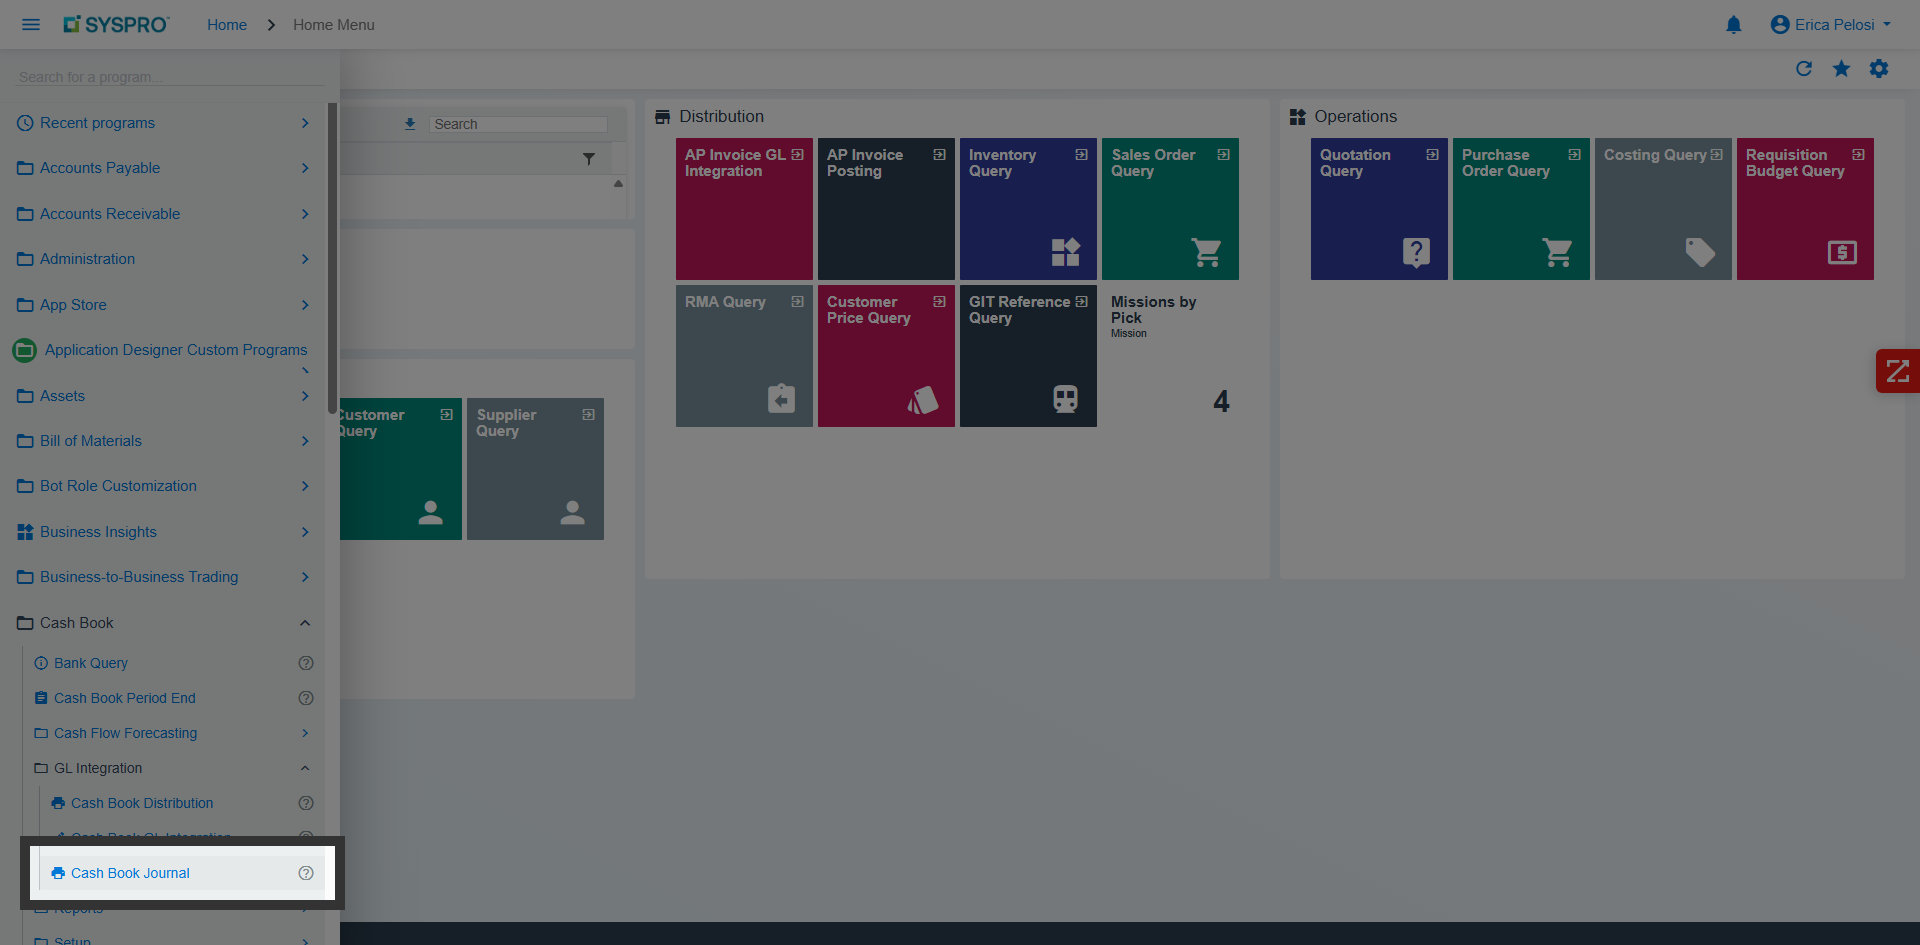
8. Start Report Process
Add any item you want to display on your custom home dashoar.
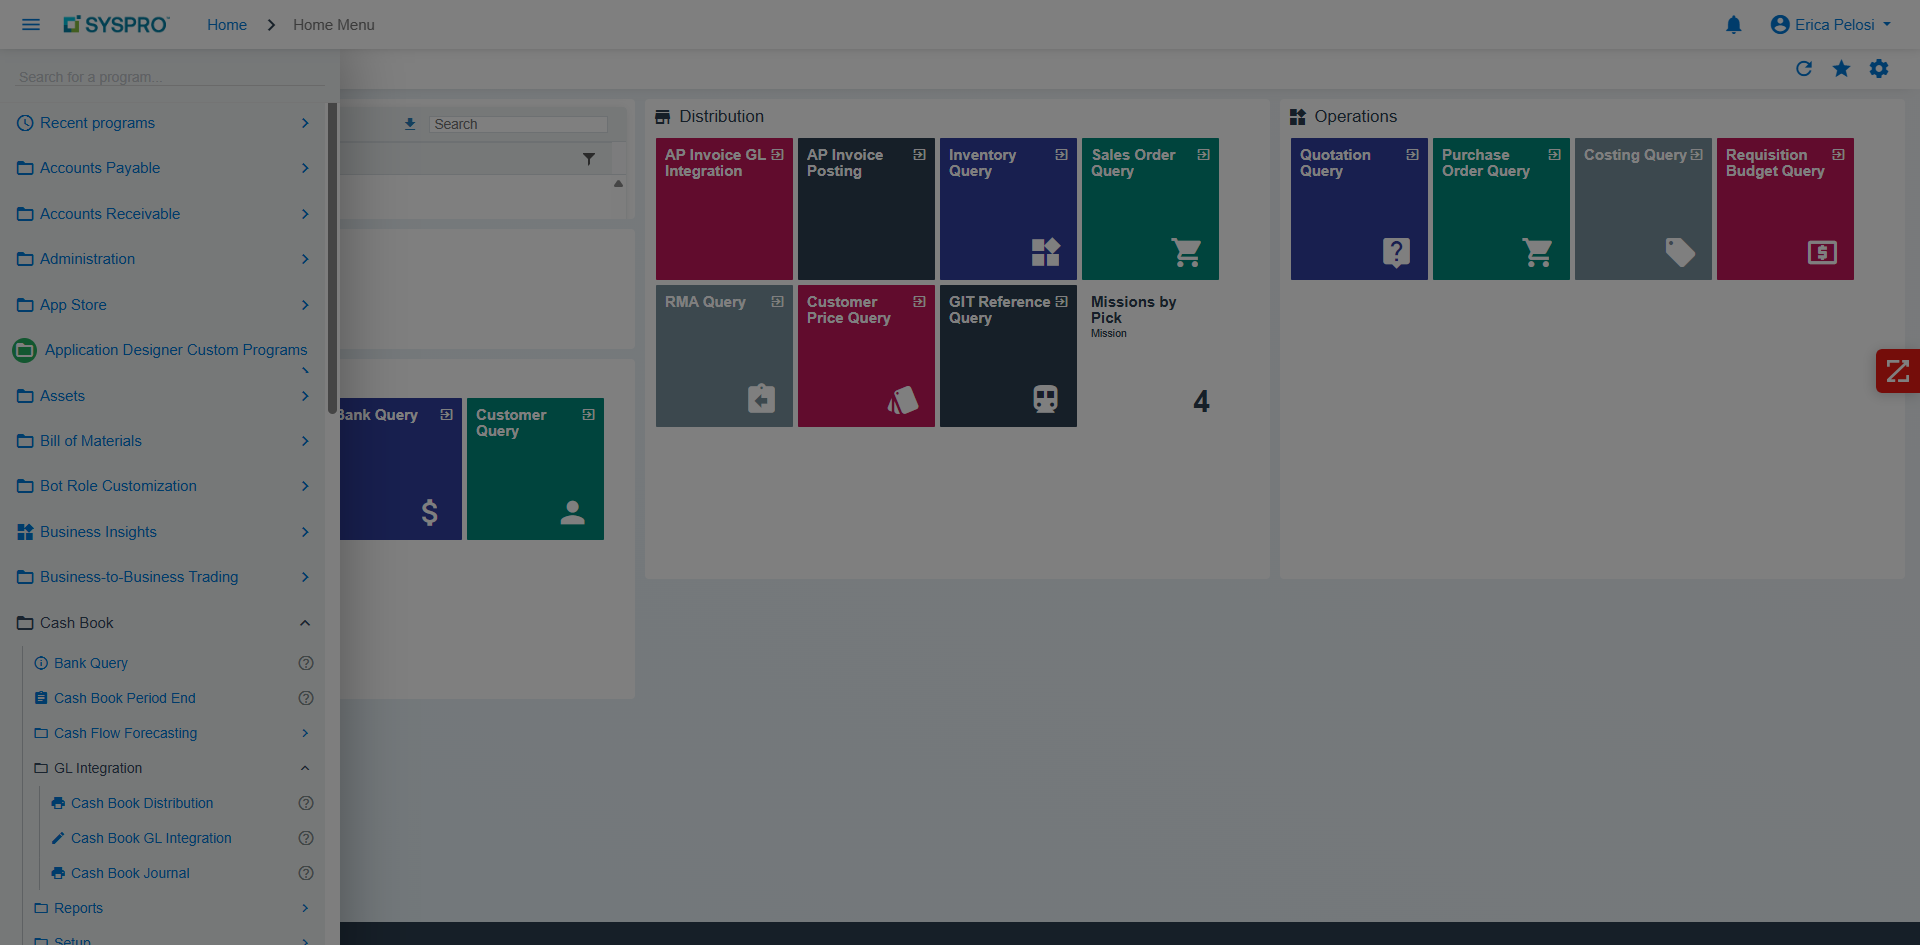
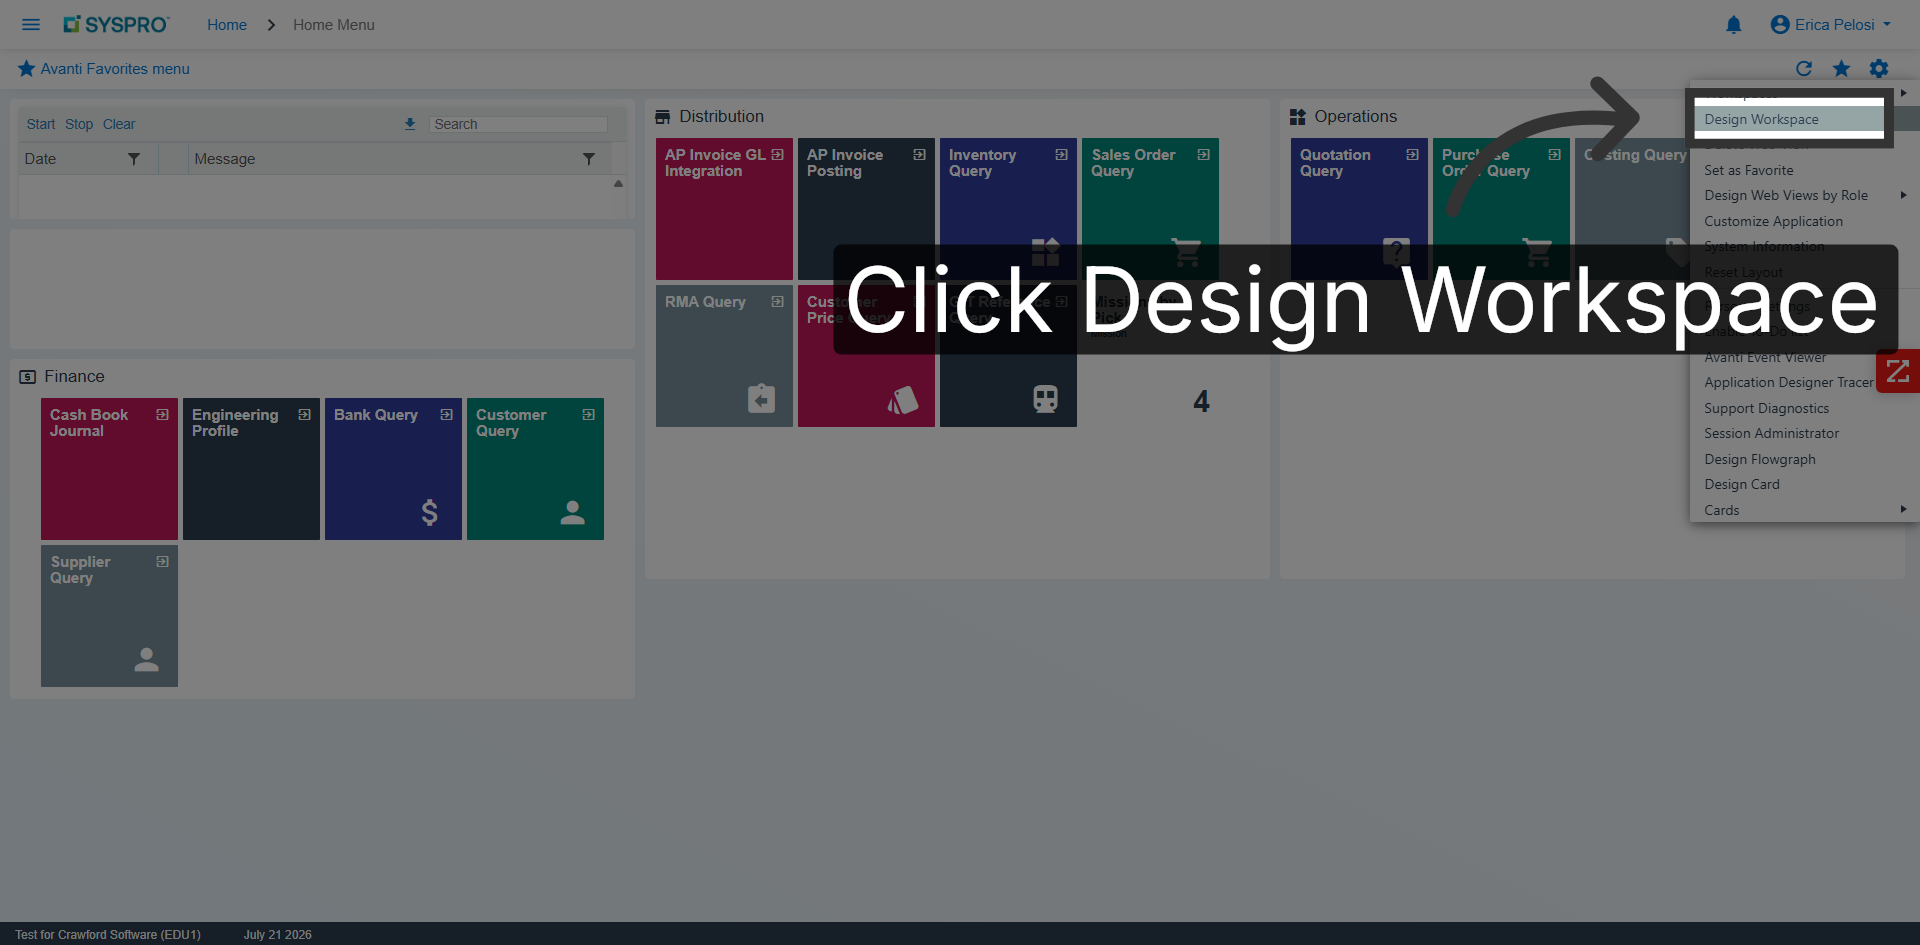
9. Open Design Workspace
Click “Design Workspace” to access the workspace customization options.
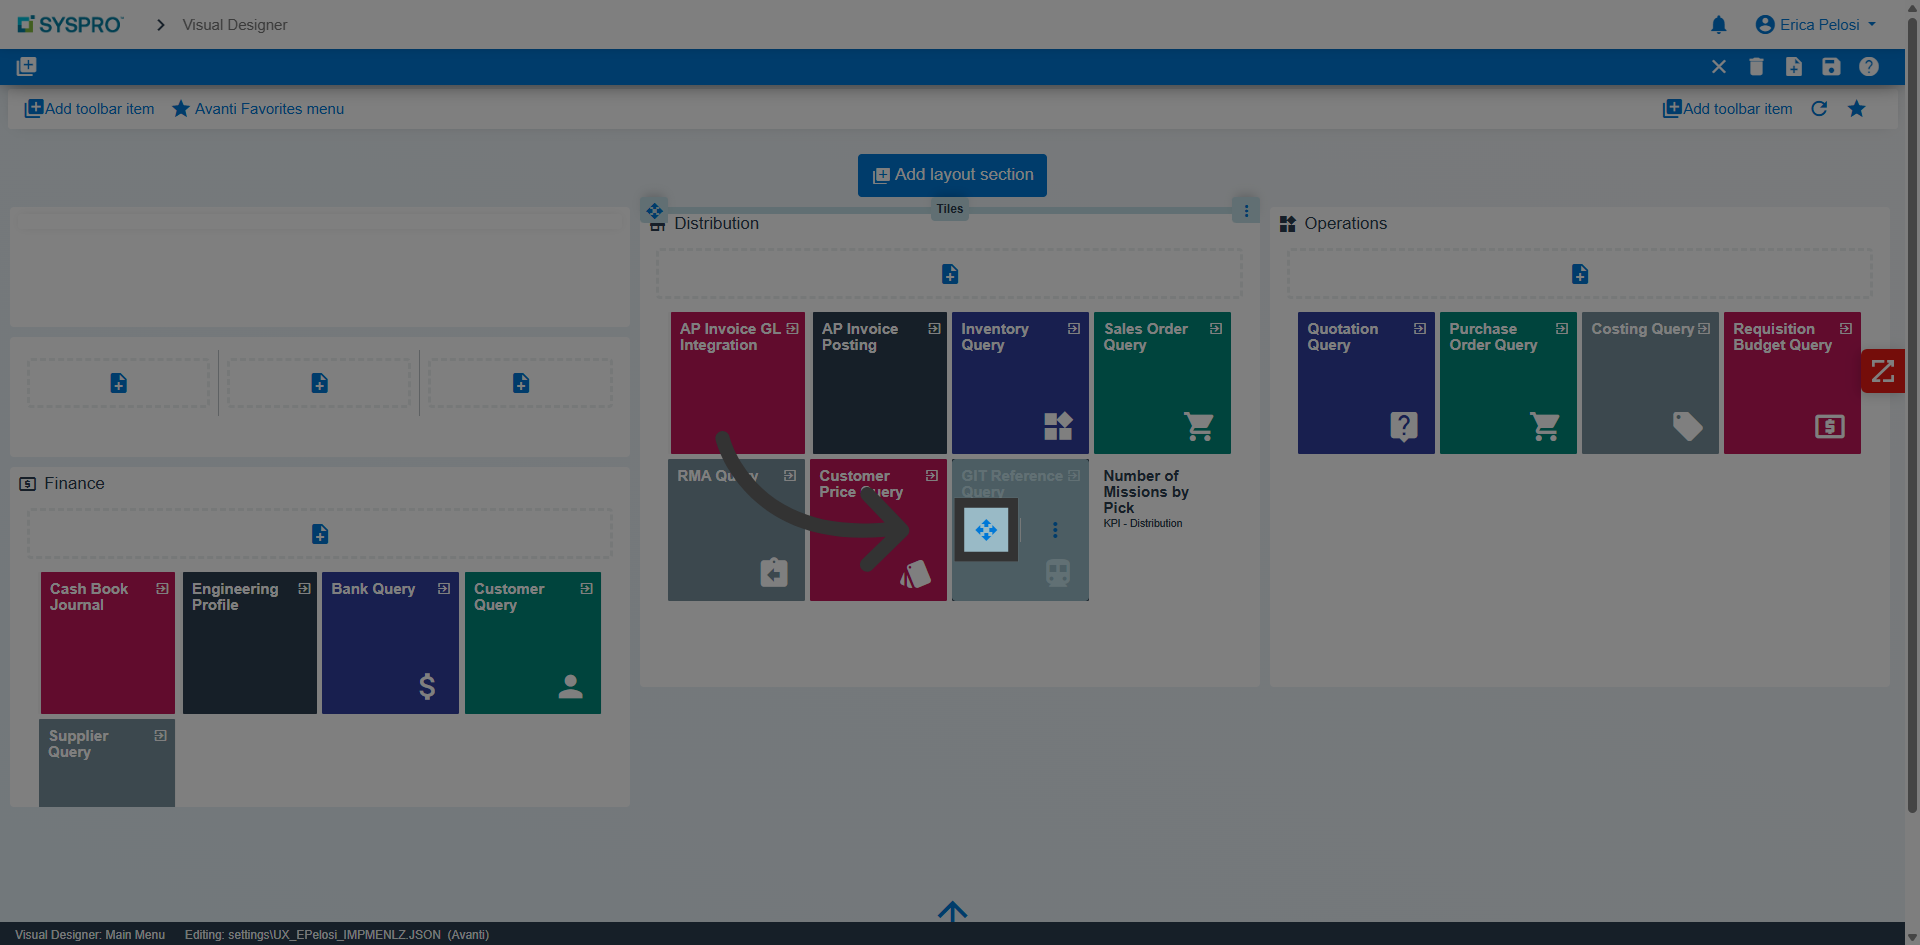
10. Continue Workflow
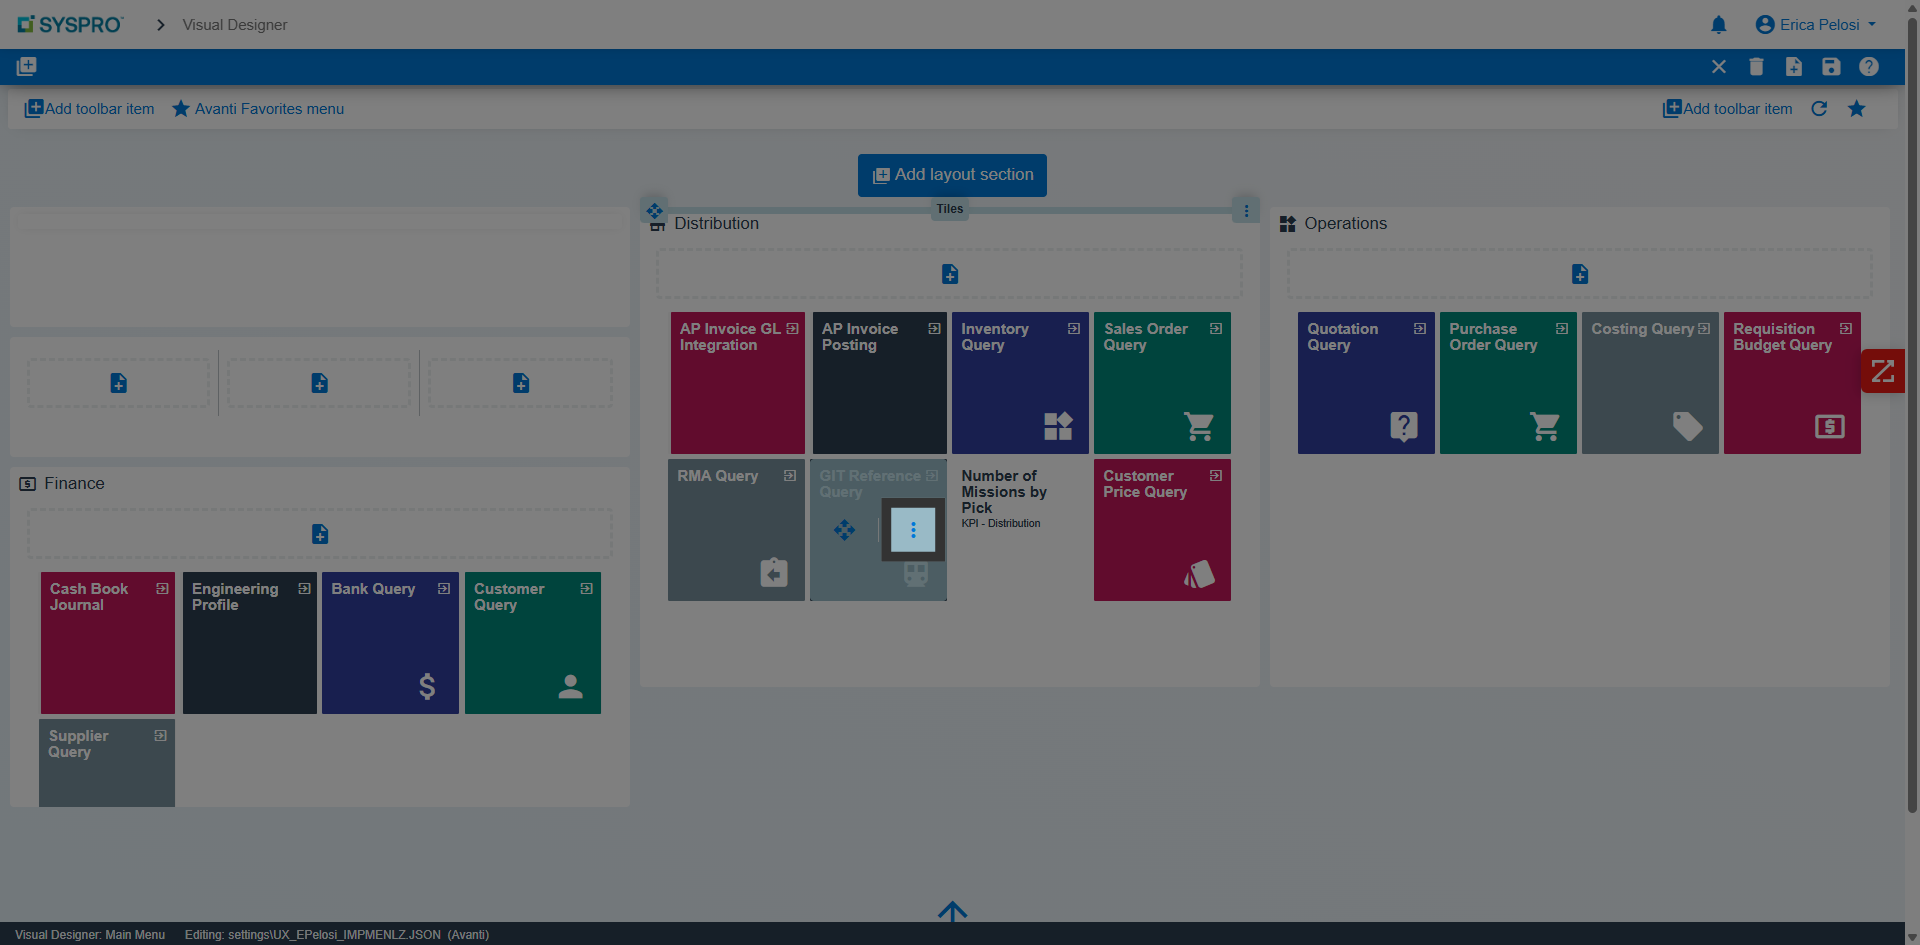
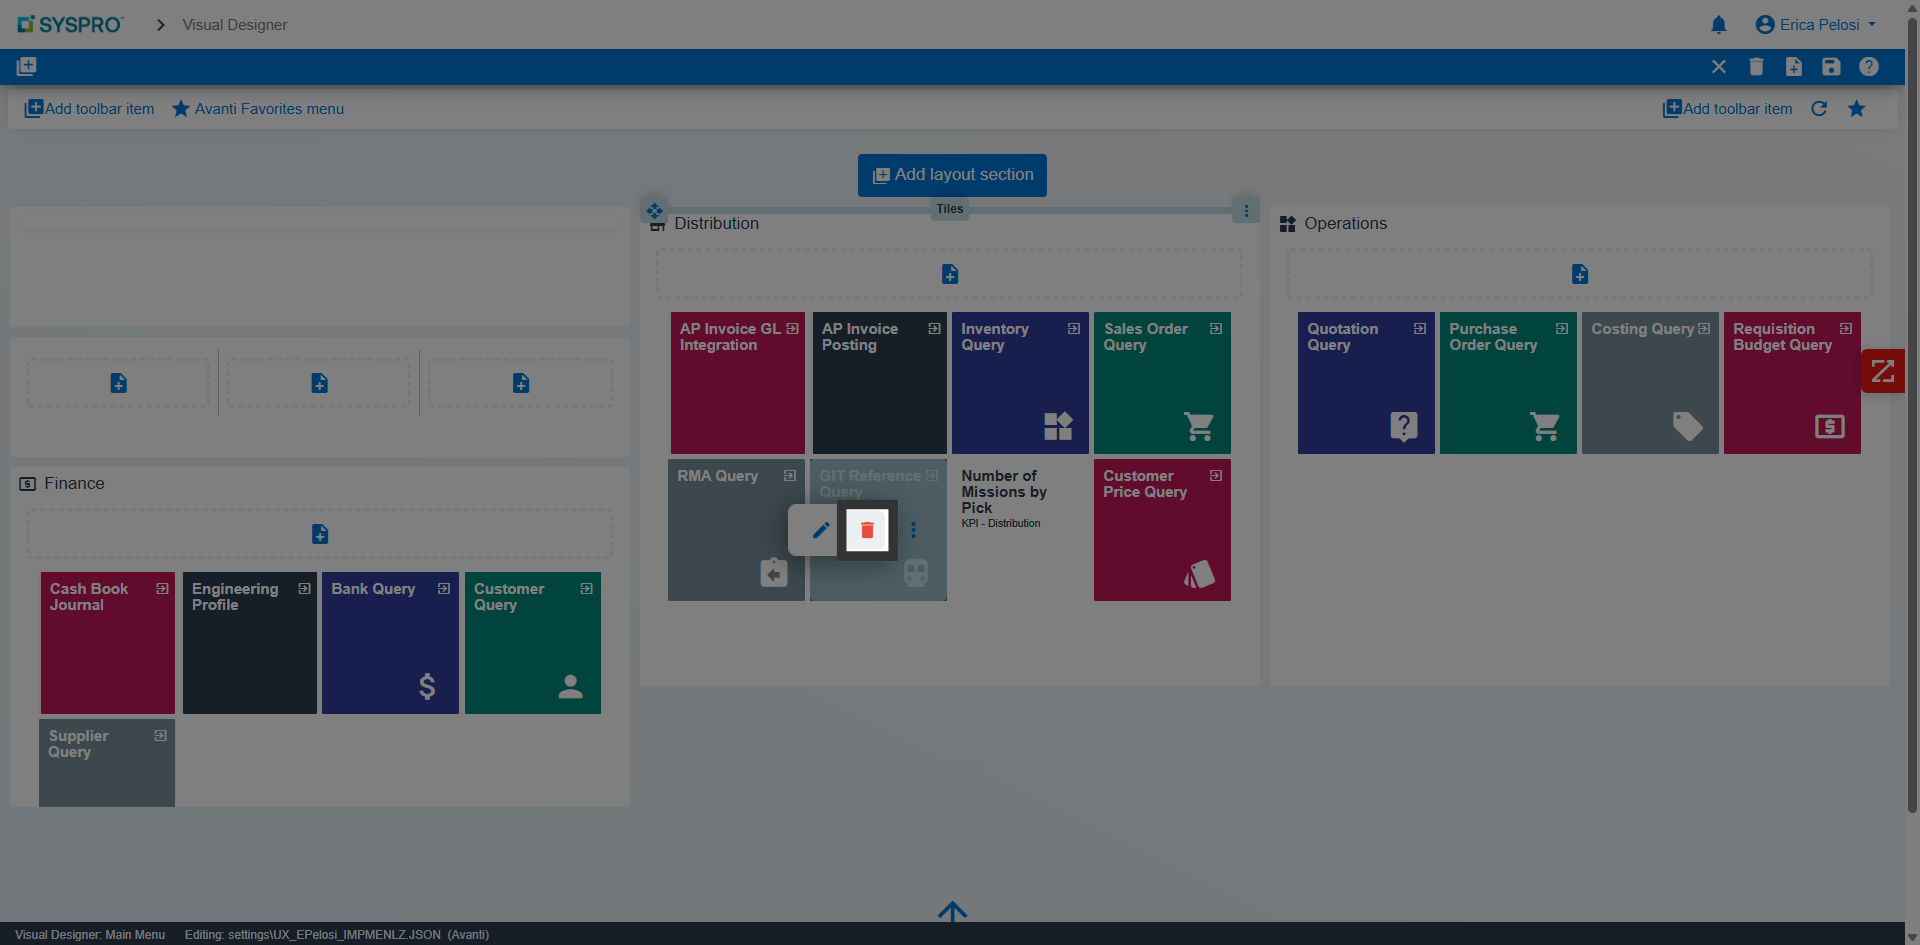
You can move, edit or delete any tile you would like.
11. Advance to Next Screen
12. Navigate Forward
Click here to continue navigating through the menus.
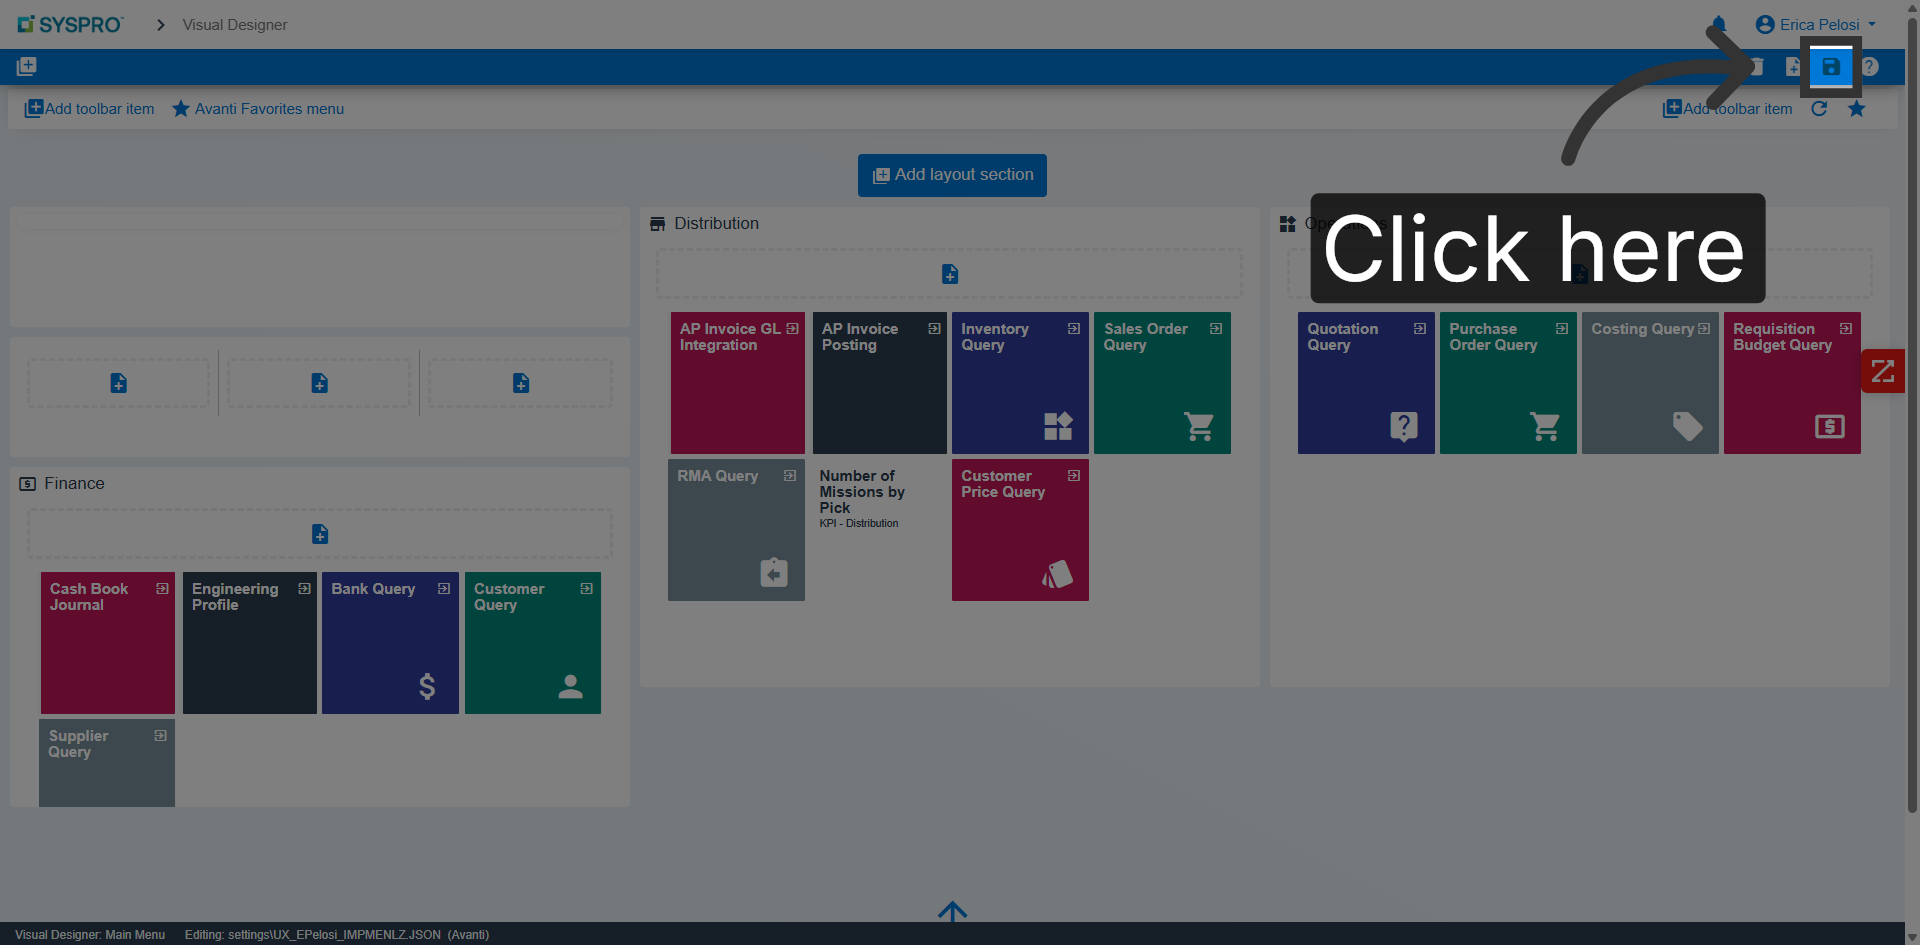
13. Complete Navigation
Click here to finalize and save any changes to update your home dashboard.
You have successfully navigated through SYSPRO Avanti to customize your dashboard. Join us for our next Syspro Avanti video to maximize your Syspro ERP solution.
This tutorial guides you through accessing SYSPRO Avanti and customizing your dashboard.
1. Introduction
First let’s login to your Syspro account by entering your credentials.
Video content
2. Complete Sign-In
Click “Sign in” to submit your credentials and access the system.
3. Open Home Menu
Click here to open the Home Menu in SYSPRO Avanti.
4. Add anything to your home menu
Select anything that will help your role be most effective
5. Expand GL Integration Folder
6. Select Cash Book Distribution Report
7. Select Cash Book Journal Report
8. Start Report Process
Add any item you want to display on your custom home dashoar.
9. Open Design Workspace
Click “Design Workspace” to access the workspace customization options.
10. Continue Workflow
You can move, edit or delete any tile you would like.
11. Advance to Next Screen
12. Navigate Forward
Click here to continue navigating through the menus.
13. Complete Navigation
Click here to finalize and save any changes to update your home dashboard.
You have successfully navigated through SYSPRO Avanti to customize your dashboard. Join us for our next Syspro Avanti video to maximize your Syspro ERP solution.